







Your Custom Text Here
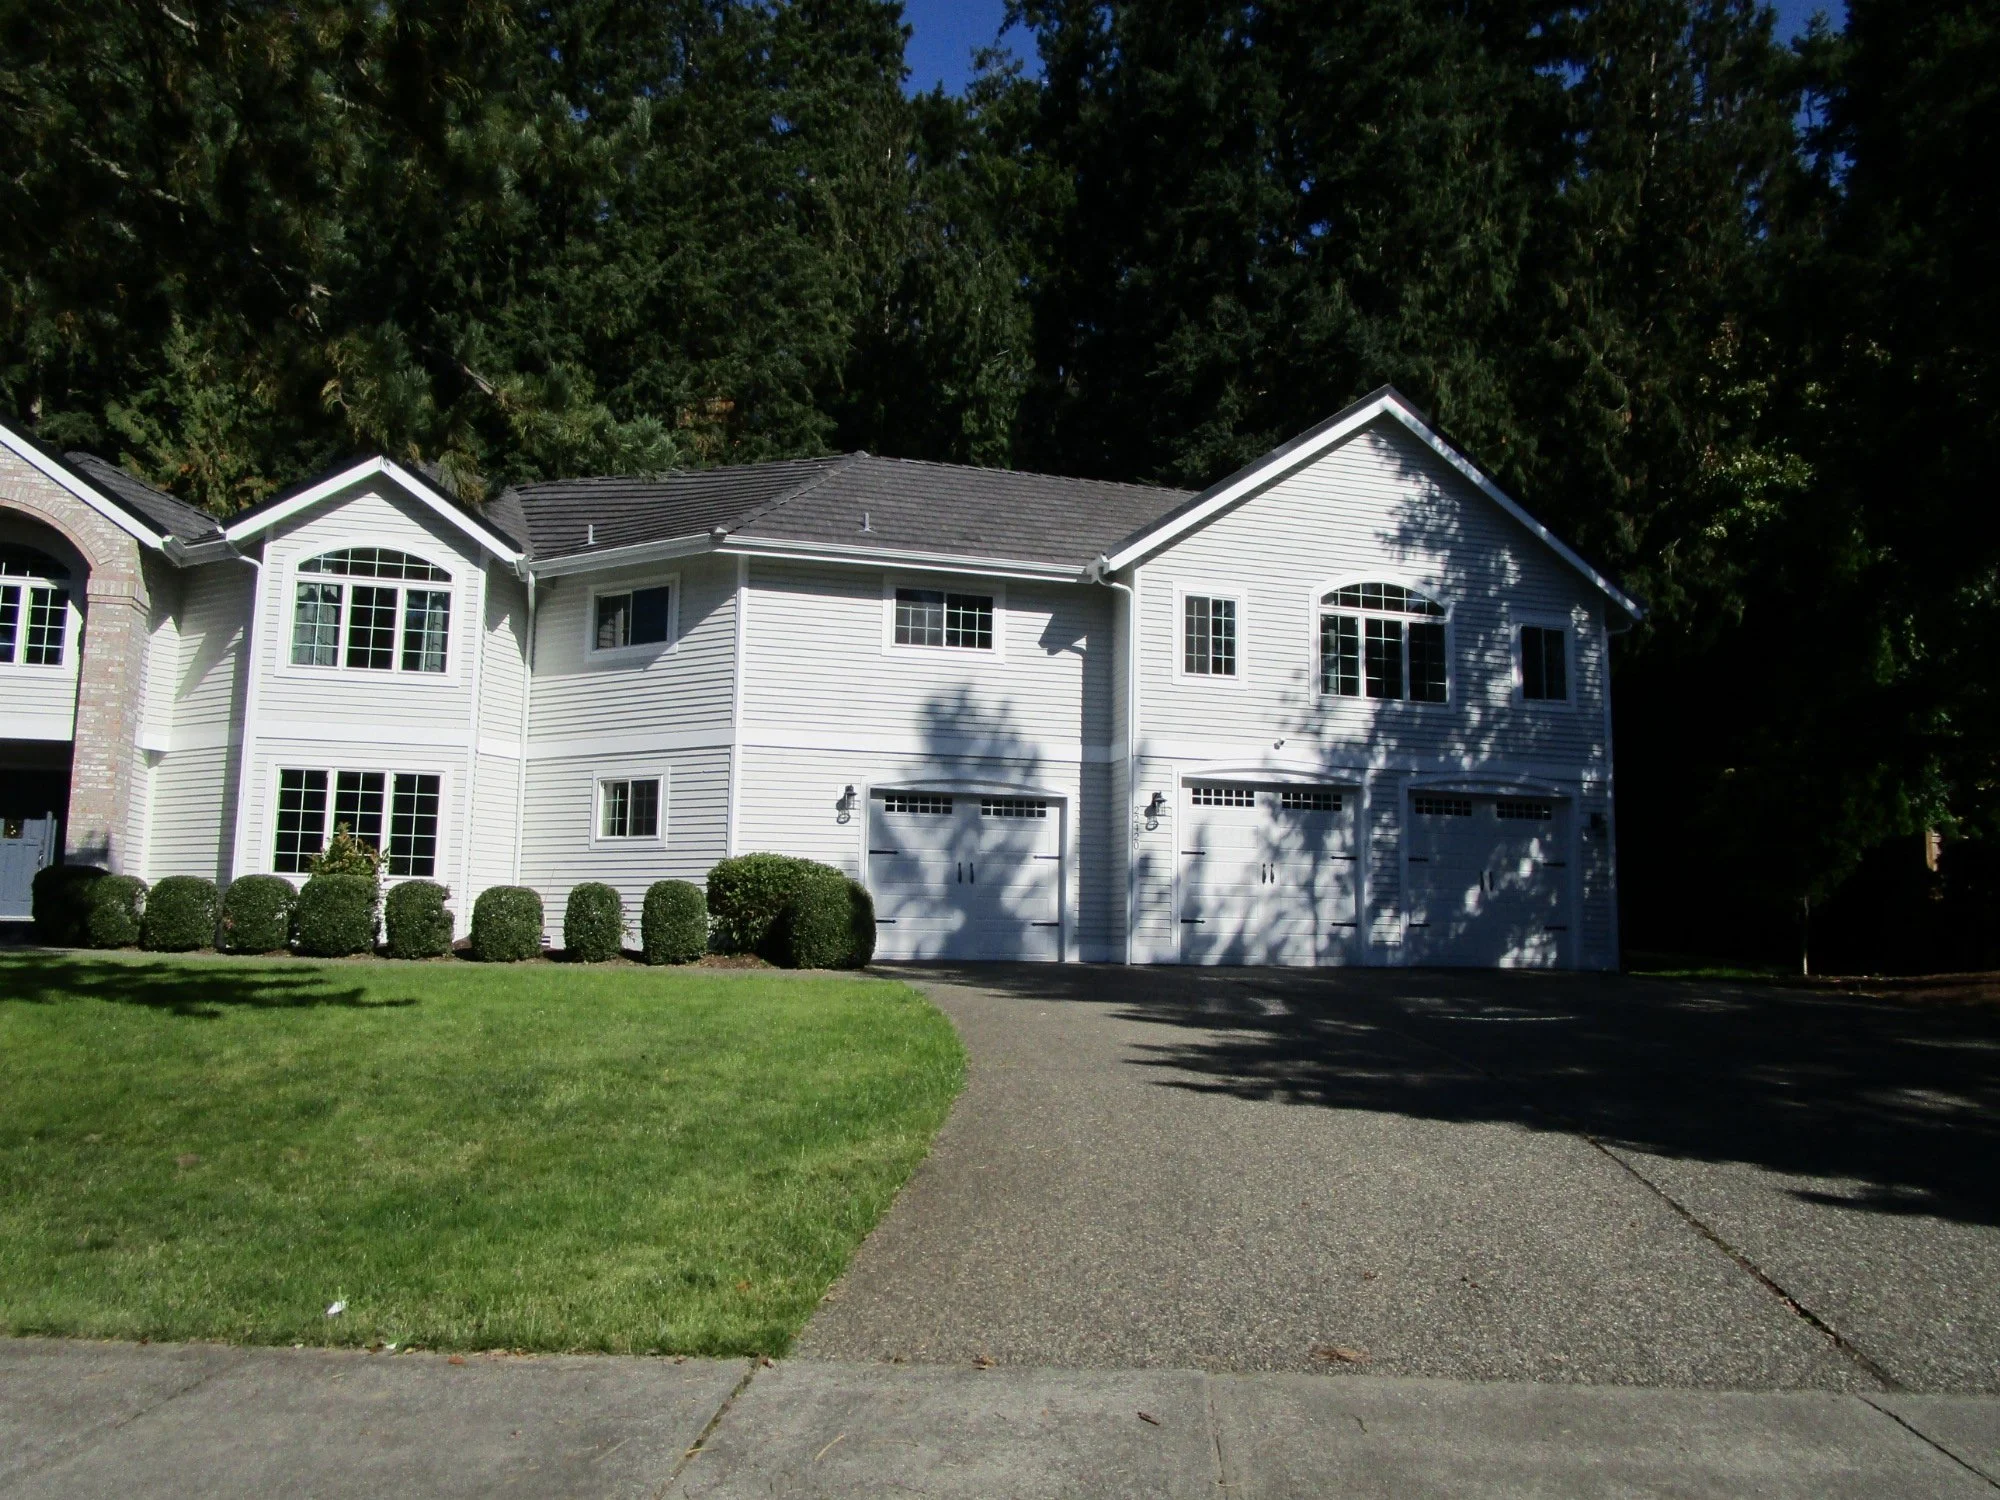
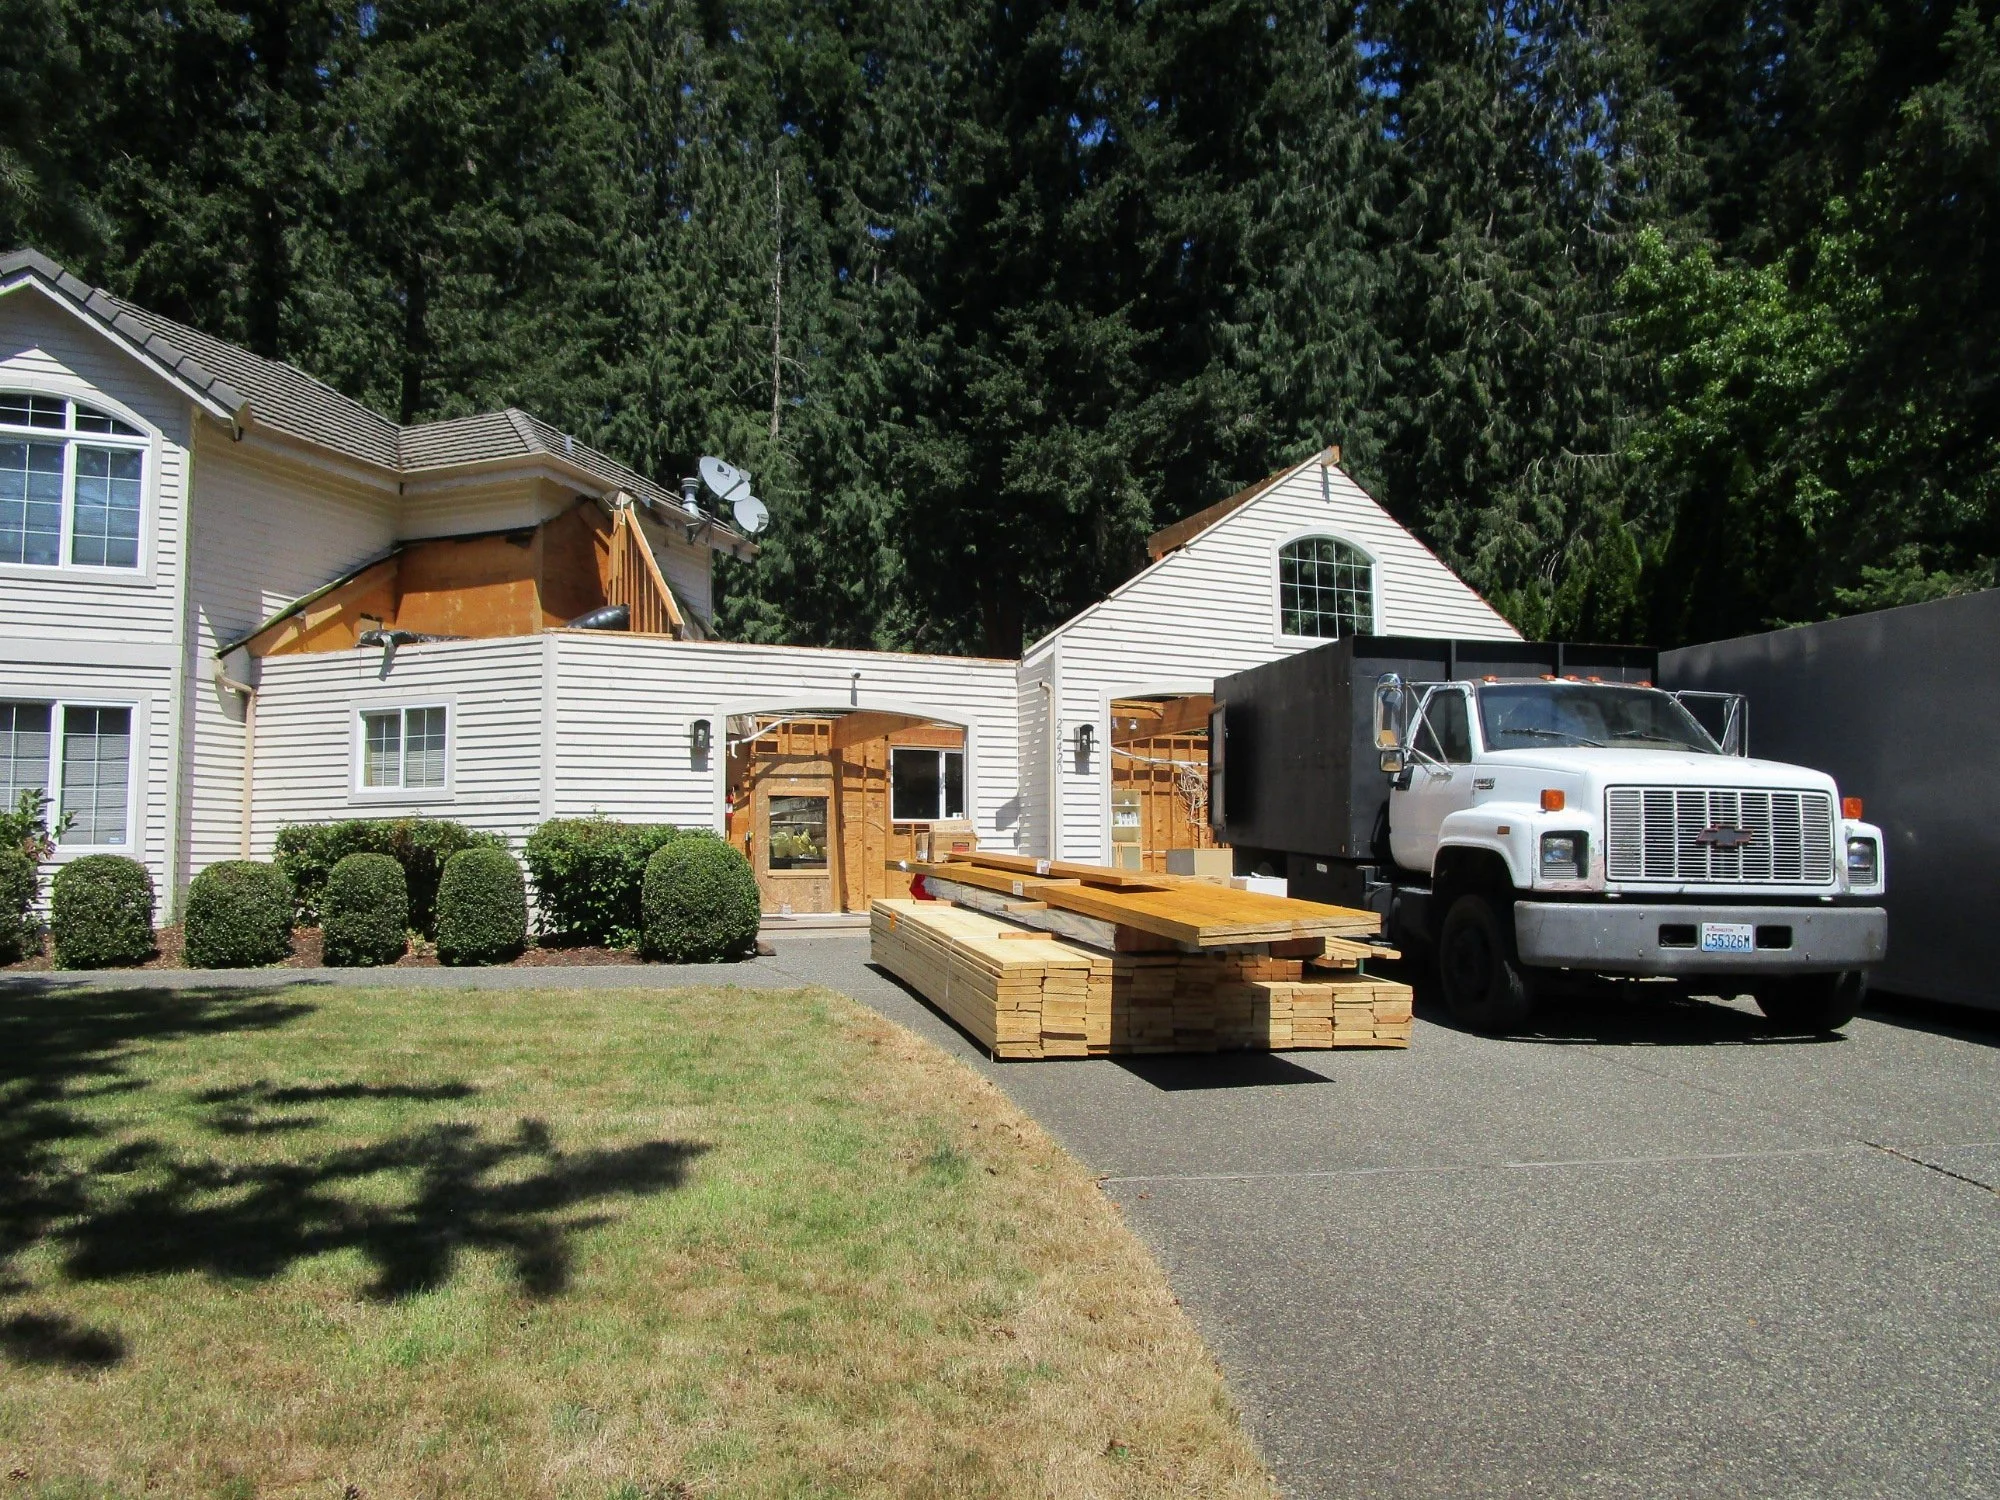
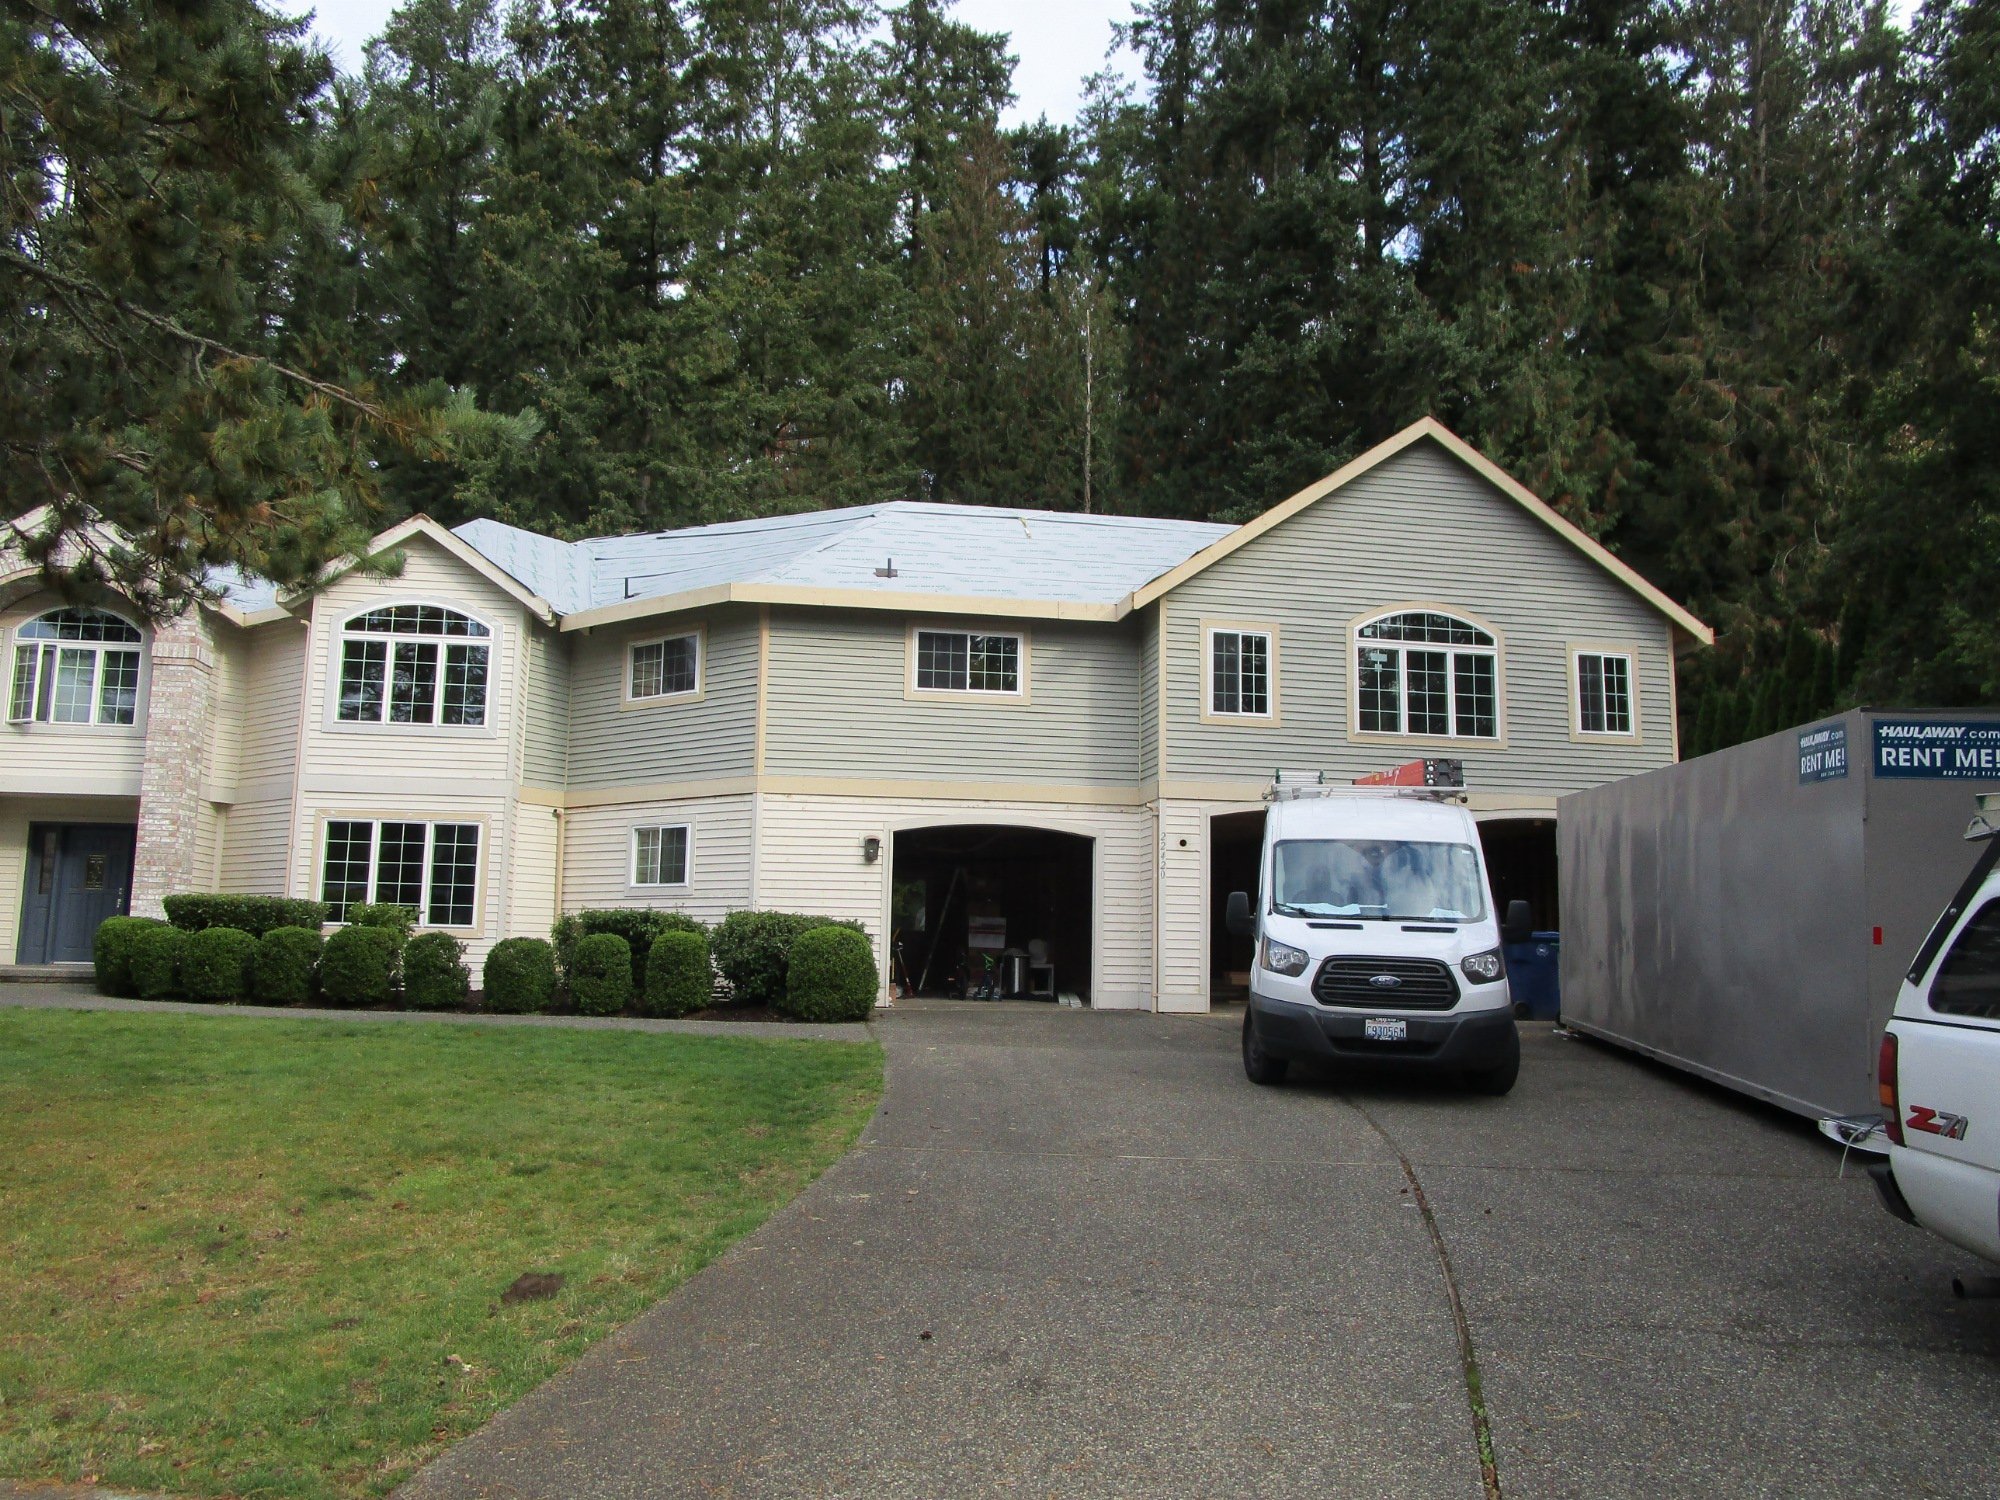
Adding a new Master Bedroom/Bath complex over an existing 3-car garage. New design includes an upstairs Laundry Room, and re-purposing the existing Master Bedroom area into a Guest Room suite. Then creating a new bedroom/bath suite and a new Craft Room. As we are saving the first floor garage walls, demolition of the roof structure is careful, and by hand.
Adding a new Master Bedroom/Bath complex over an existing 3-car garage. New design includes an upstairs Laundry Room, and re-purposing the existing Master Bedroom area into a Guest Room suite. Then creating a new bedroom/bath suite and a new Craft Room. As we are saving the first floor garage walls, demolition of the roof structure is careful, and by hand.
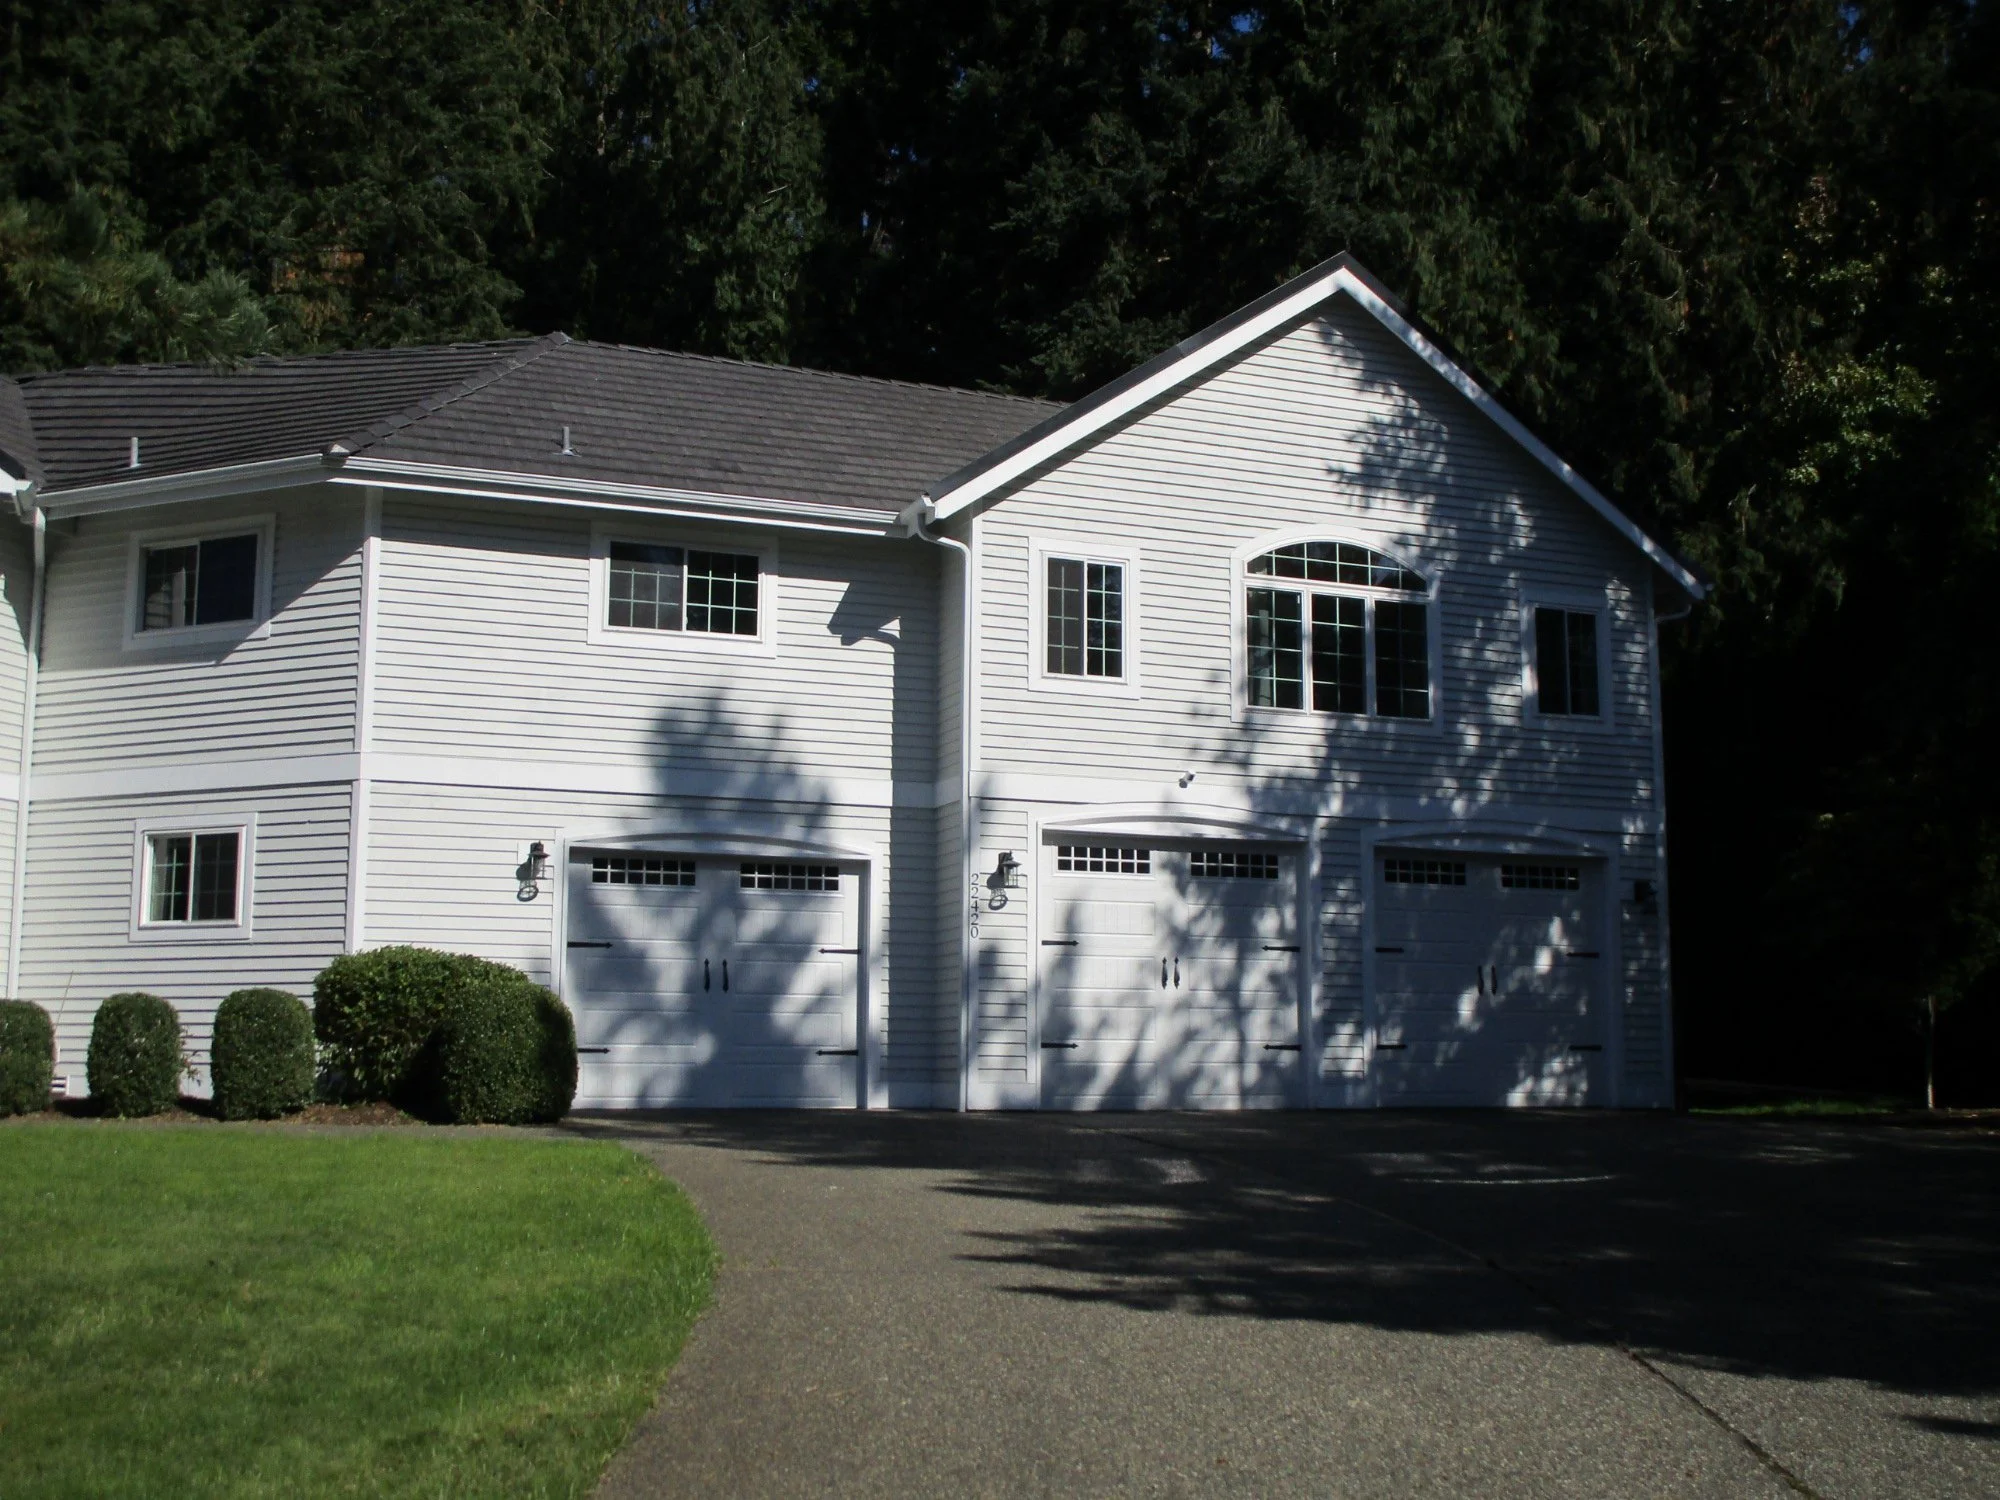
Second floor addition over existing garage finished.
To make this work, the exterior walls of the new addition needed to align with the garage walls below. Special consideration was given to gravity loads to we did not overload the existing concrete foo
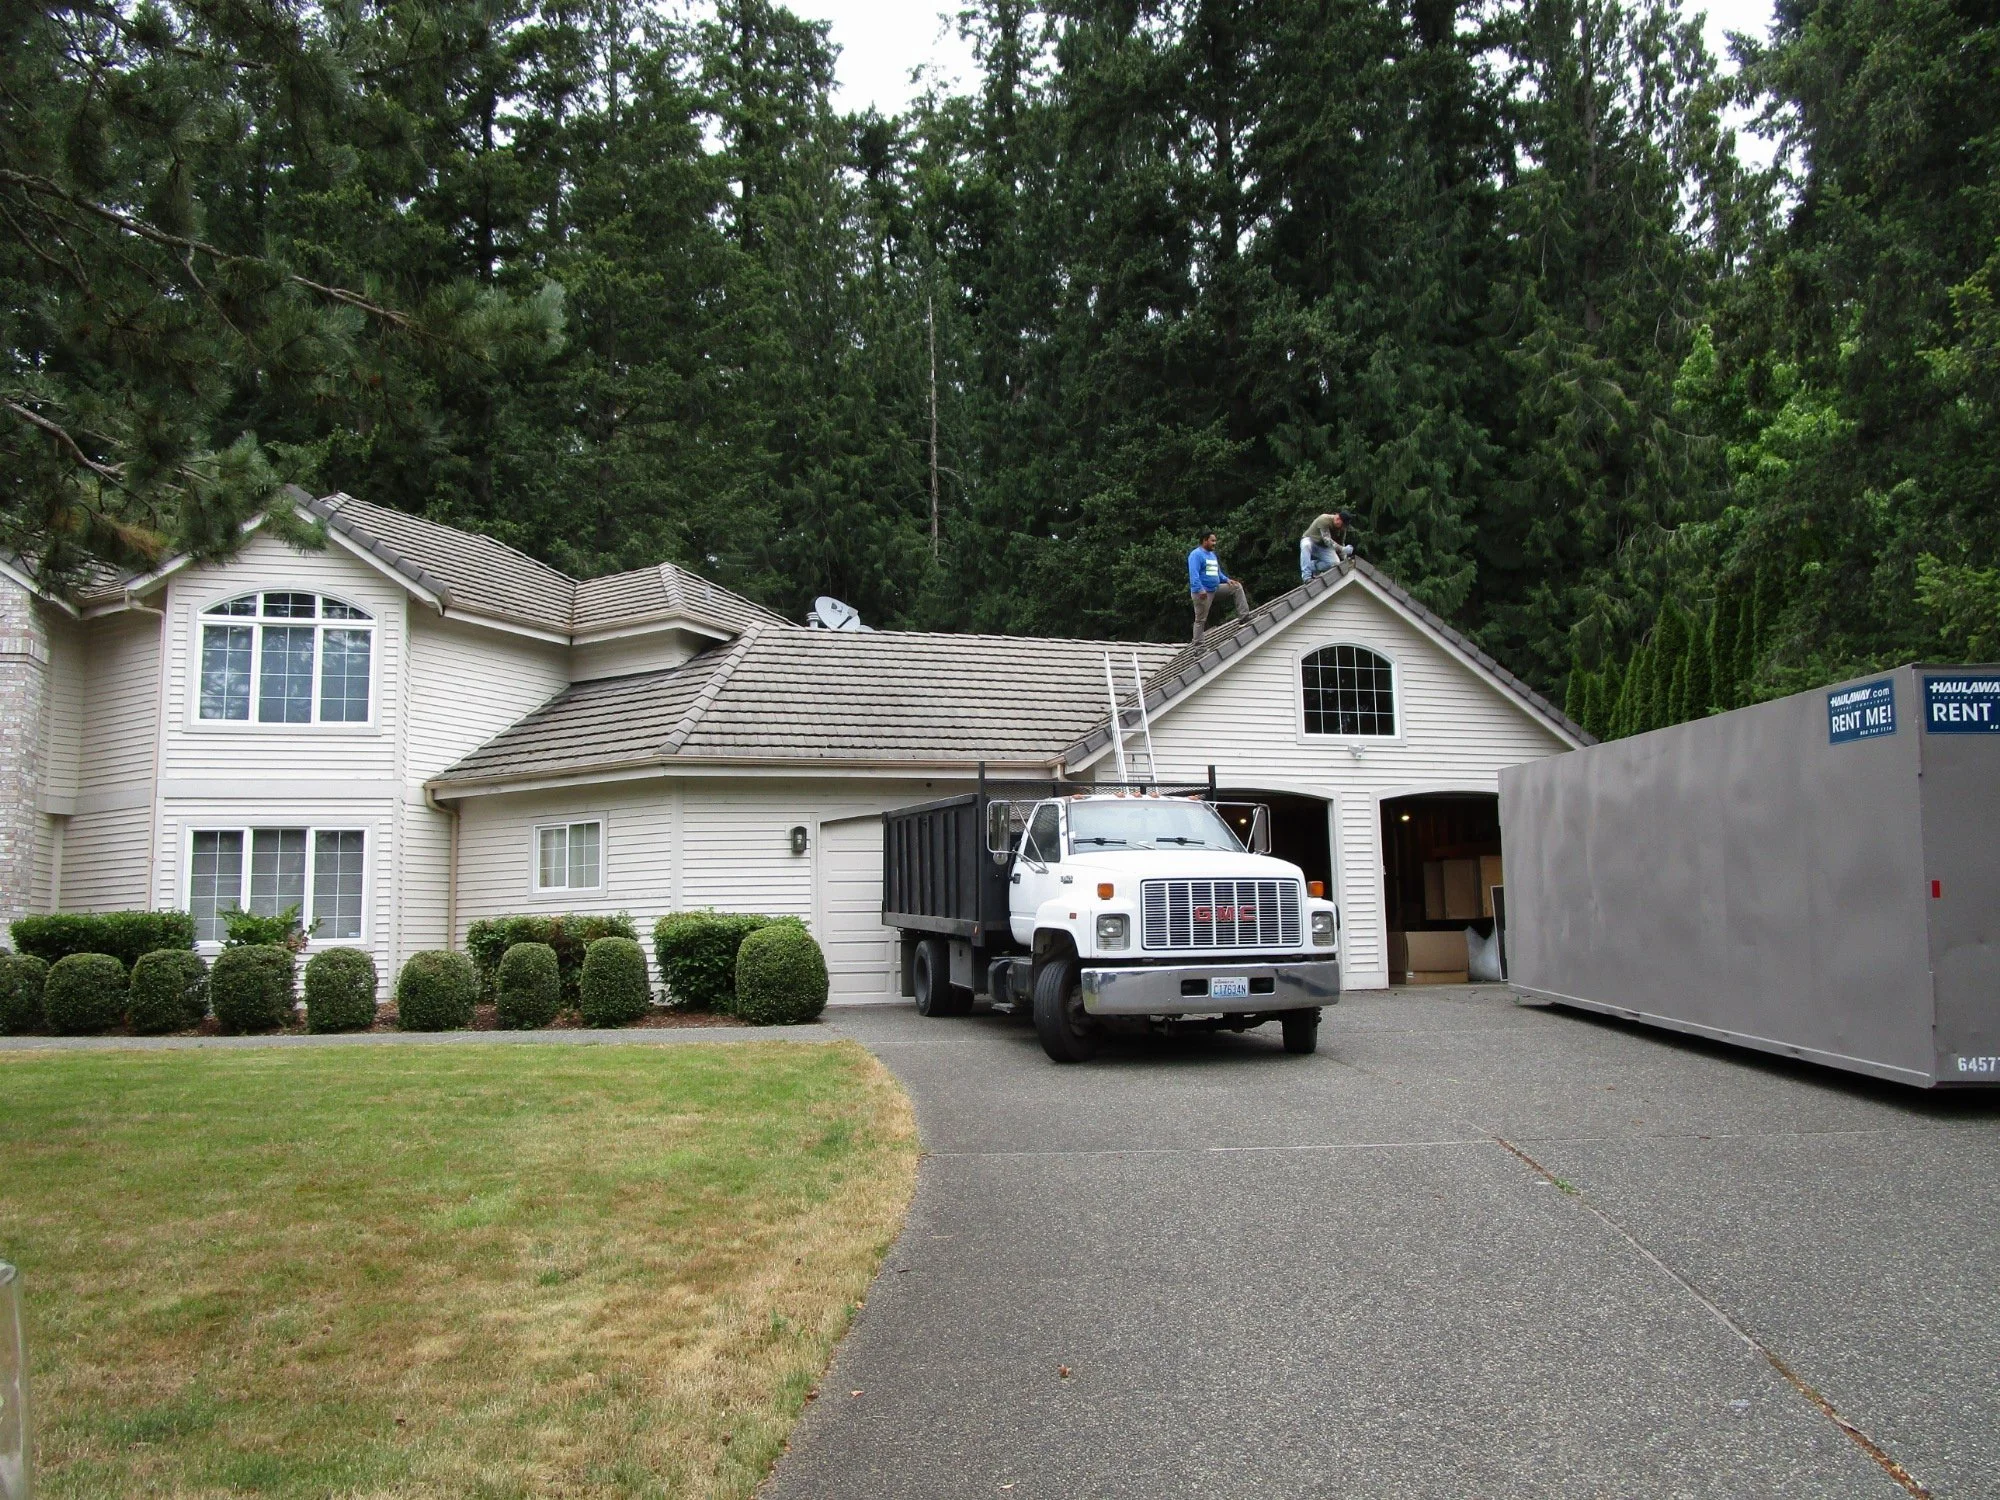
Original garage before work starts.
Workers pulling the first concrete roof tiles.
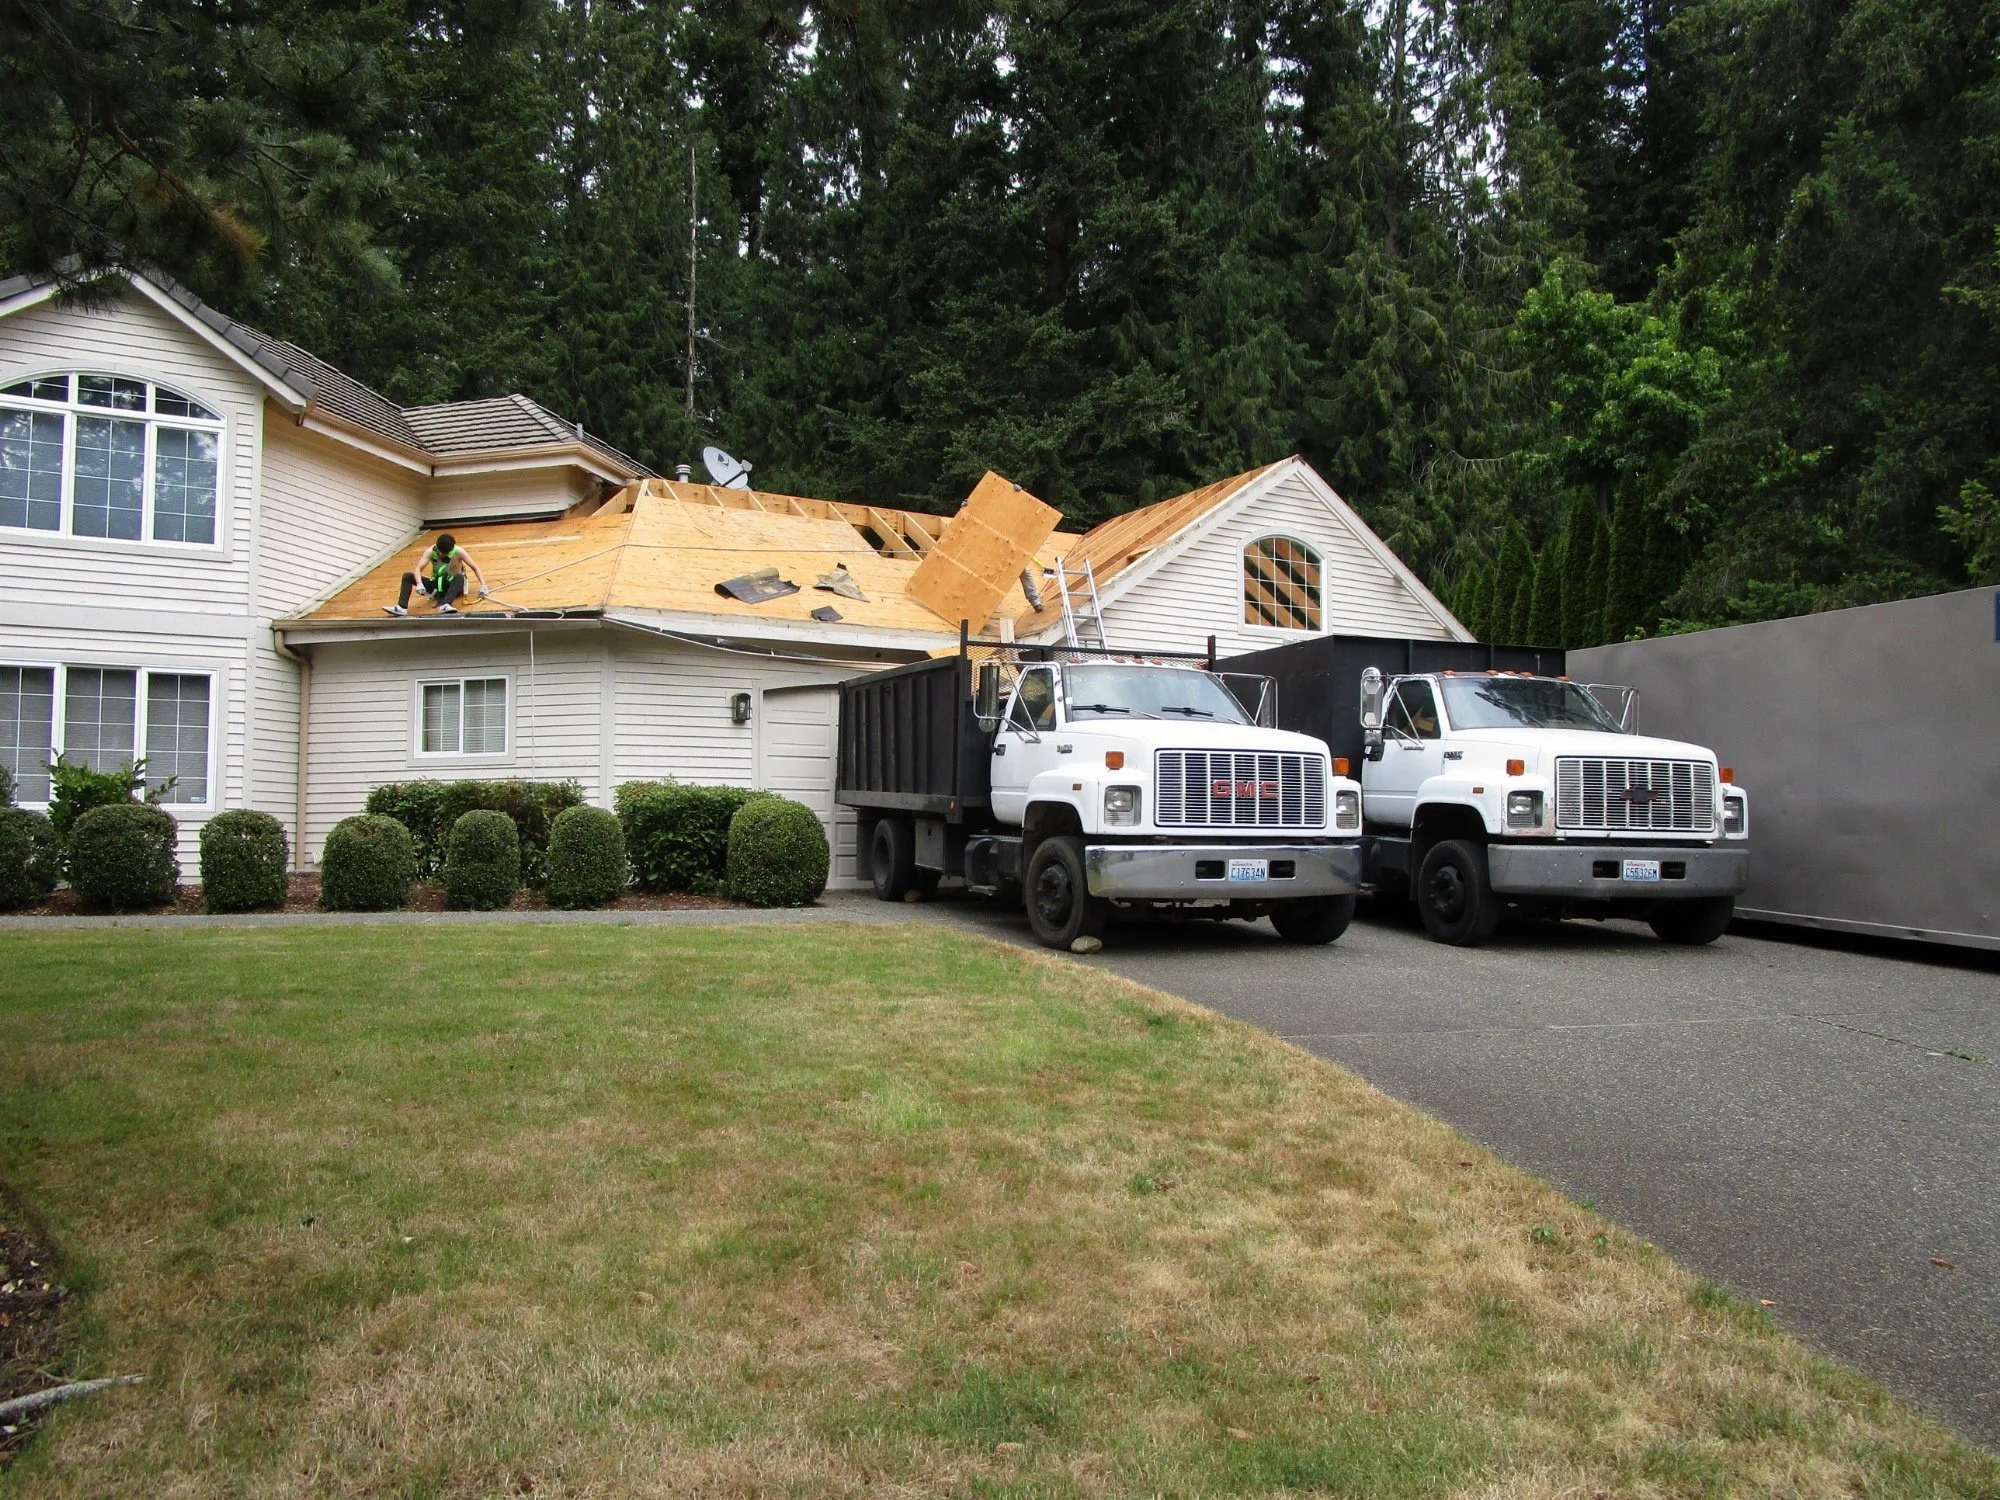
Roof tiles are off, now pulling the plywood.
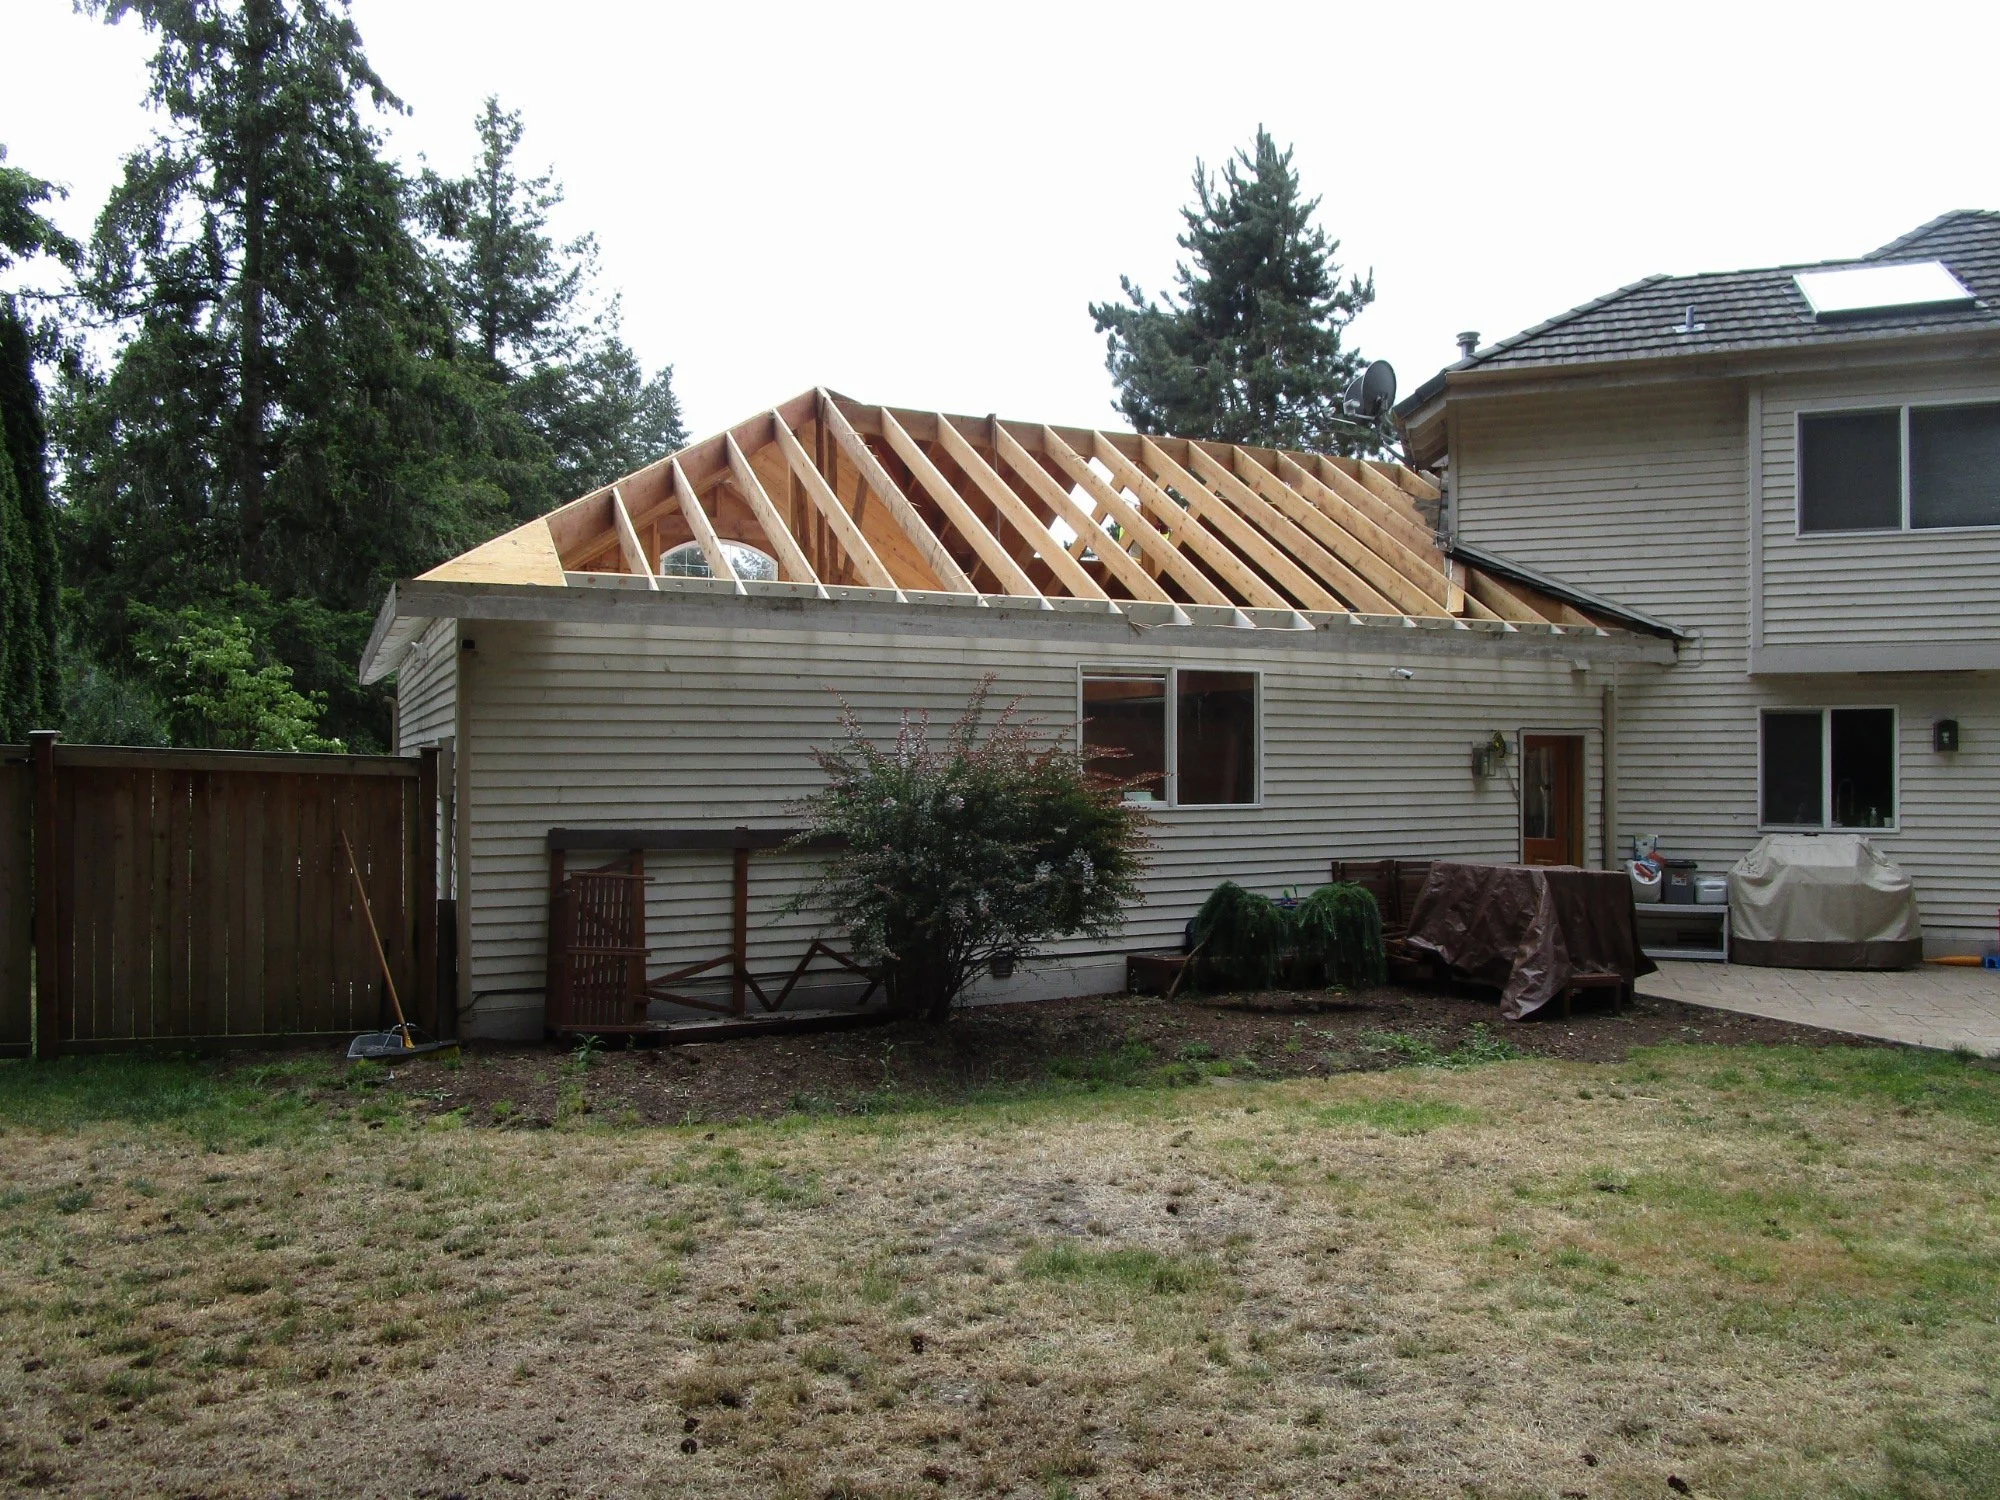
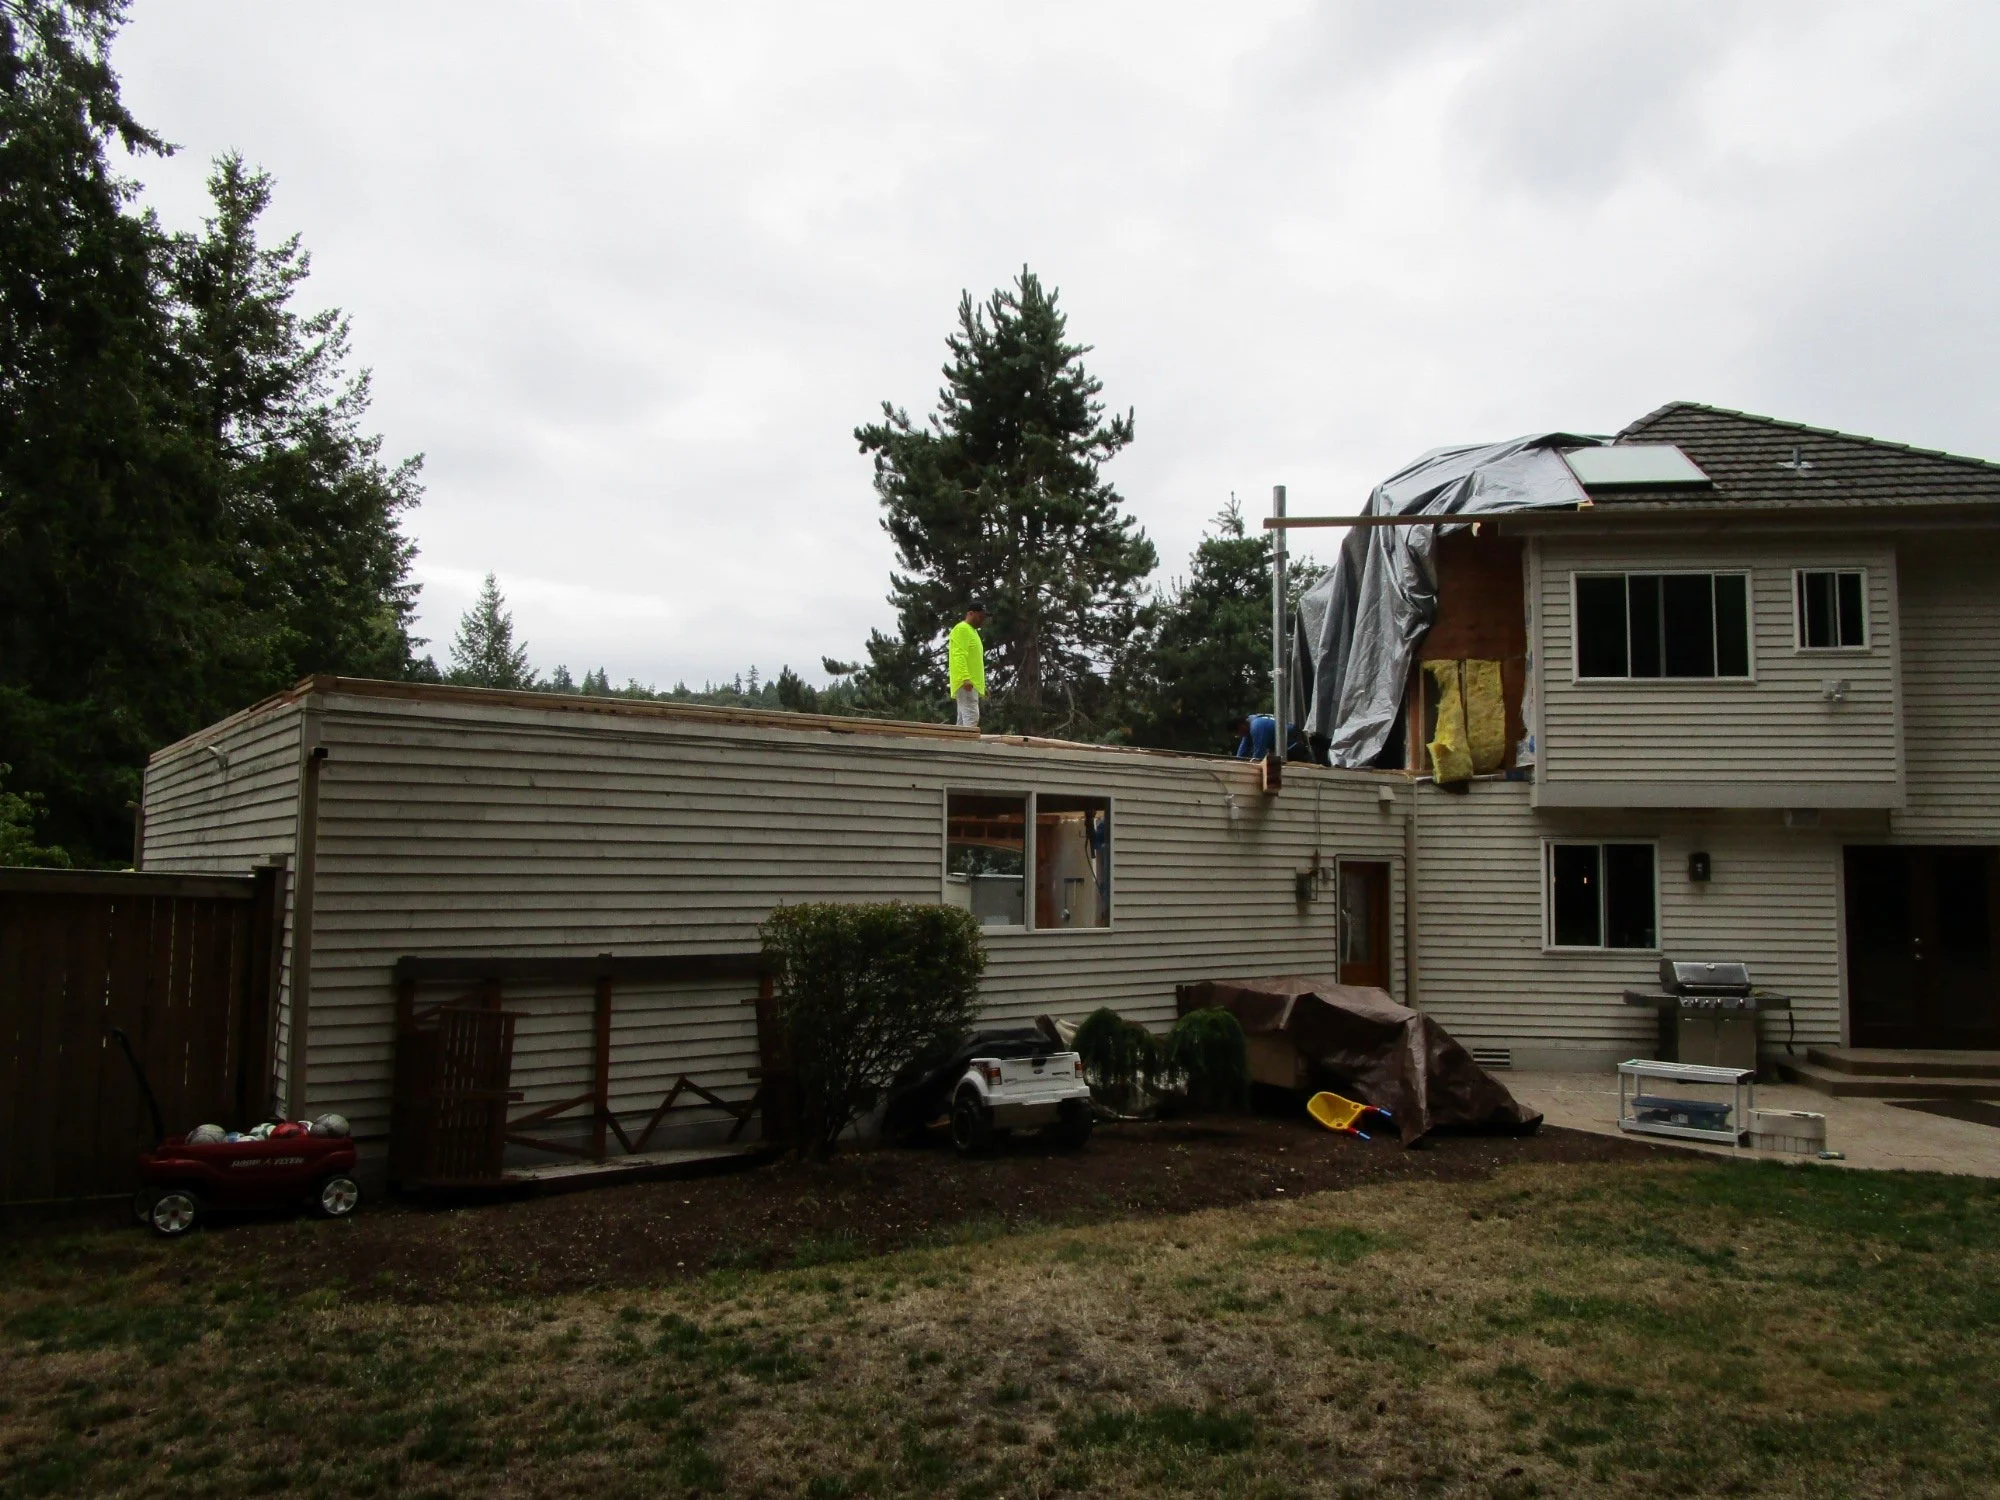
Back side during demo.
Roof rafters are 95% gone! Eventually some of the second floor heated areas will see demo and renovation, but they won't bust into those areas for a bit.
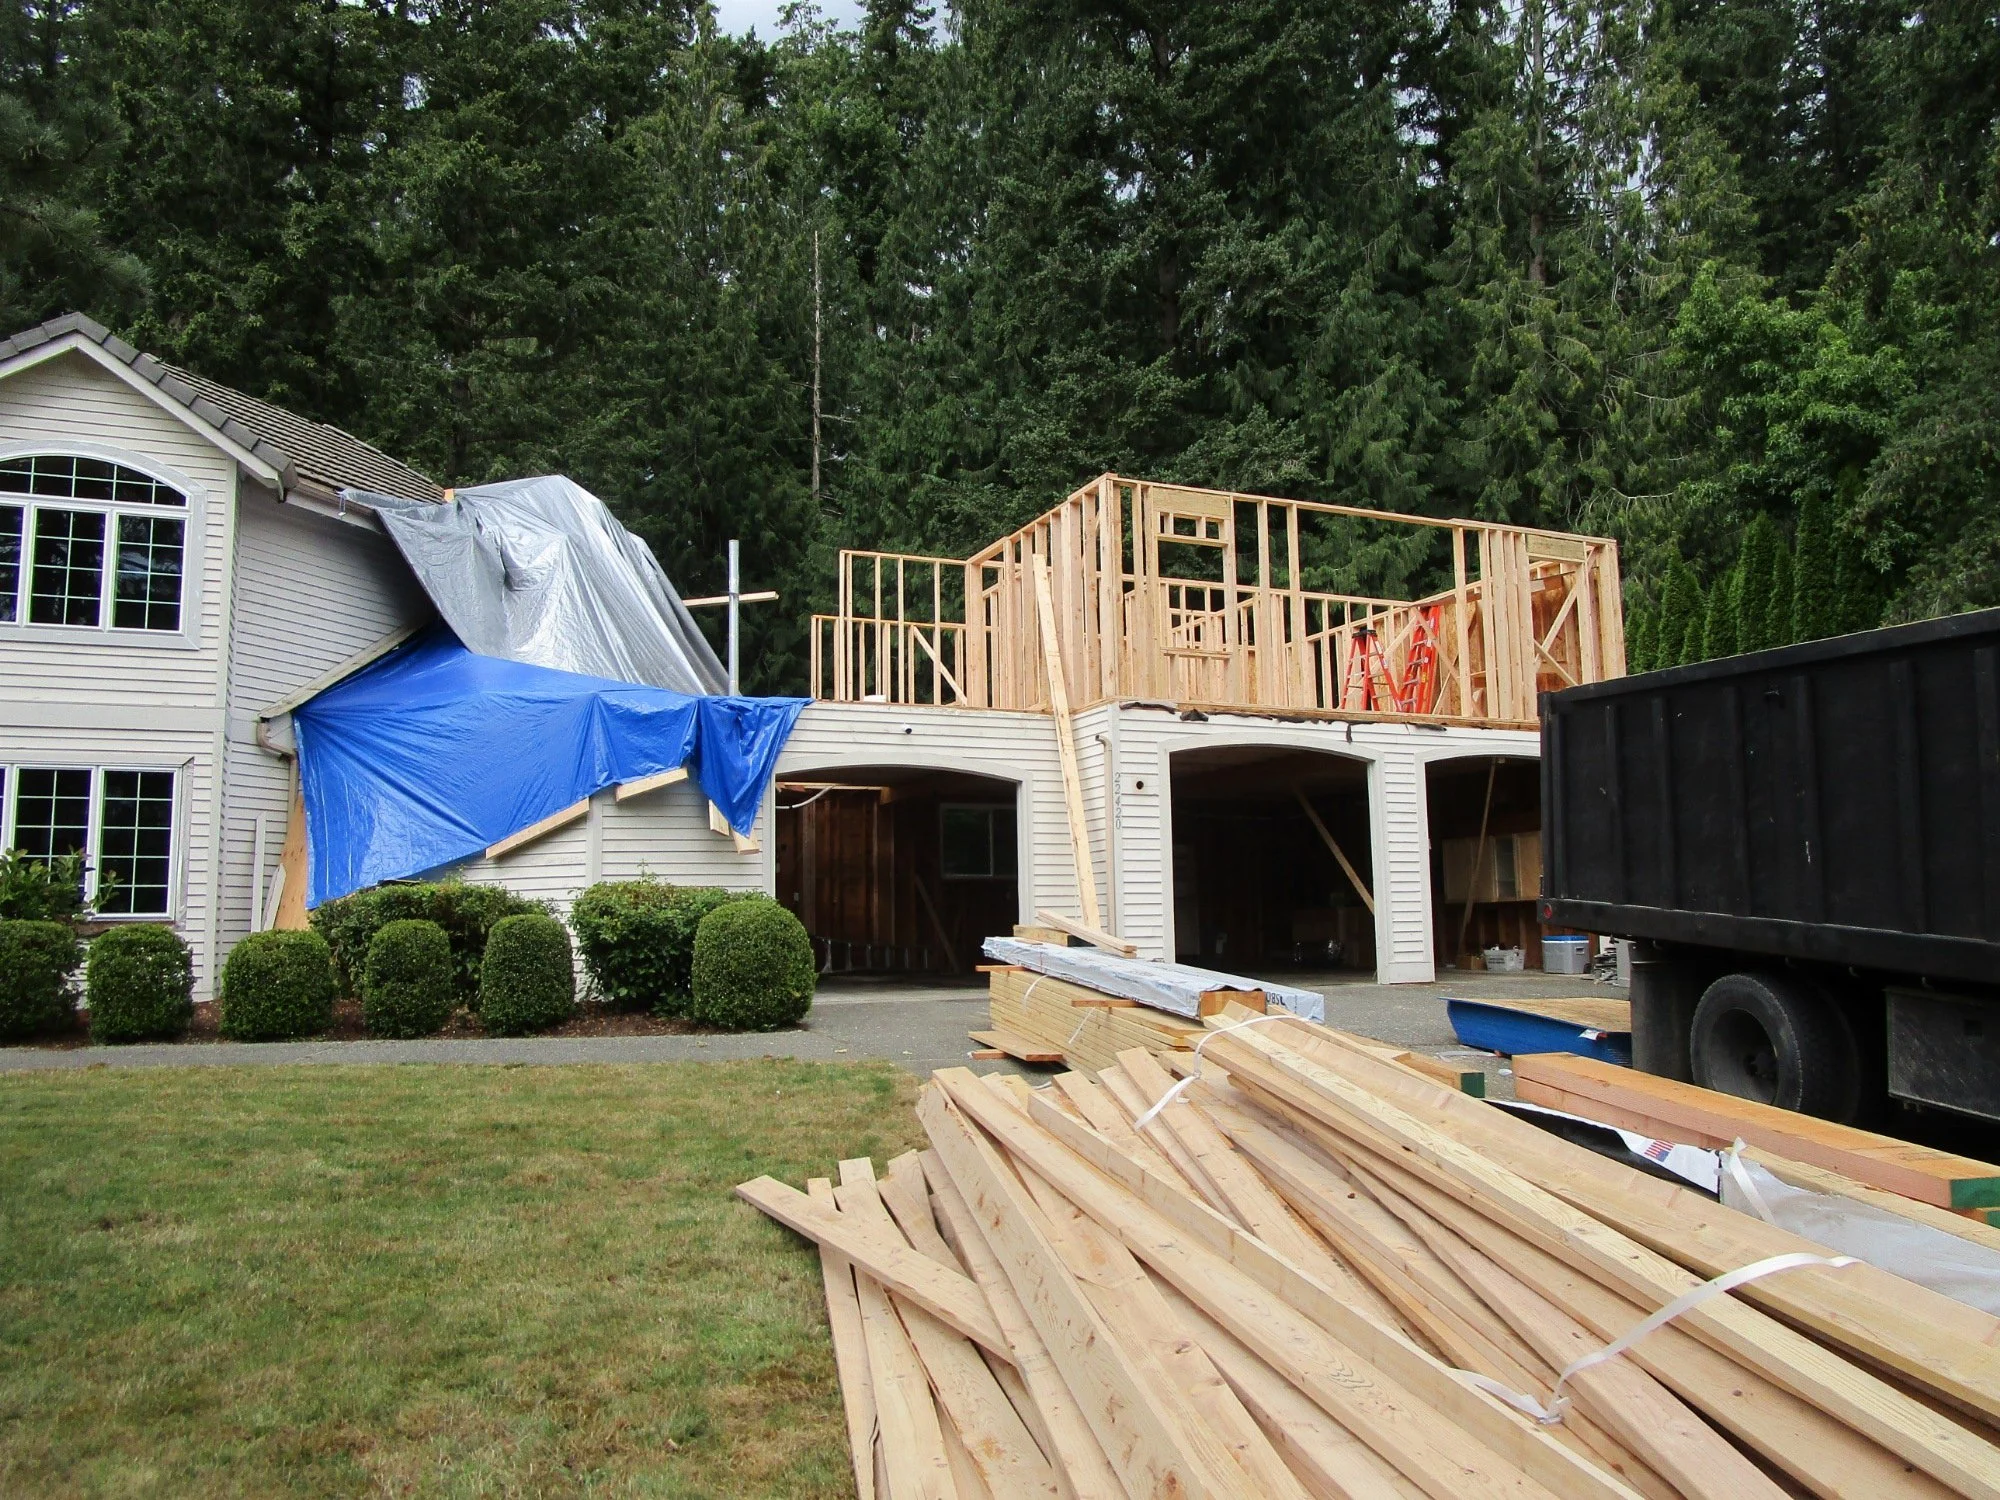
Lumber package delivered. Framers can start framing.
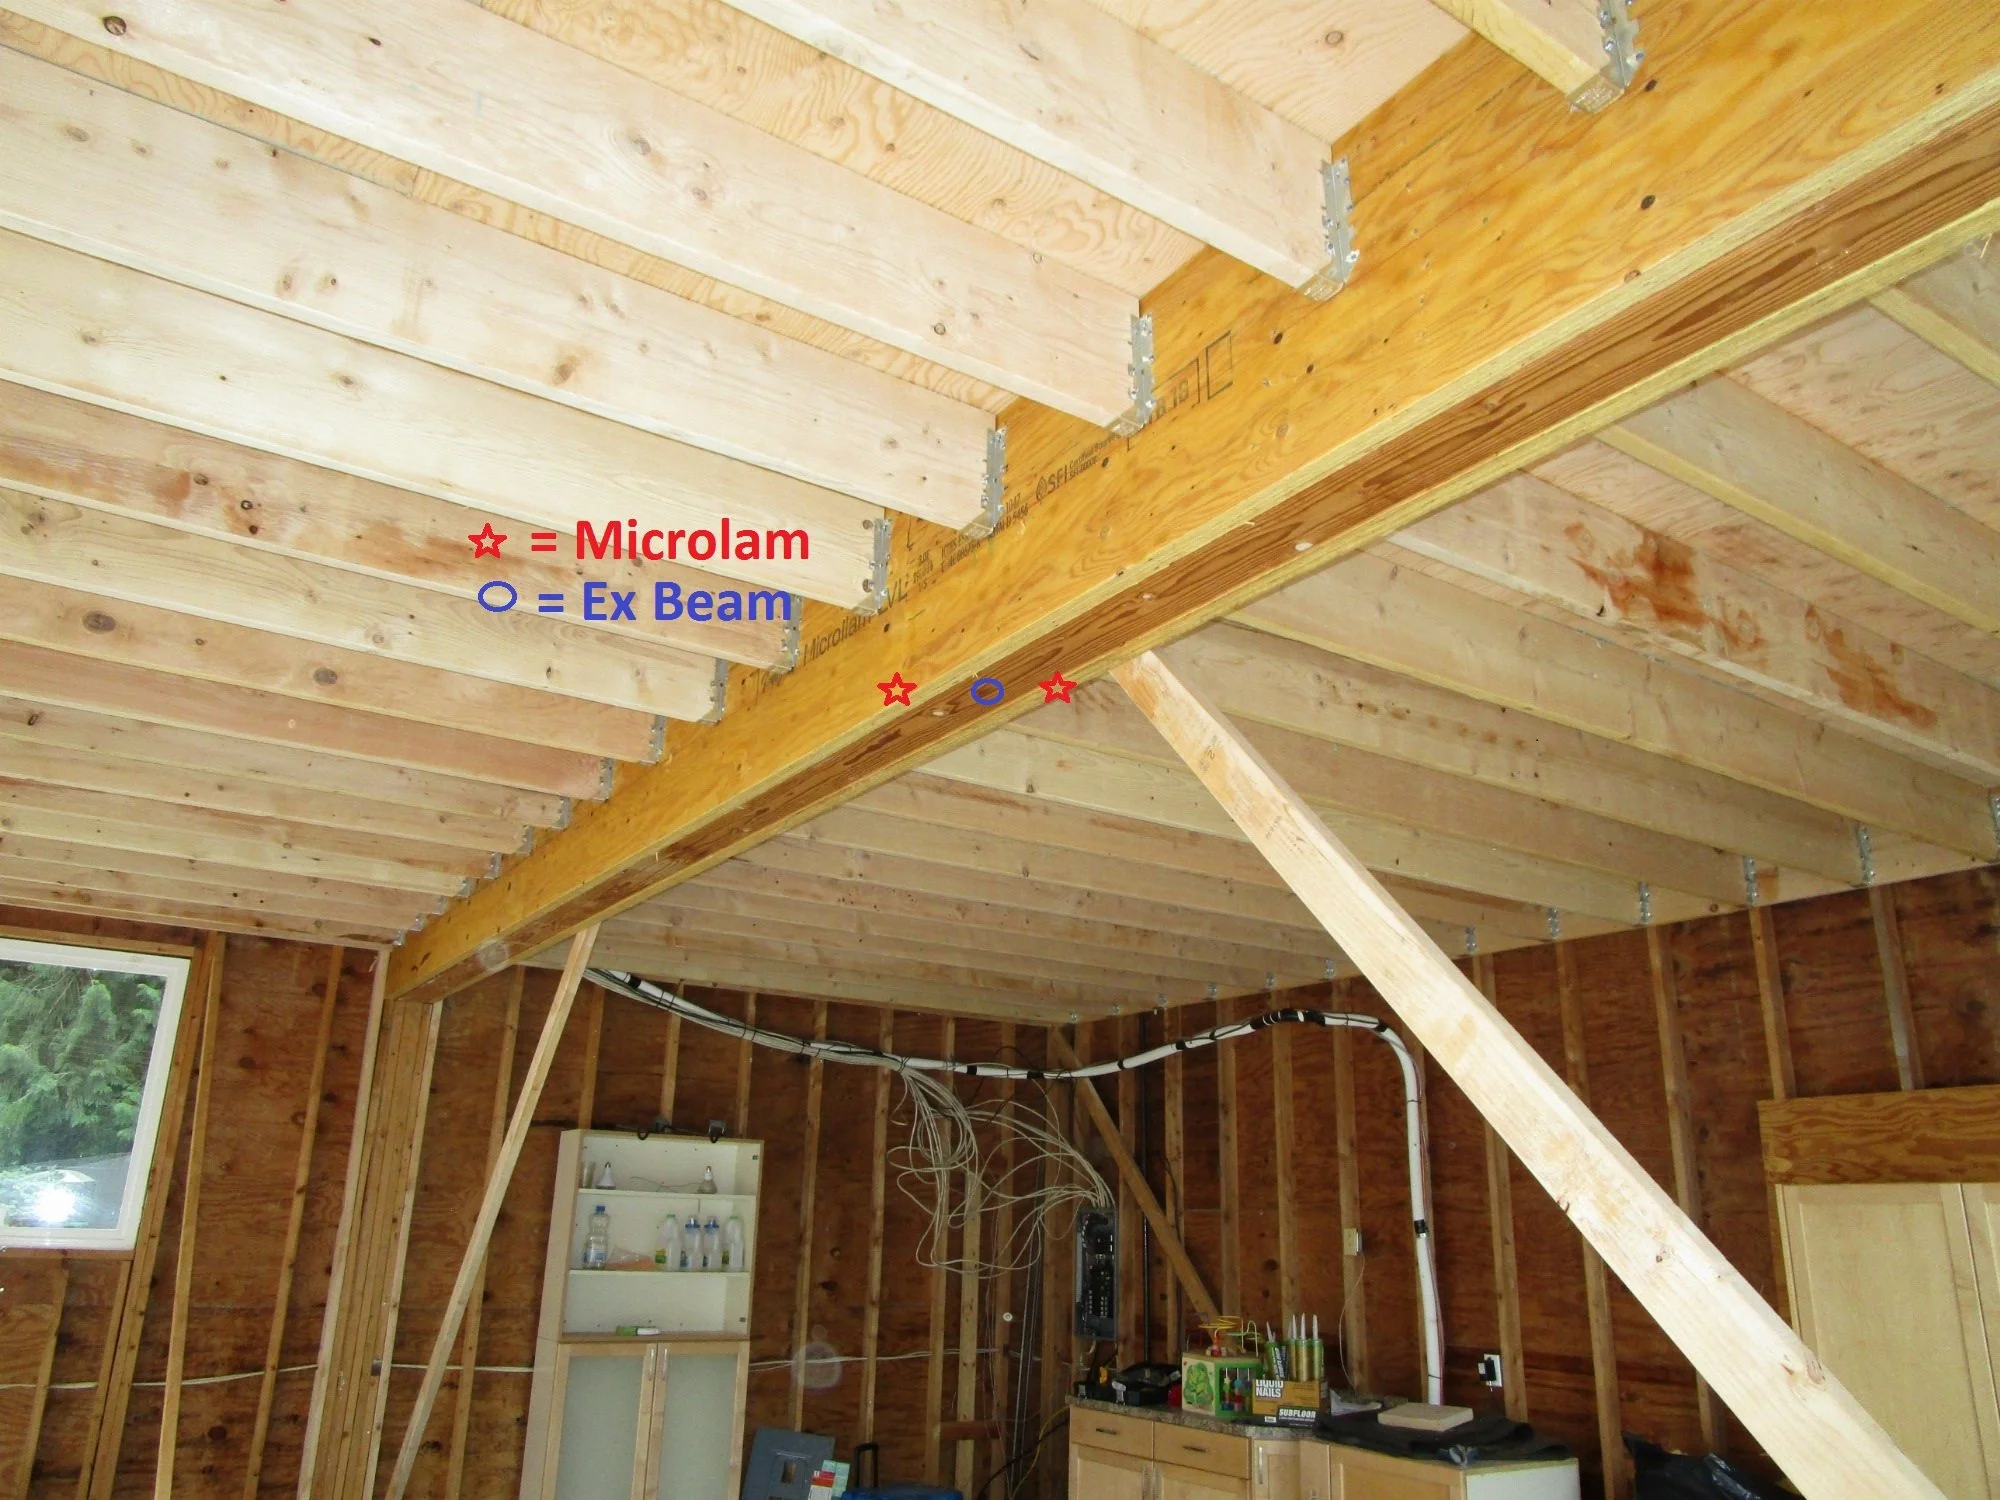
We are using Microllam LVL (Laminated Veneer Lumber) to reinforce existing glu-lam beams to make the combined beam stronger, so the beams can support the new second floor loads.
We sandwich the existing glu-lam beam (noted in Blue) with two LVL beams (noted in red). The two LVLs and the Ex Beam are through bolted together so they act as a single beam. Then, the new floor jois
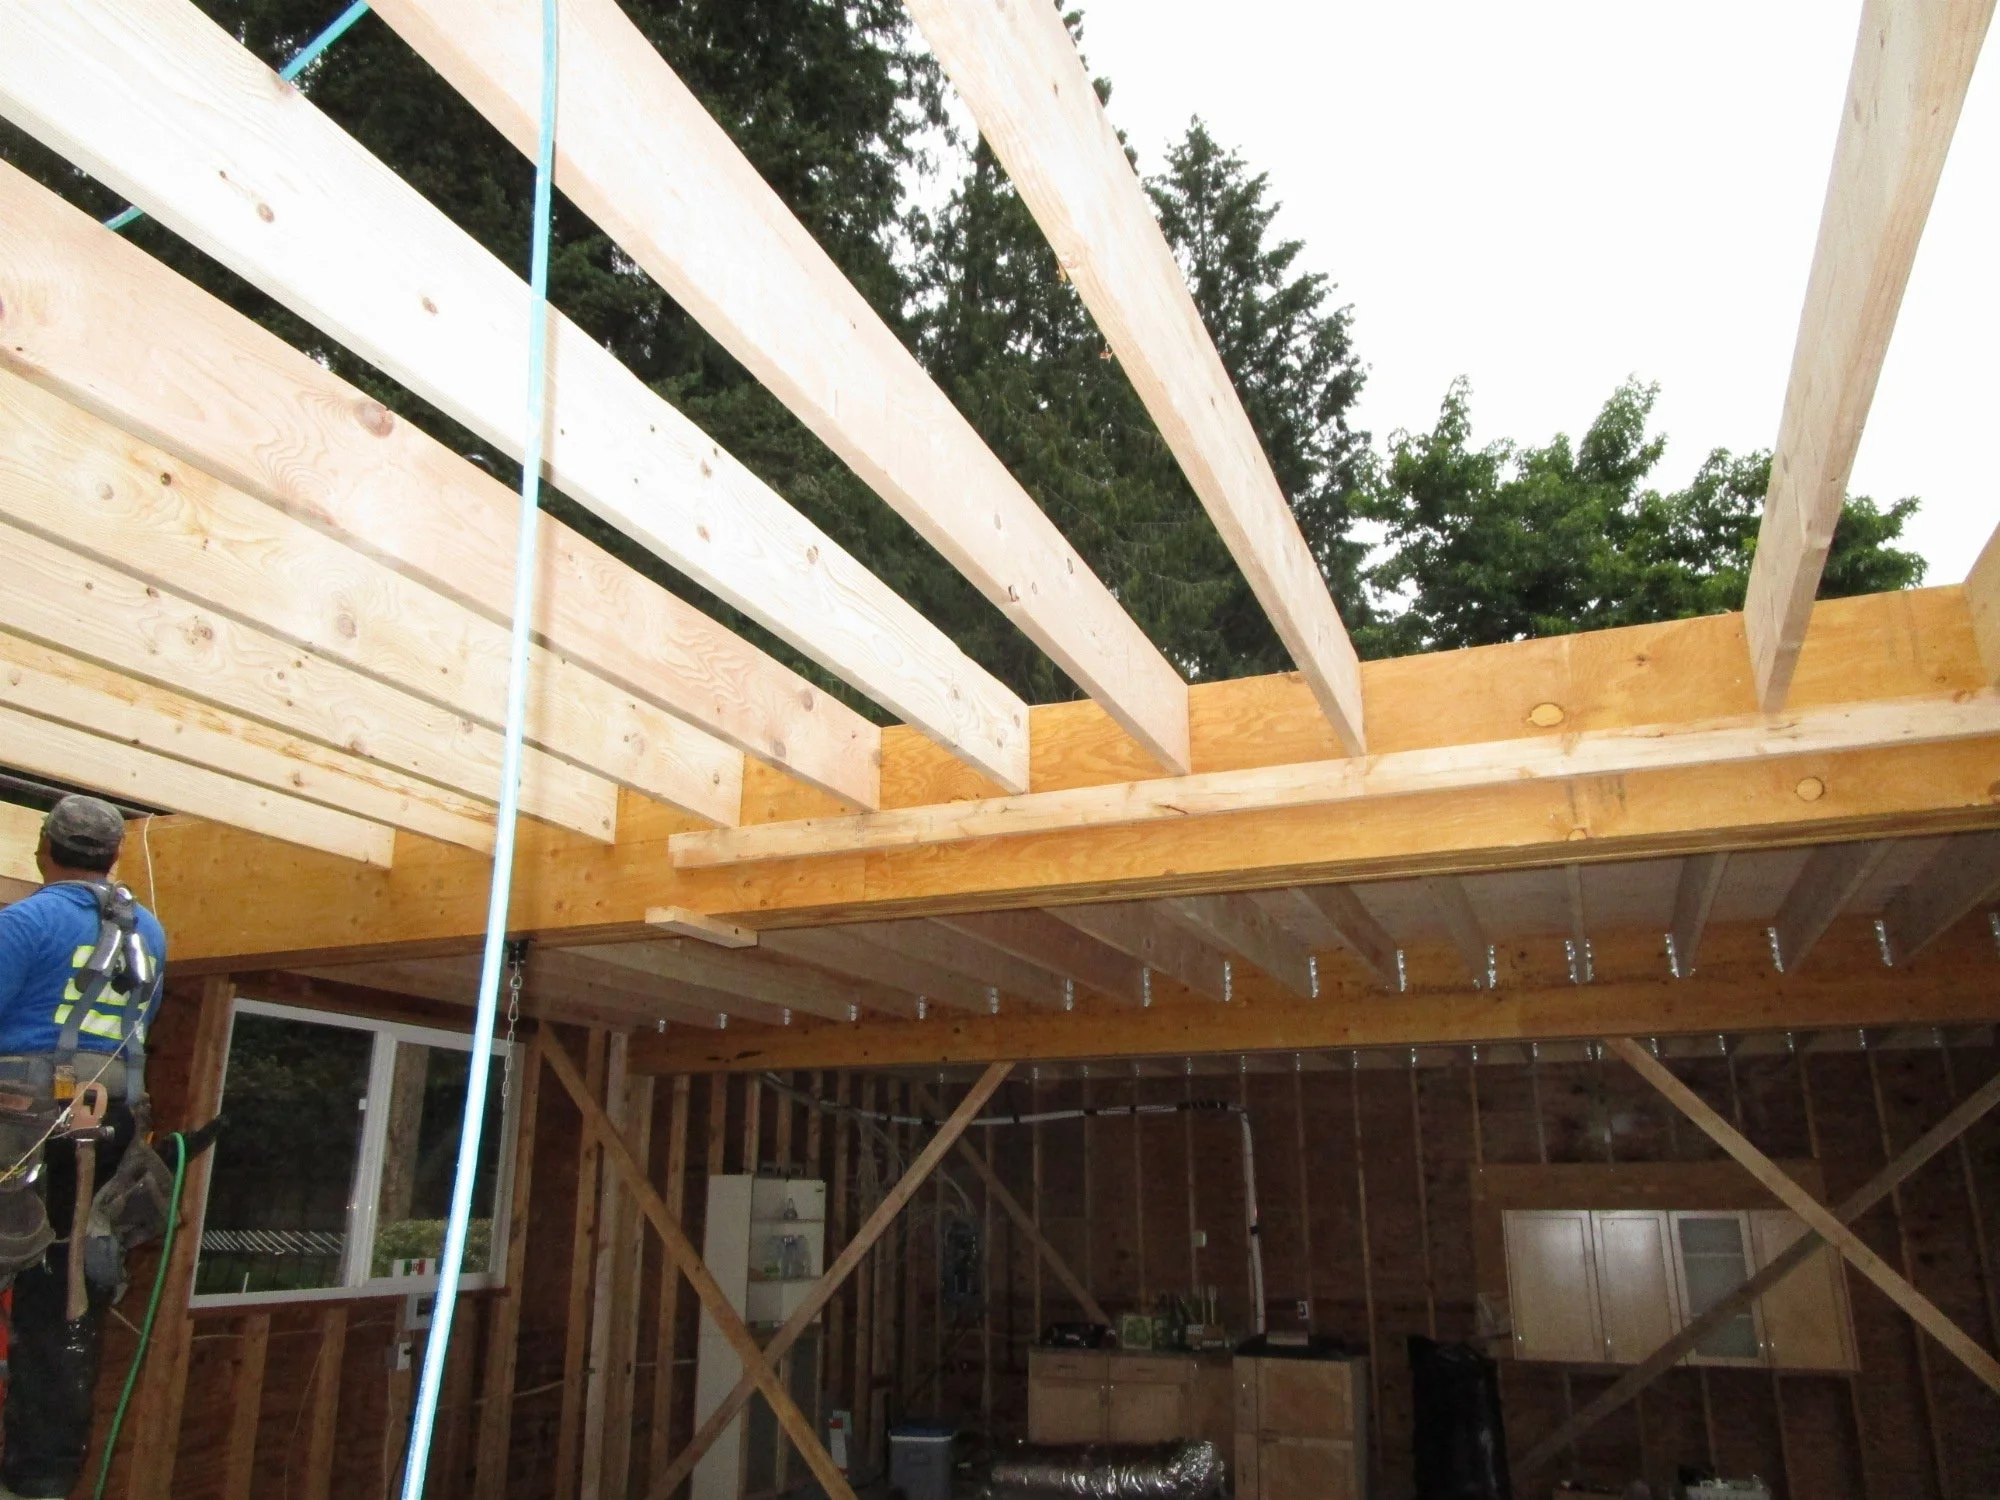
Another view of the sandwich beam.
Framers hanging the new second floor joists in the final garage bay. Plywood flooring already installed in the far two garage bays.
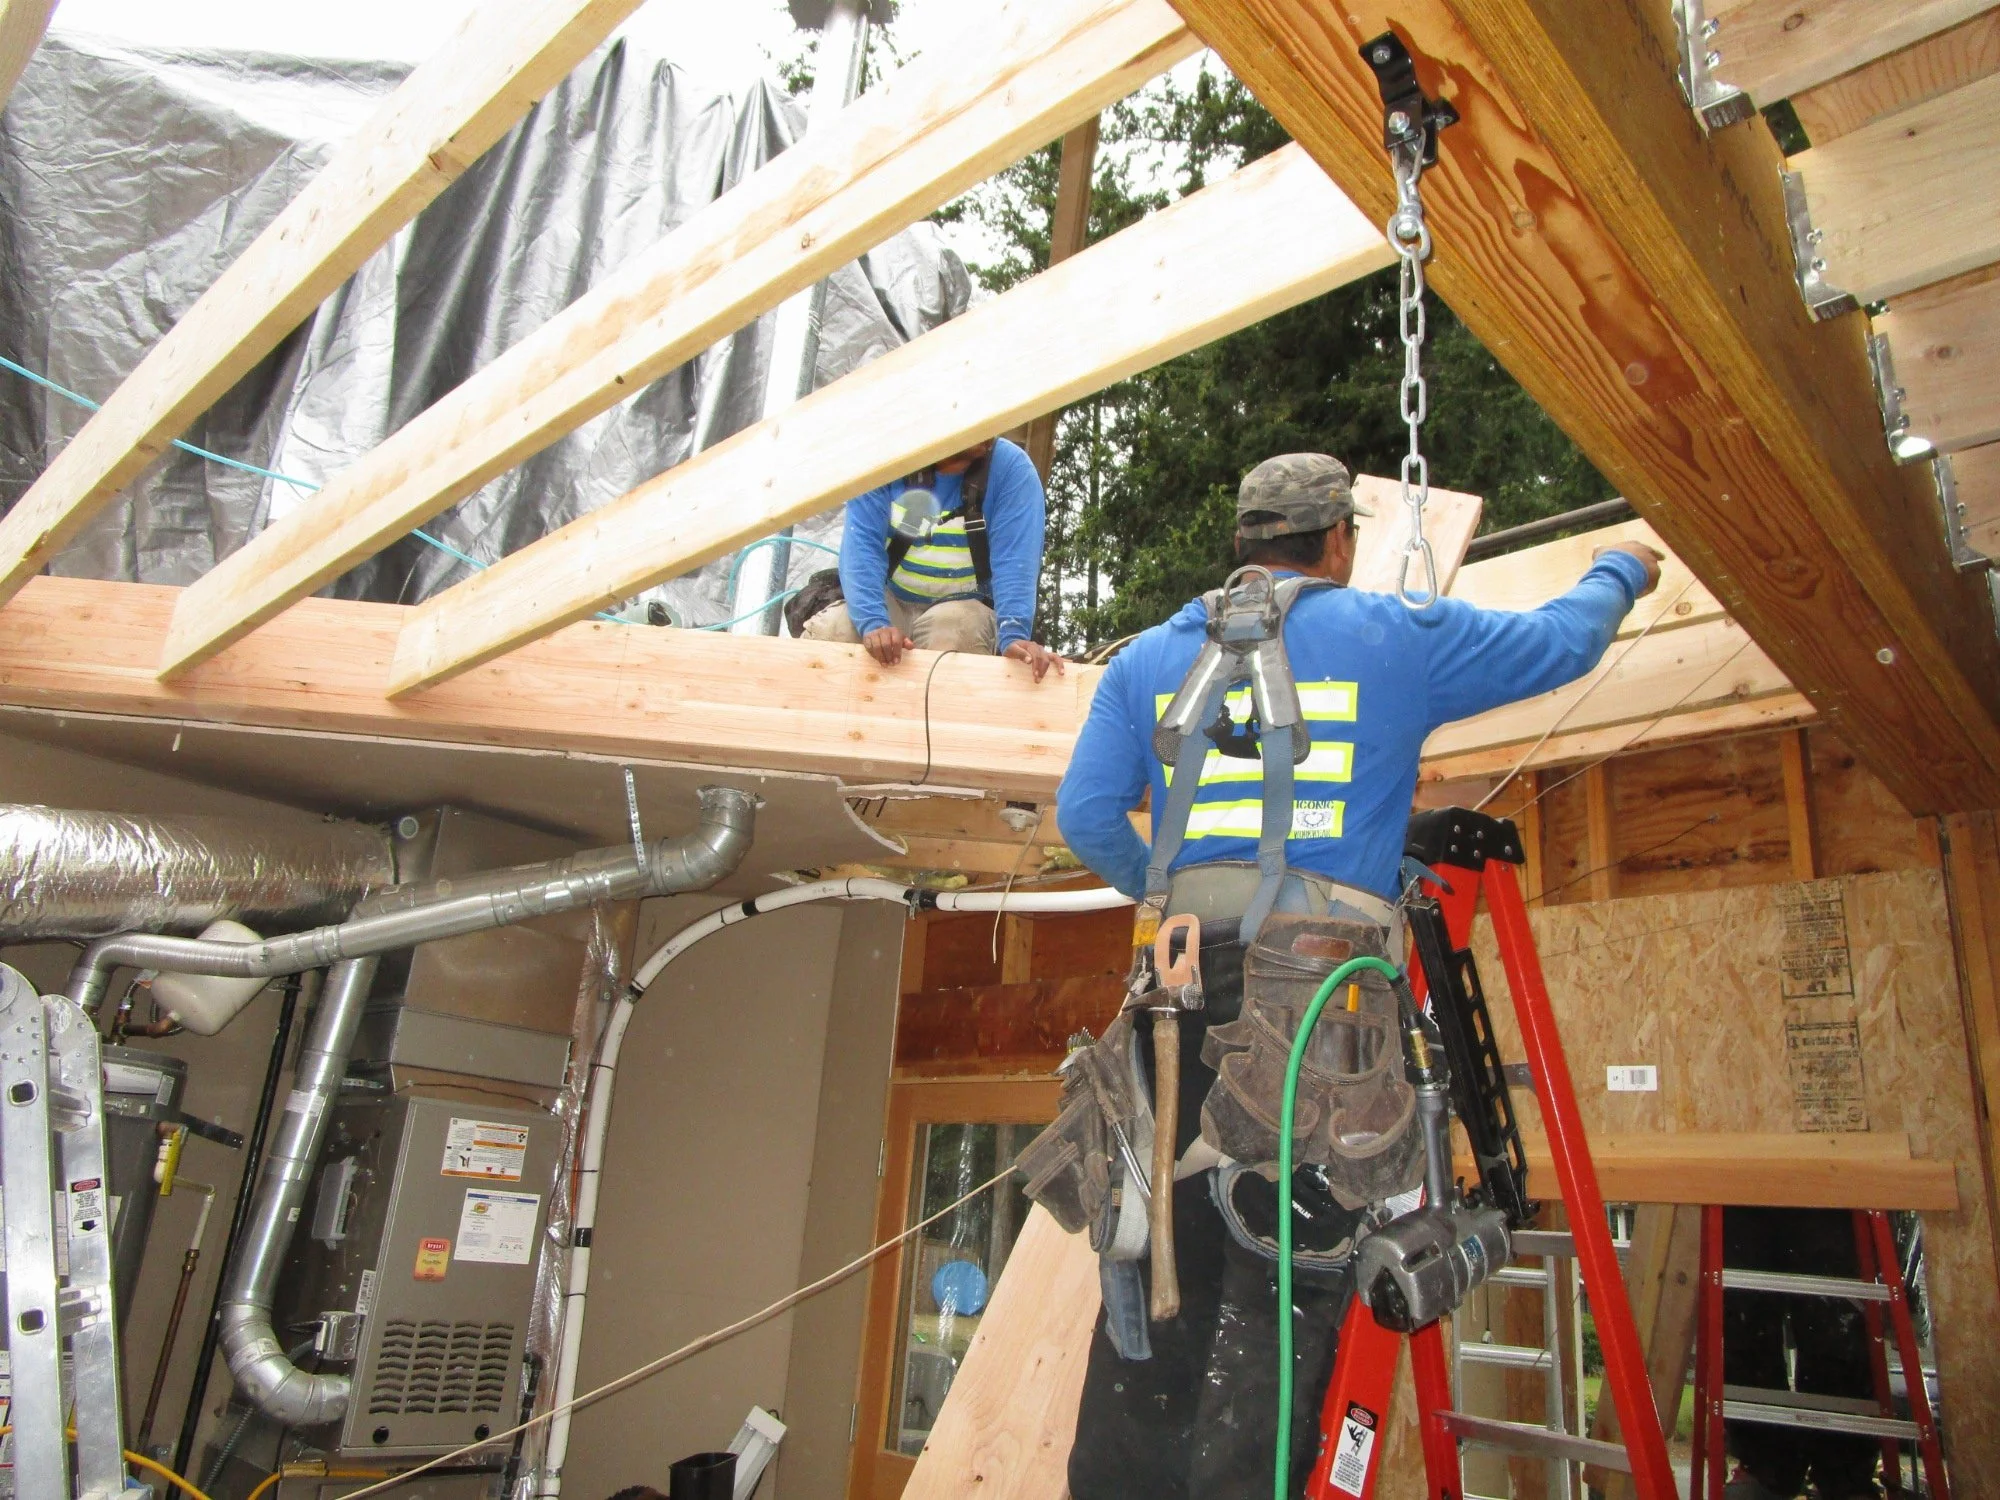
This is the area where the garage meets the main house at a 45 degree angle. So special cuts all through here. The sandwiched LVL beam in the upper right.
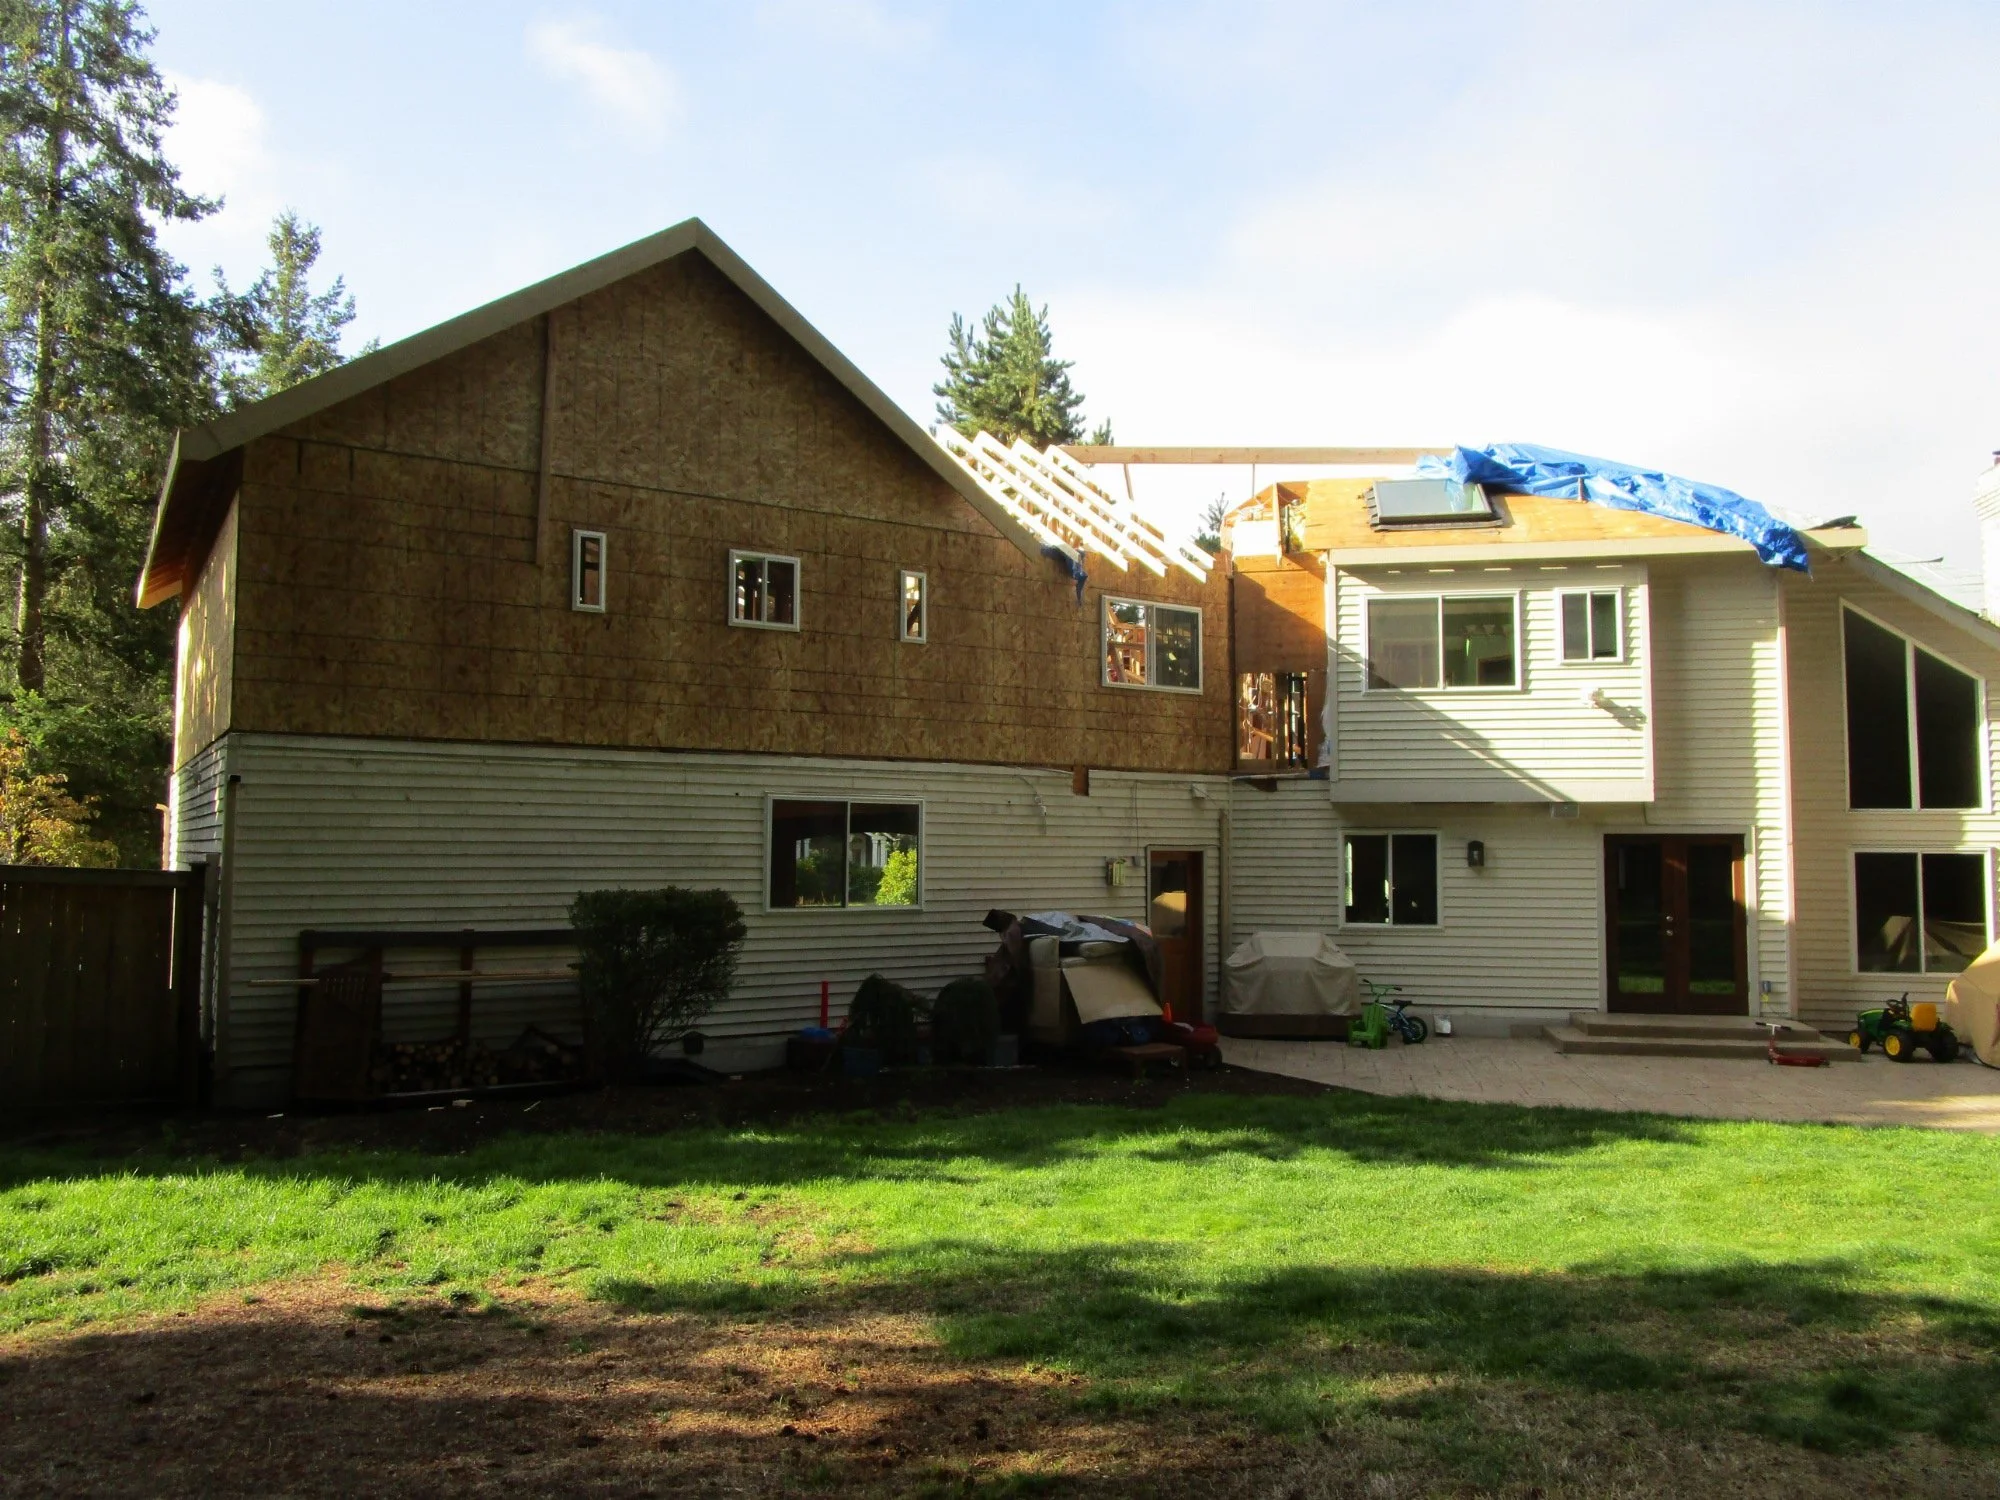
View from the back, so far. Once the new structure begins to be framed, there will be some more demo up on the right at the second floor.
More lumber has been dropped, new second floor framing has started.
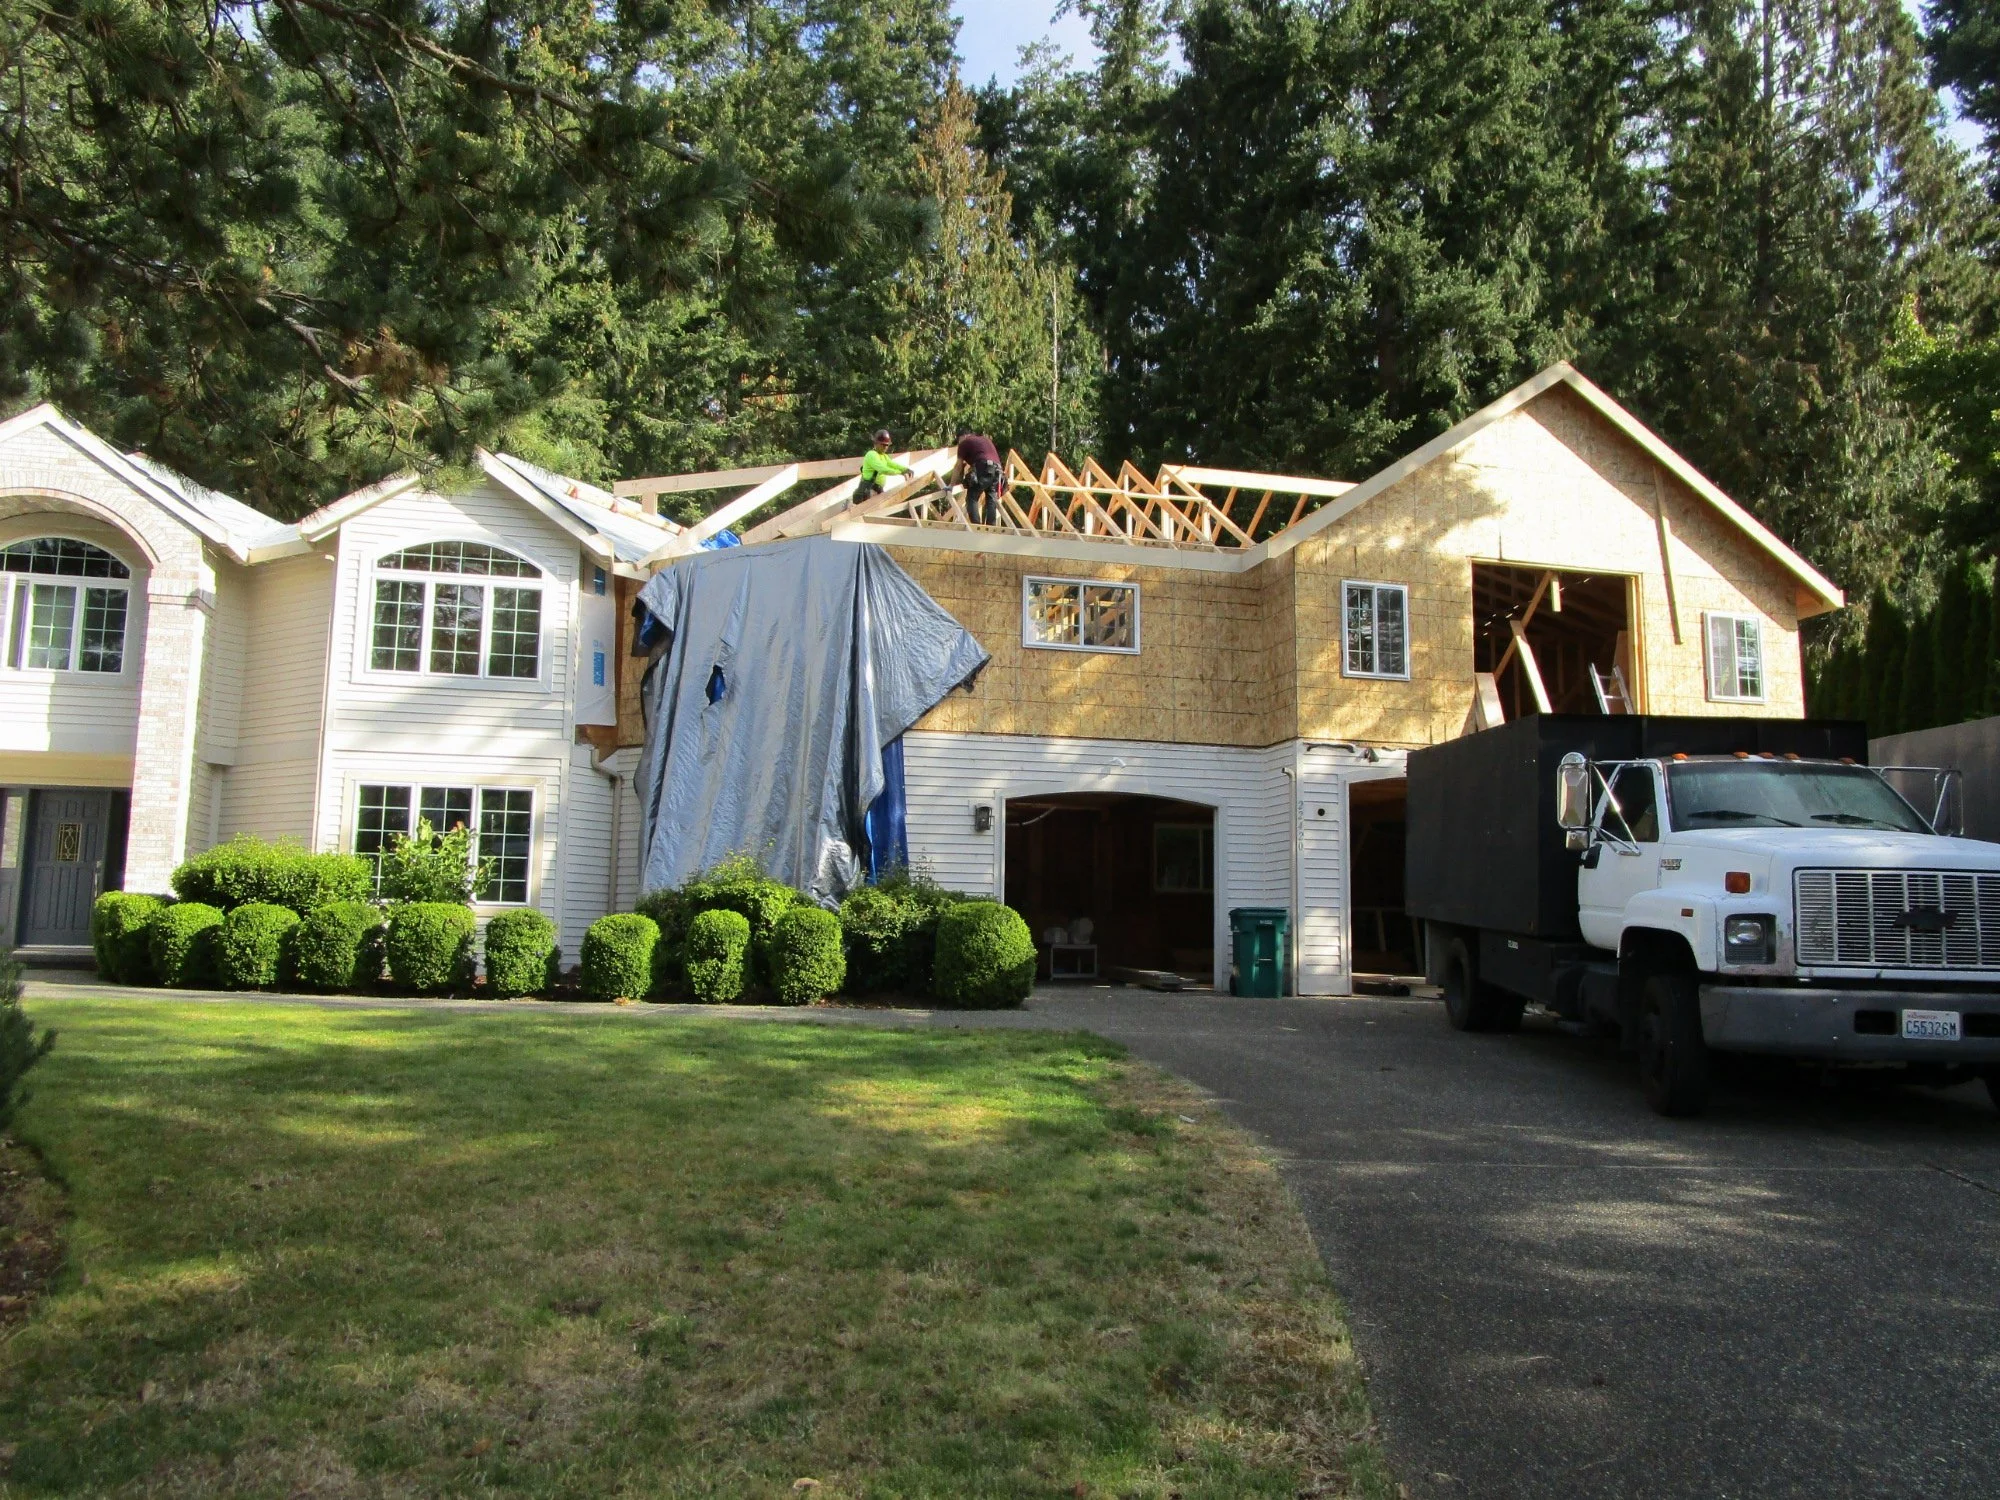
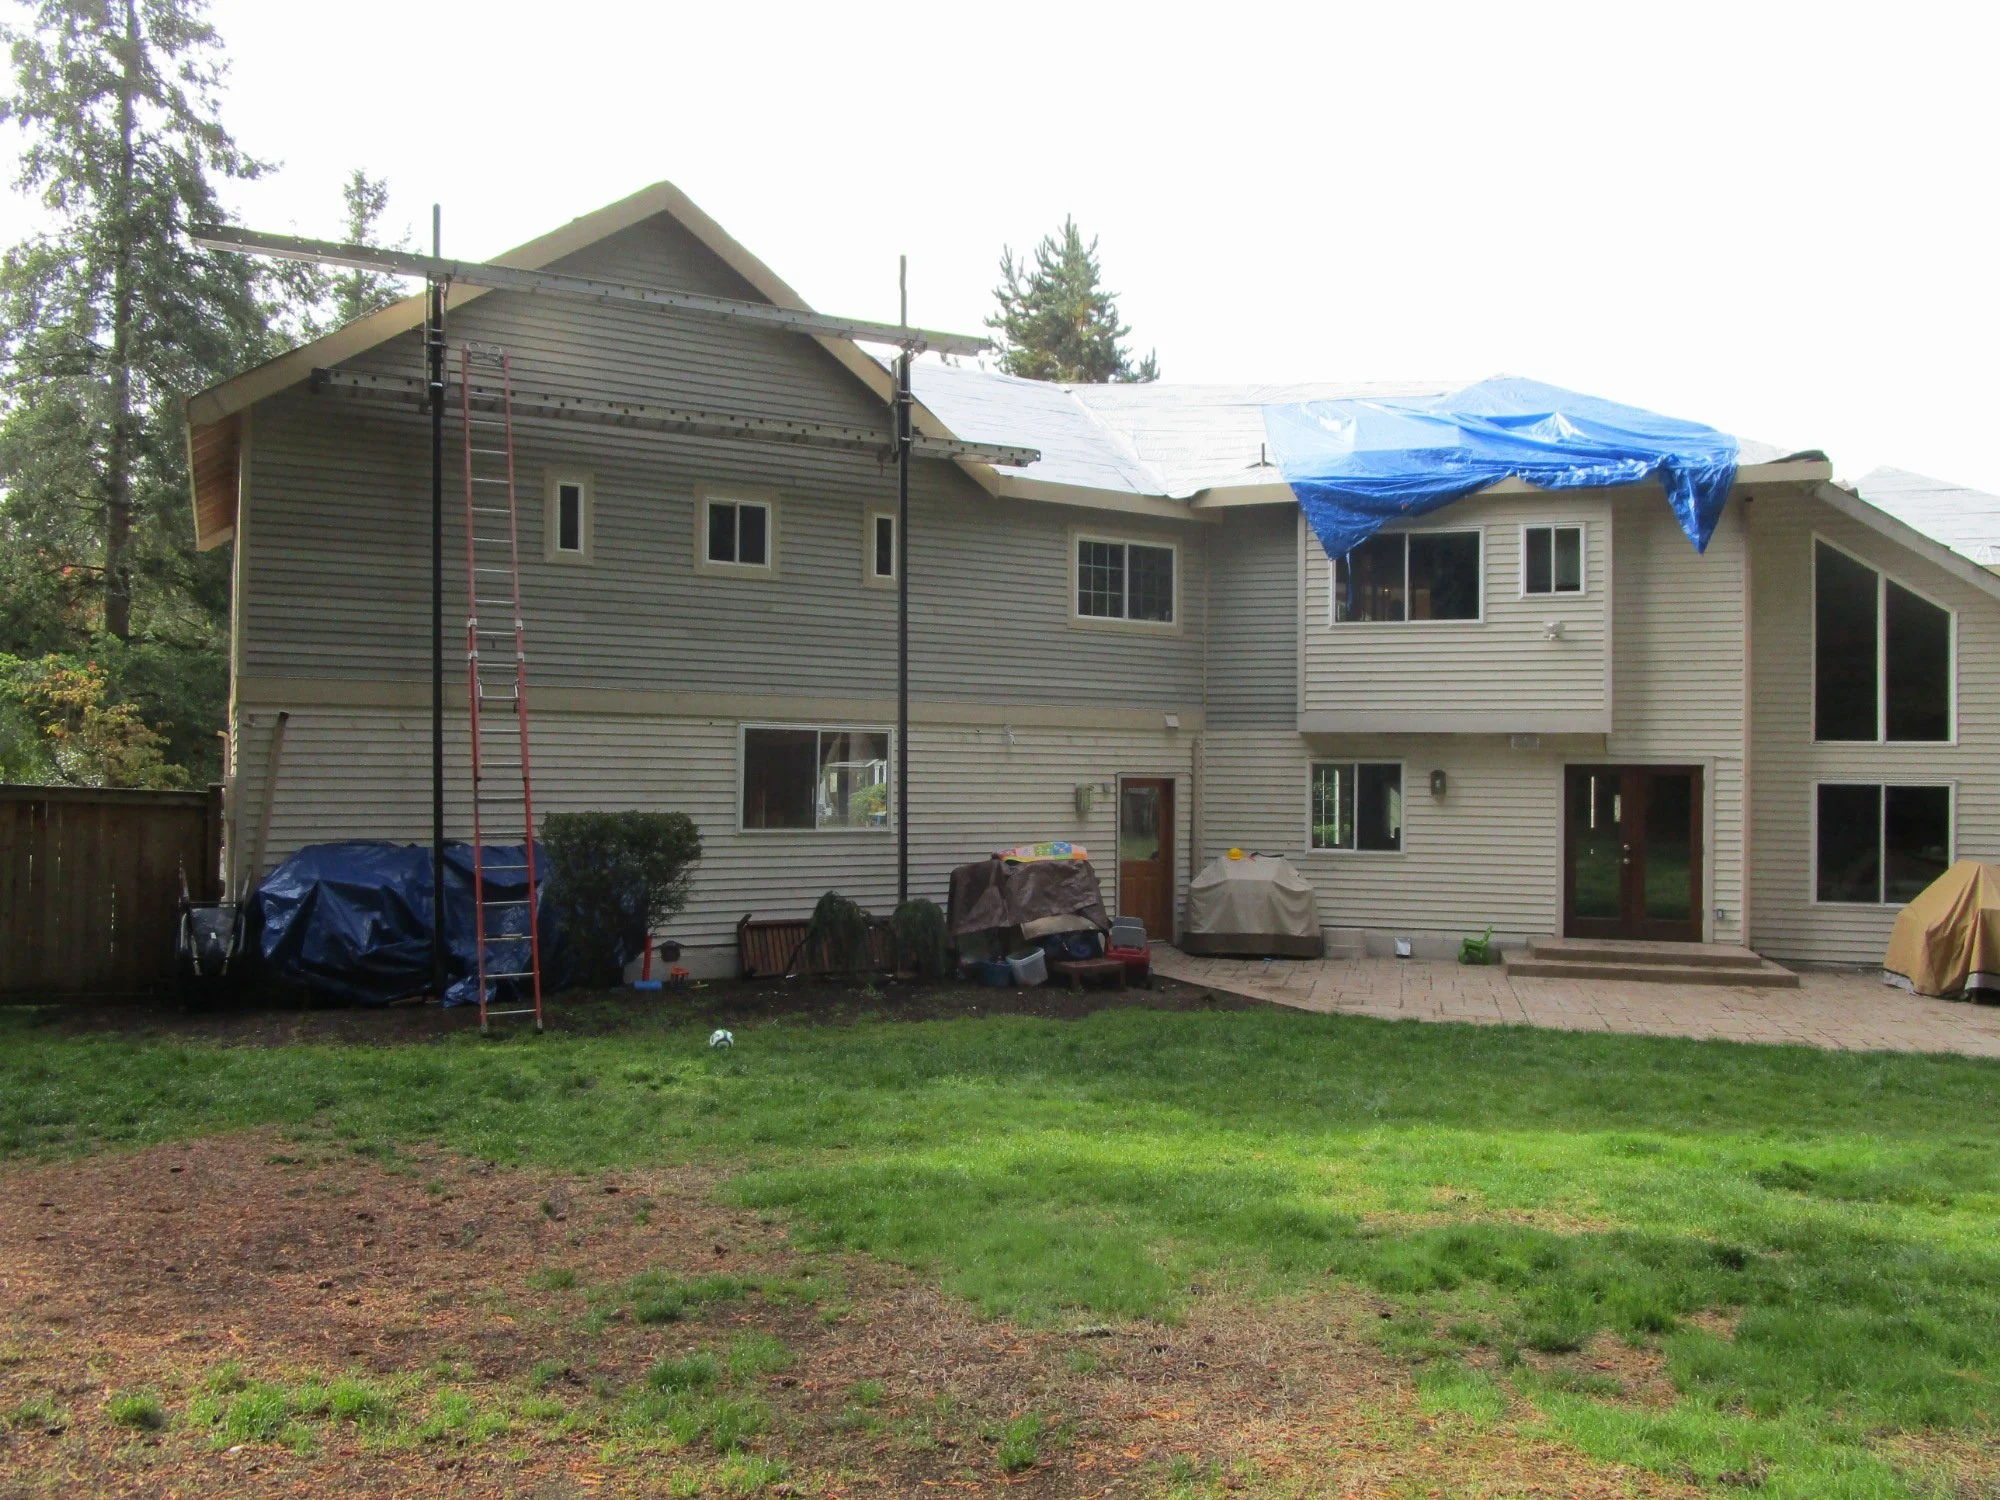
They are still doing some demo around the blue tarp as they blend the existing framing to the new framing.
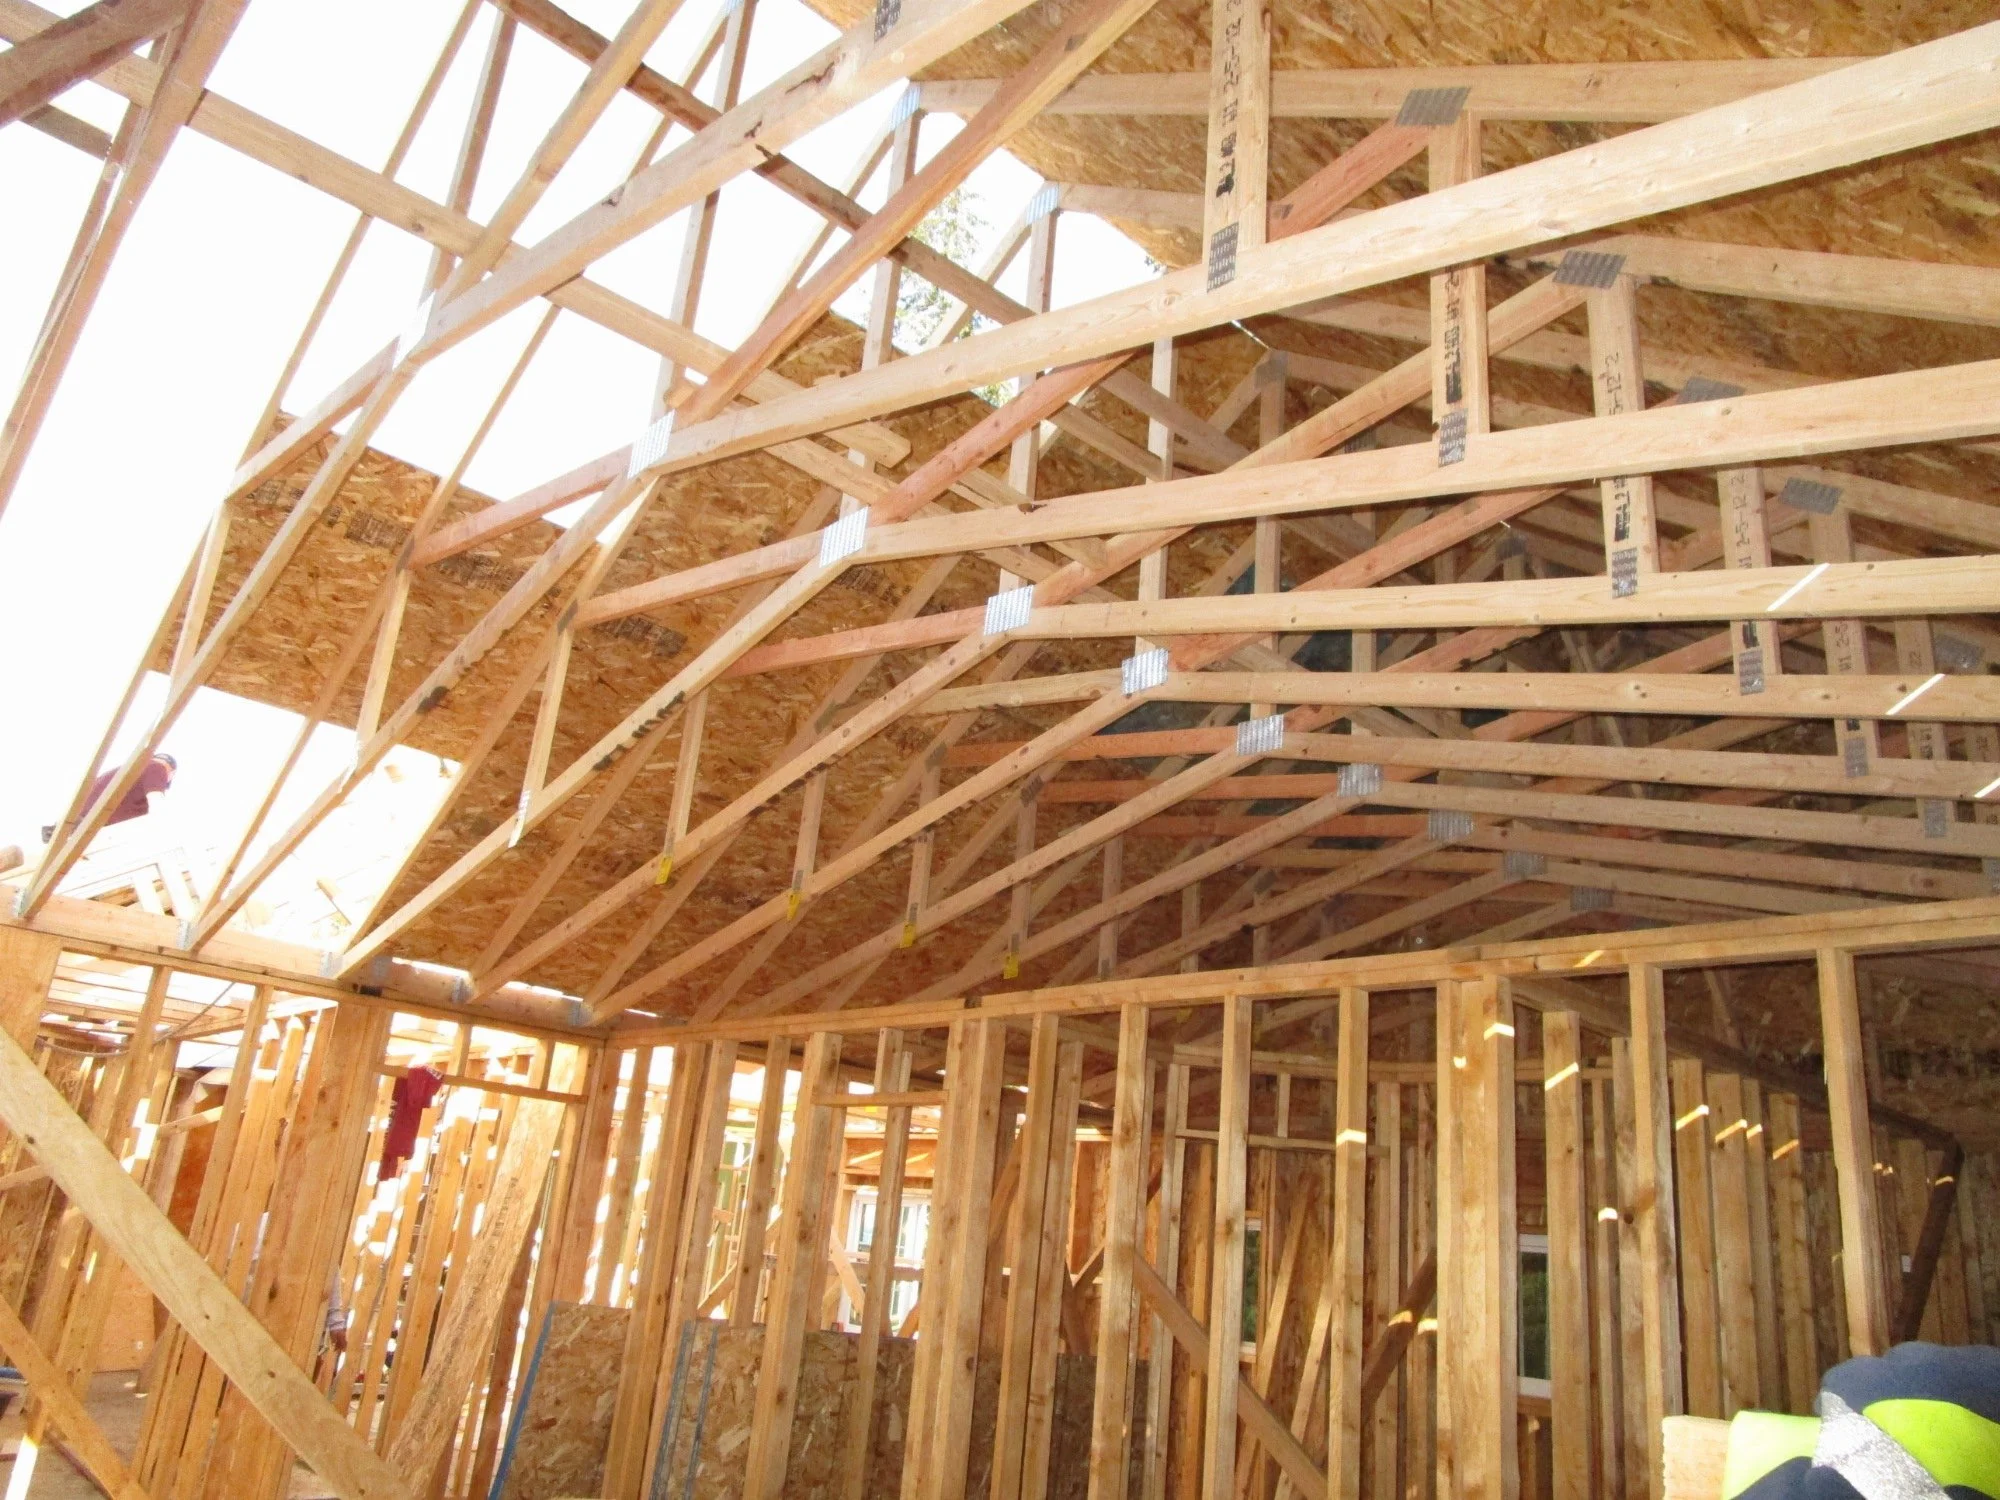
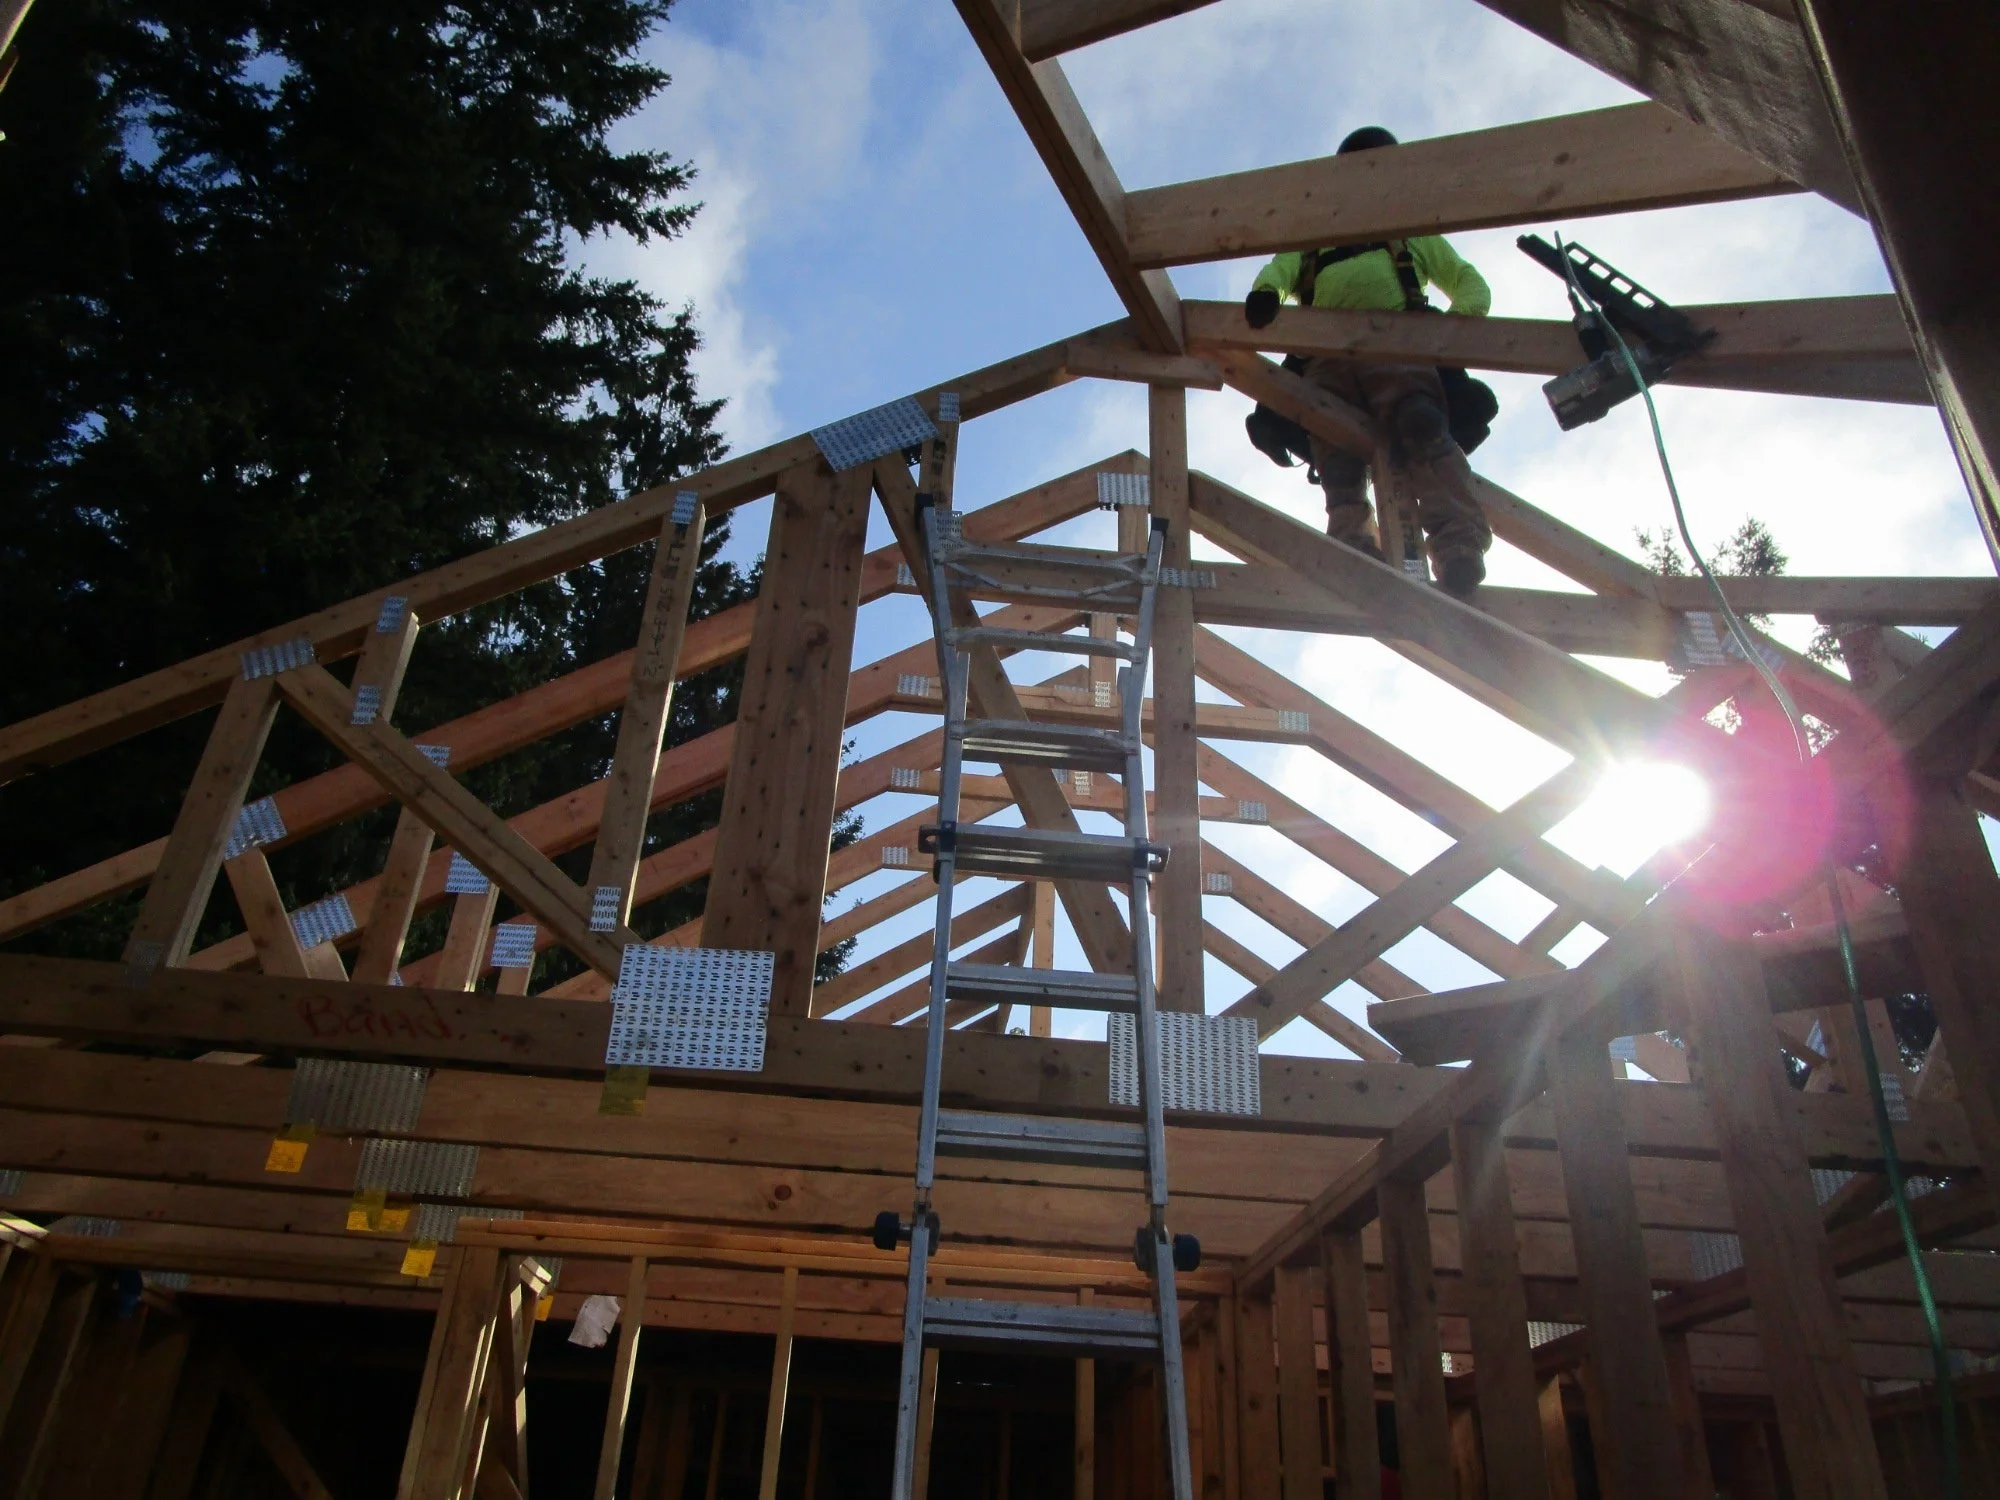
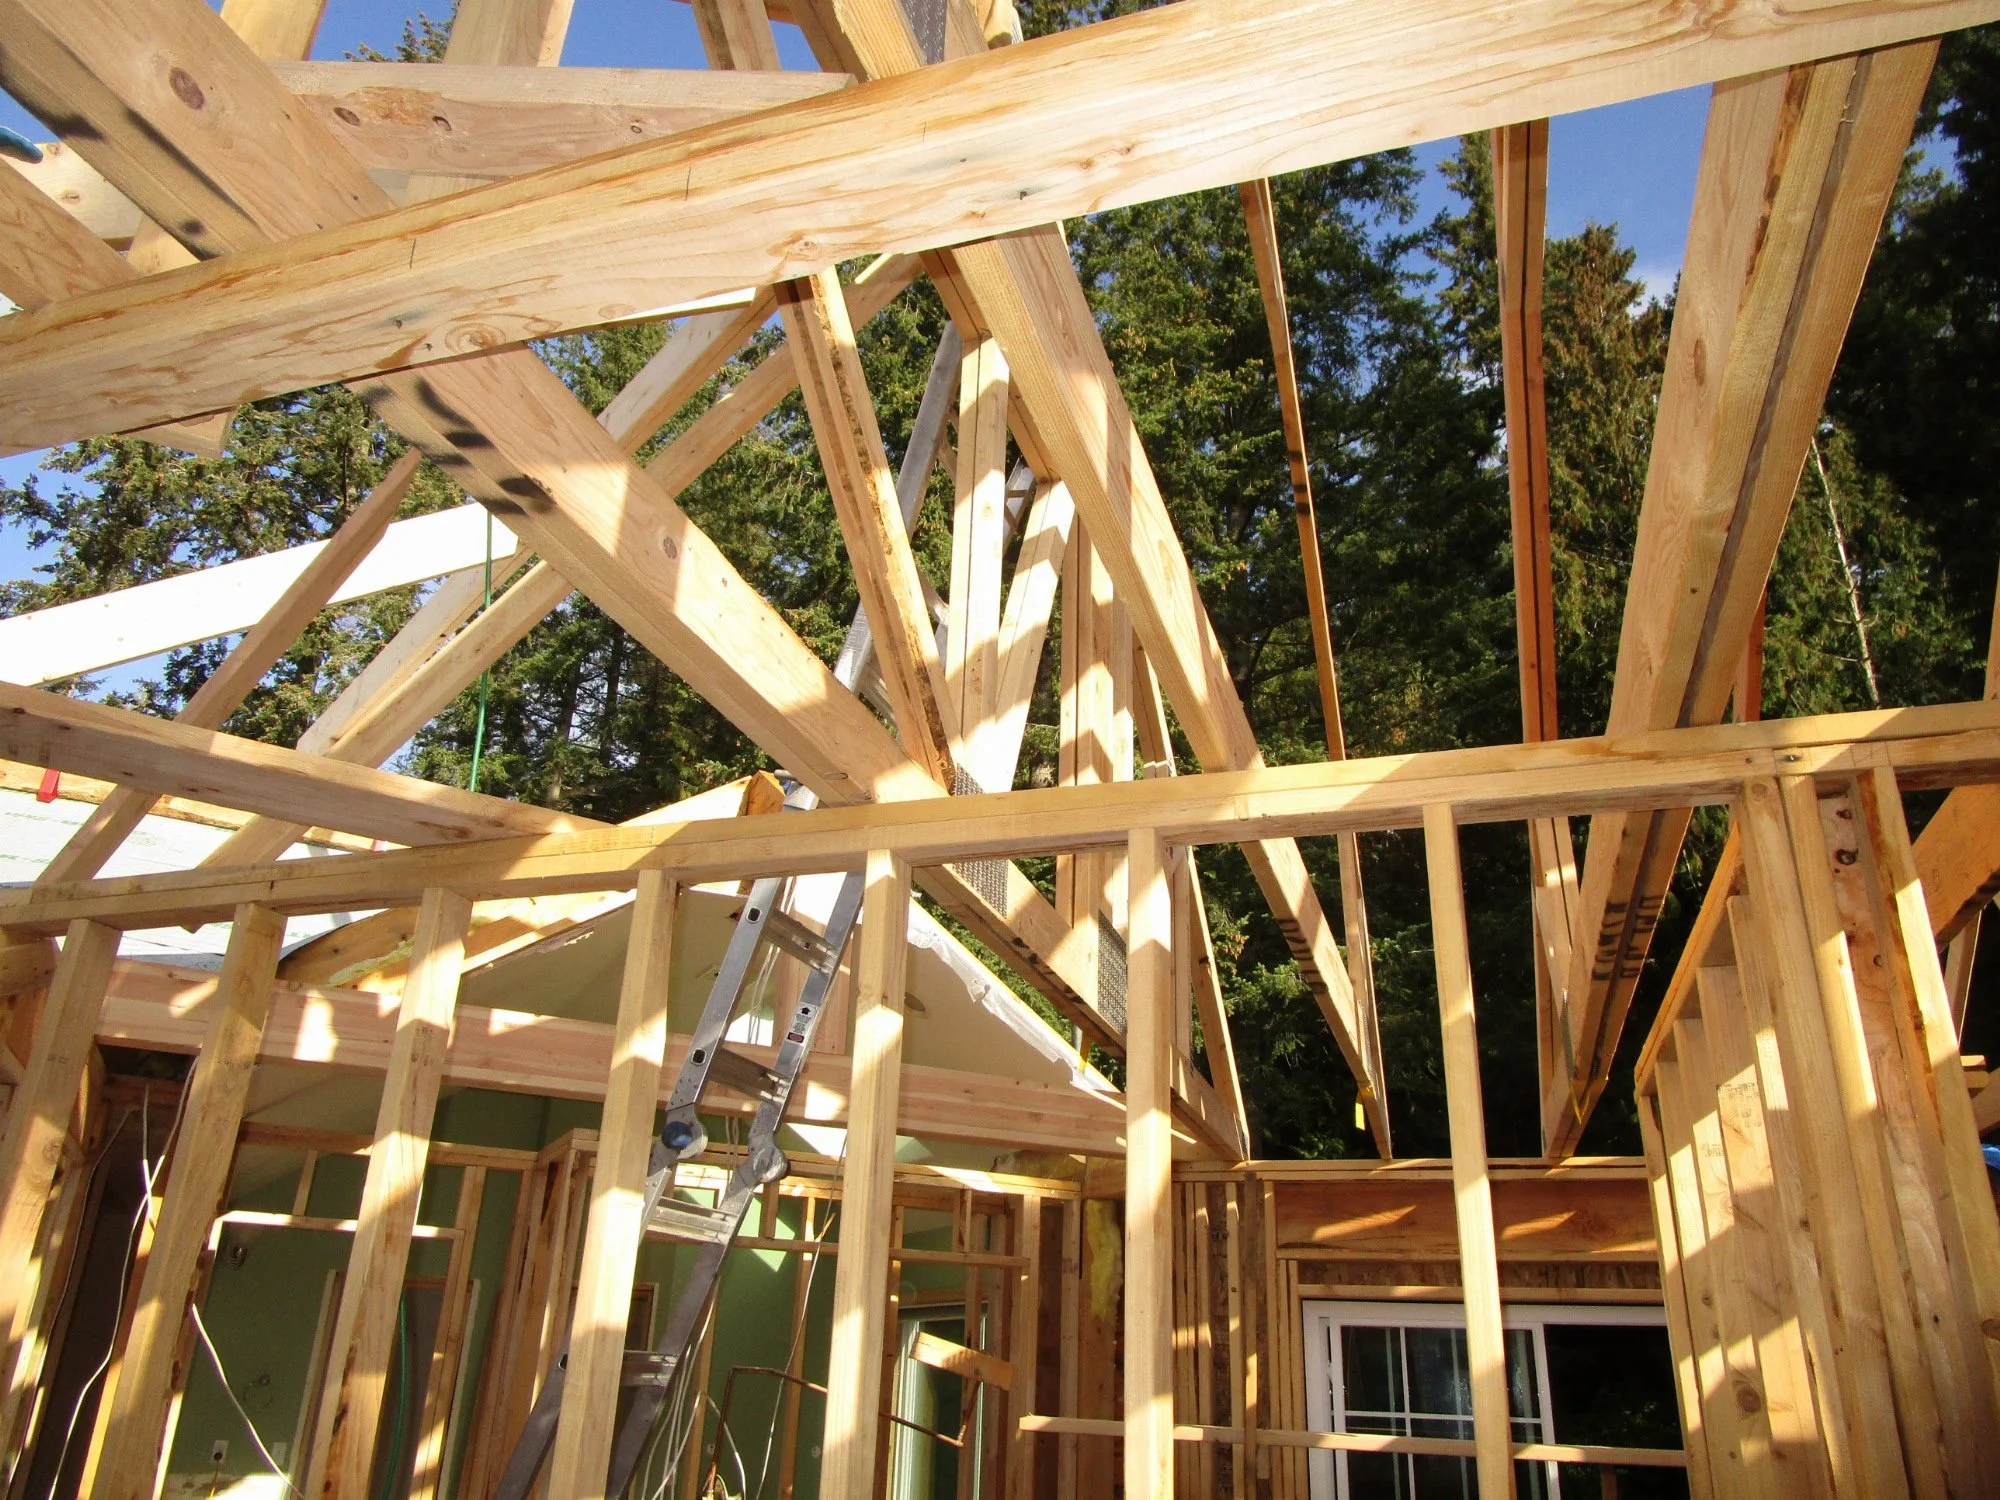
The new roof structure is a hybrid of pre-engineered roof trusses and more tedious stick framing. As much as we could we used trusses to control the gravity loads down to the existing foundation. Then
Here you can see a ridge beam up. Then they will frame off that to fill in over the transition portion.
Using some scissor trusses to provide a bit of a vault in this area.
There's a big girder truss here that will also serve as an attic truss to put a new HVAC unit.
These framers are really good.
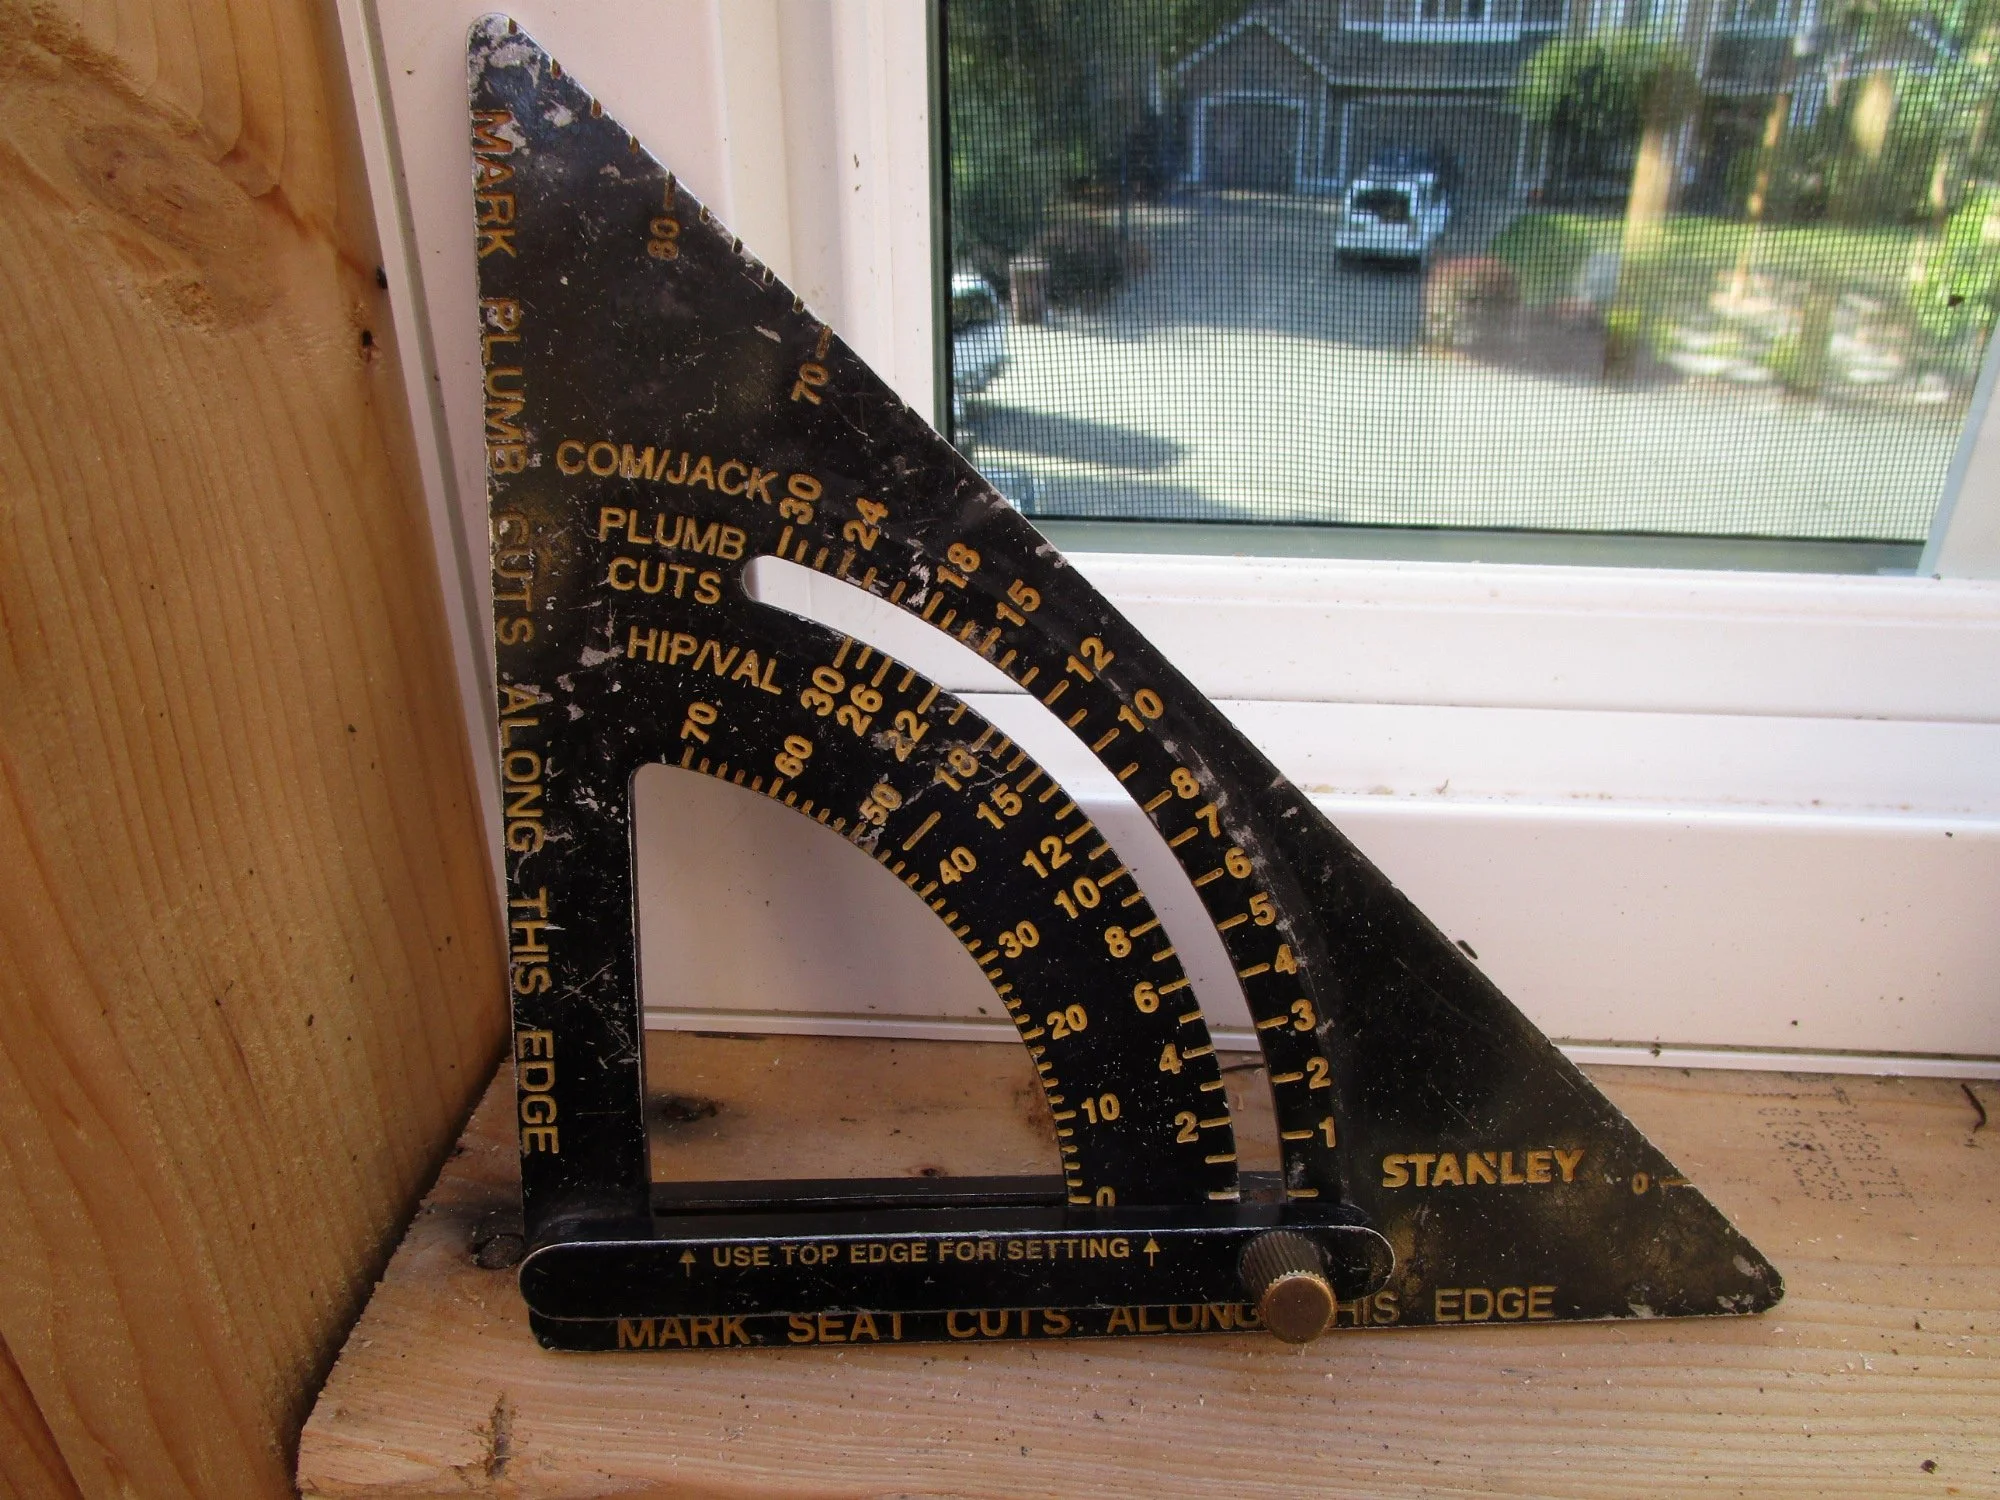
A well used tool for roof framing.
Exterior siding being hung and roofing underlayment is in place.
And at the rear.
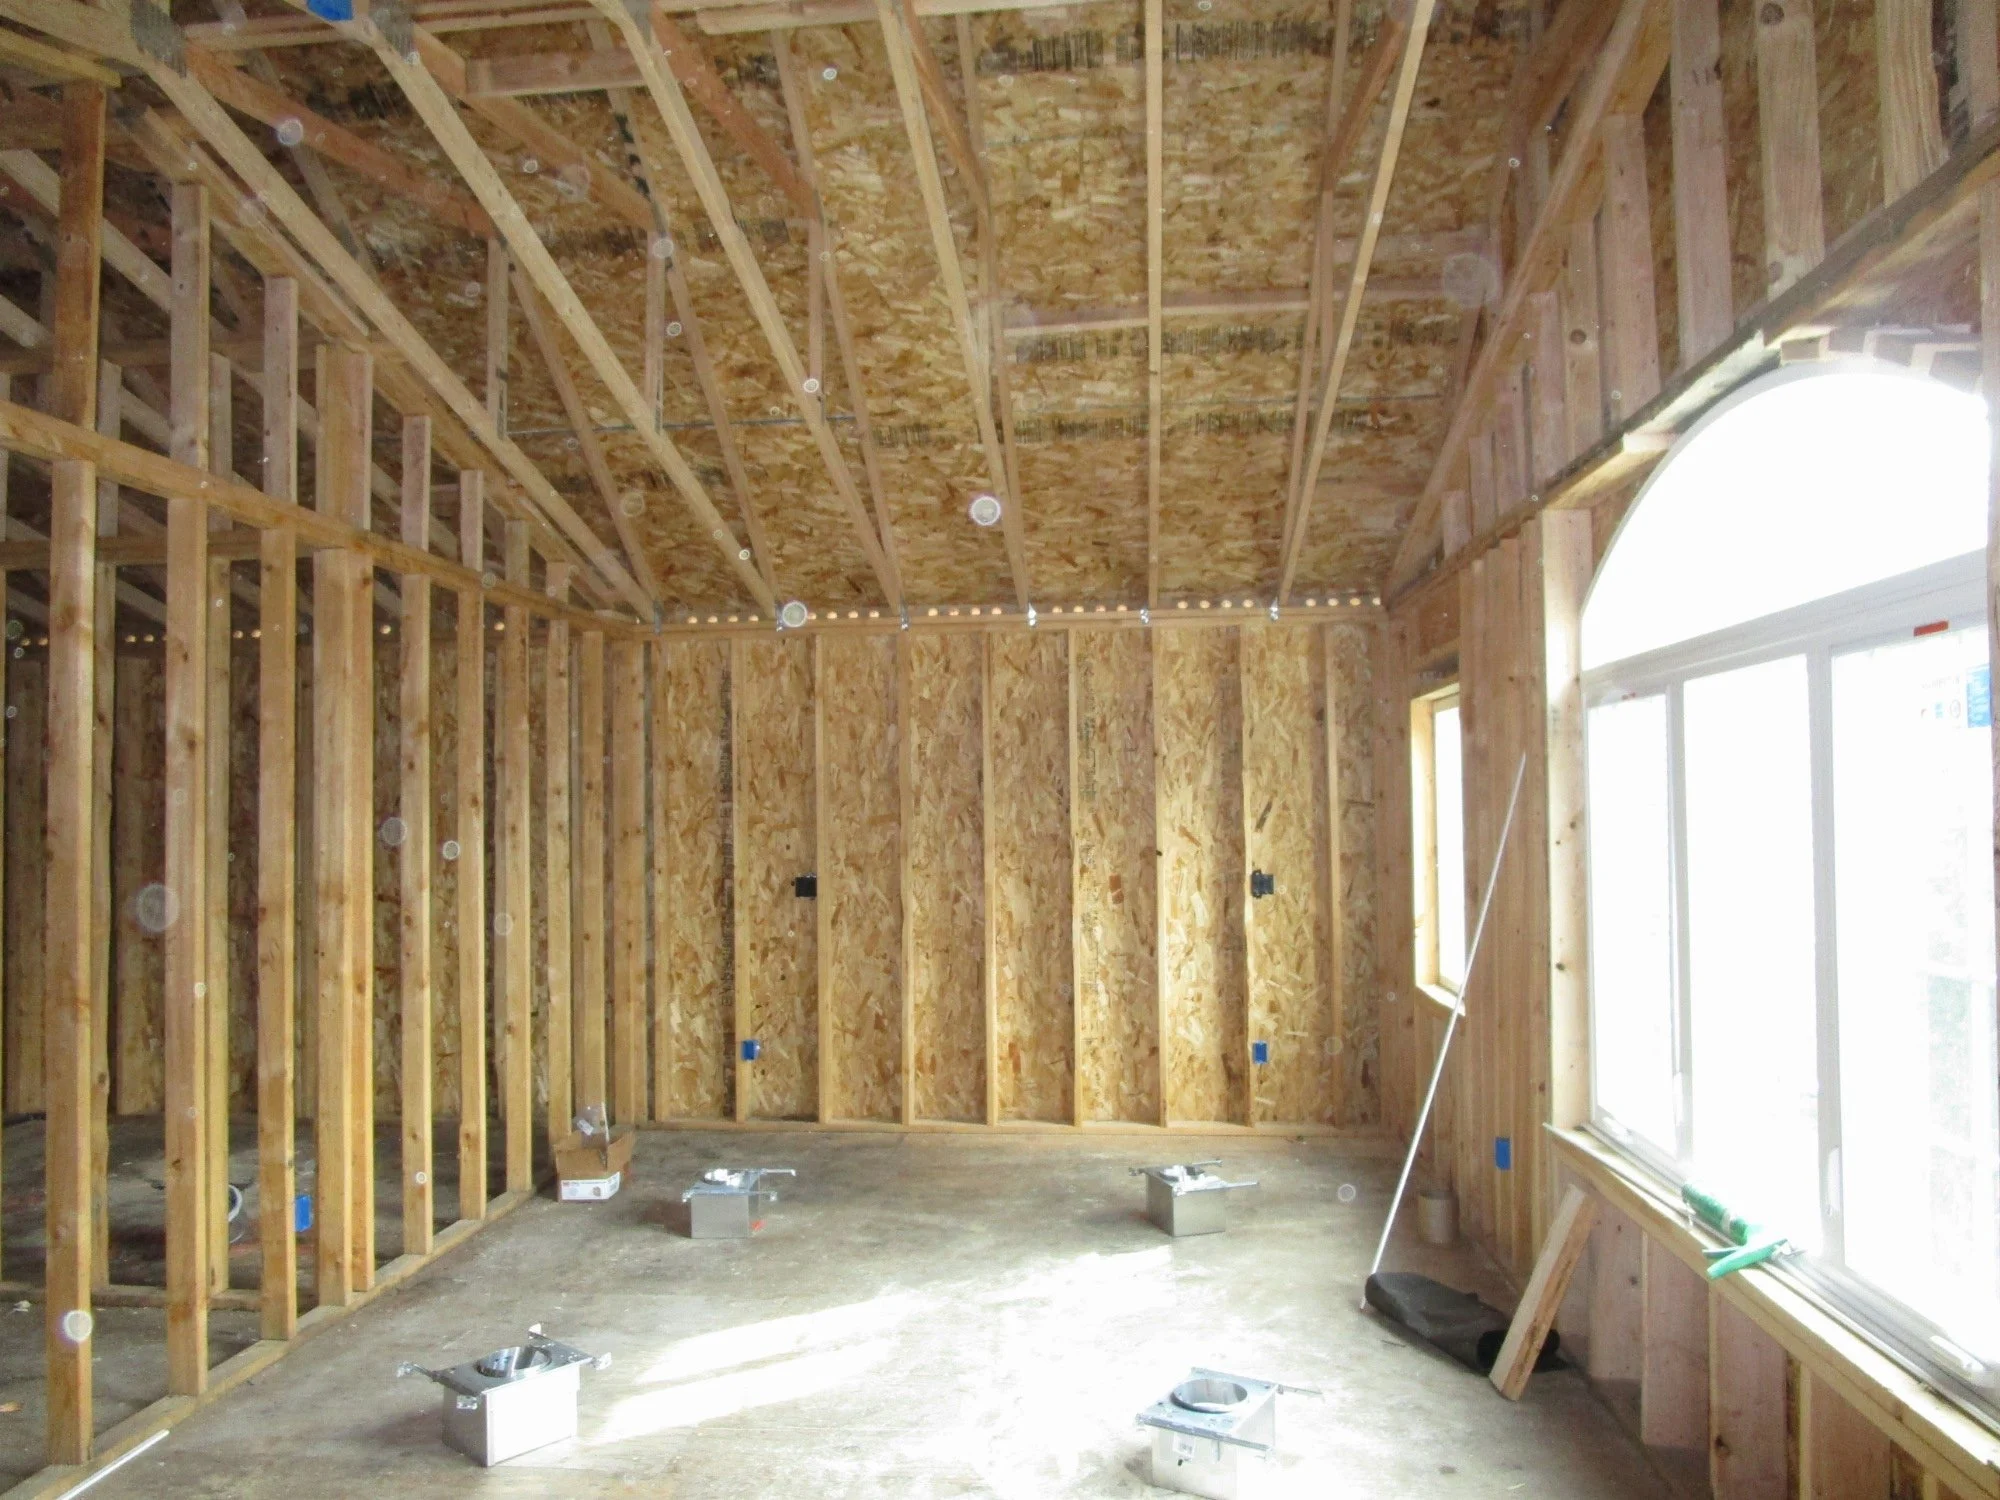
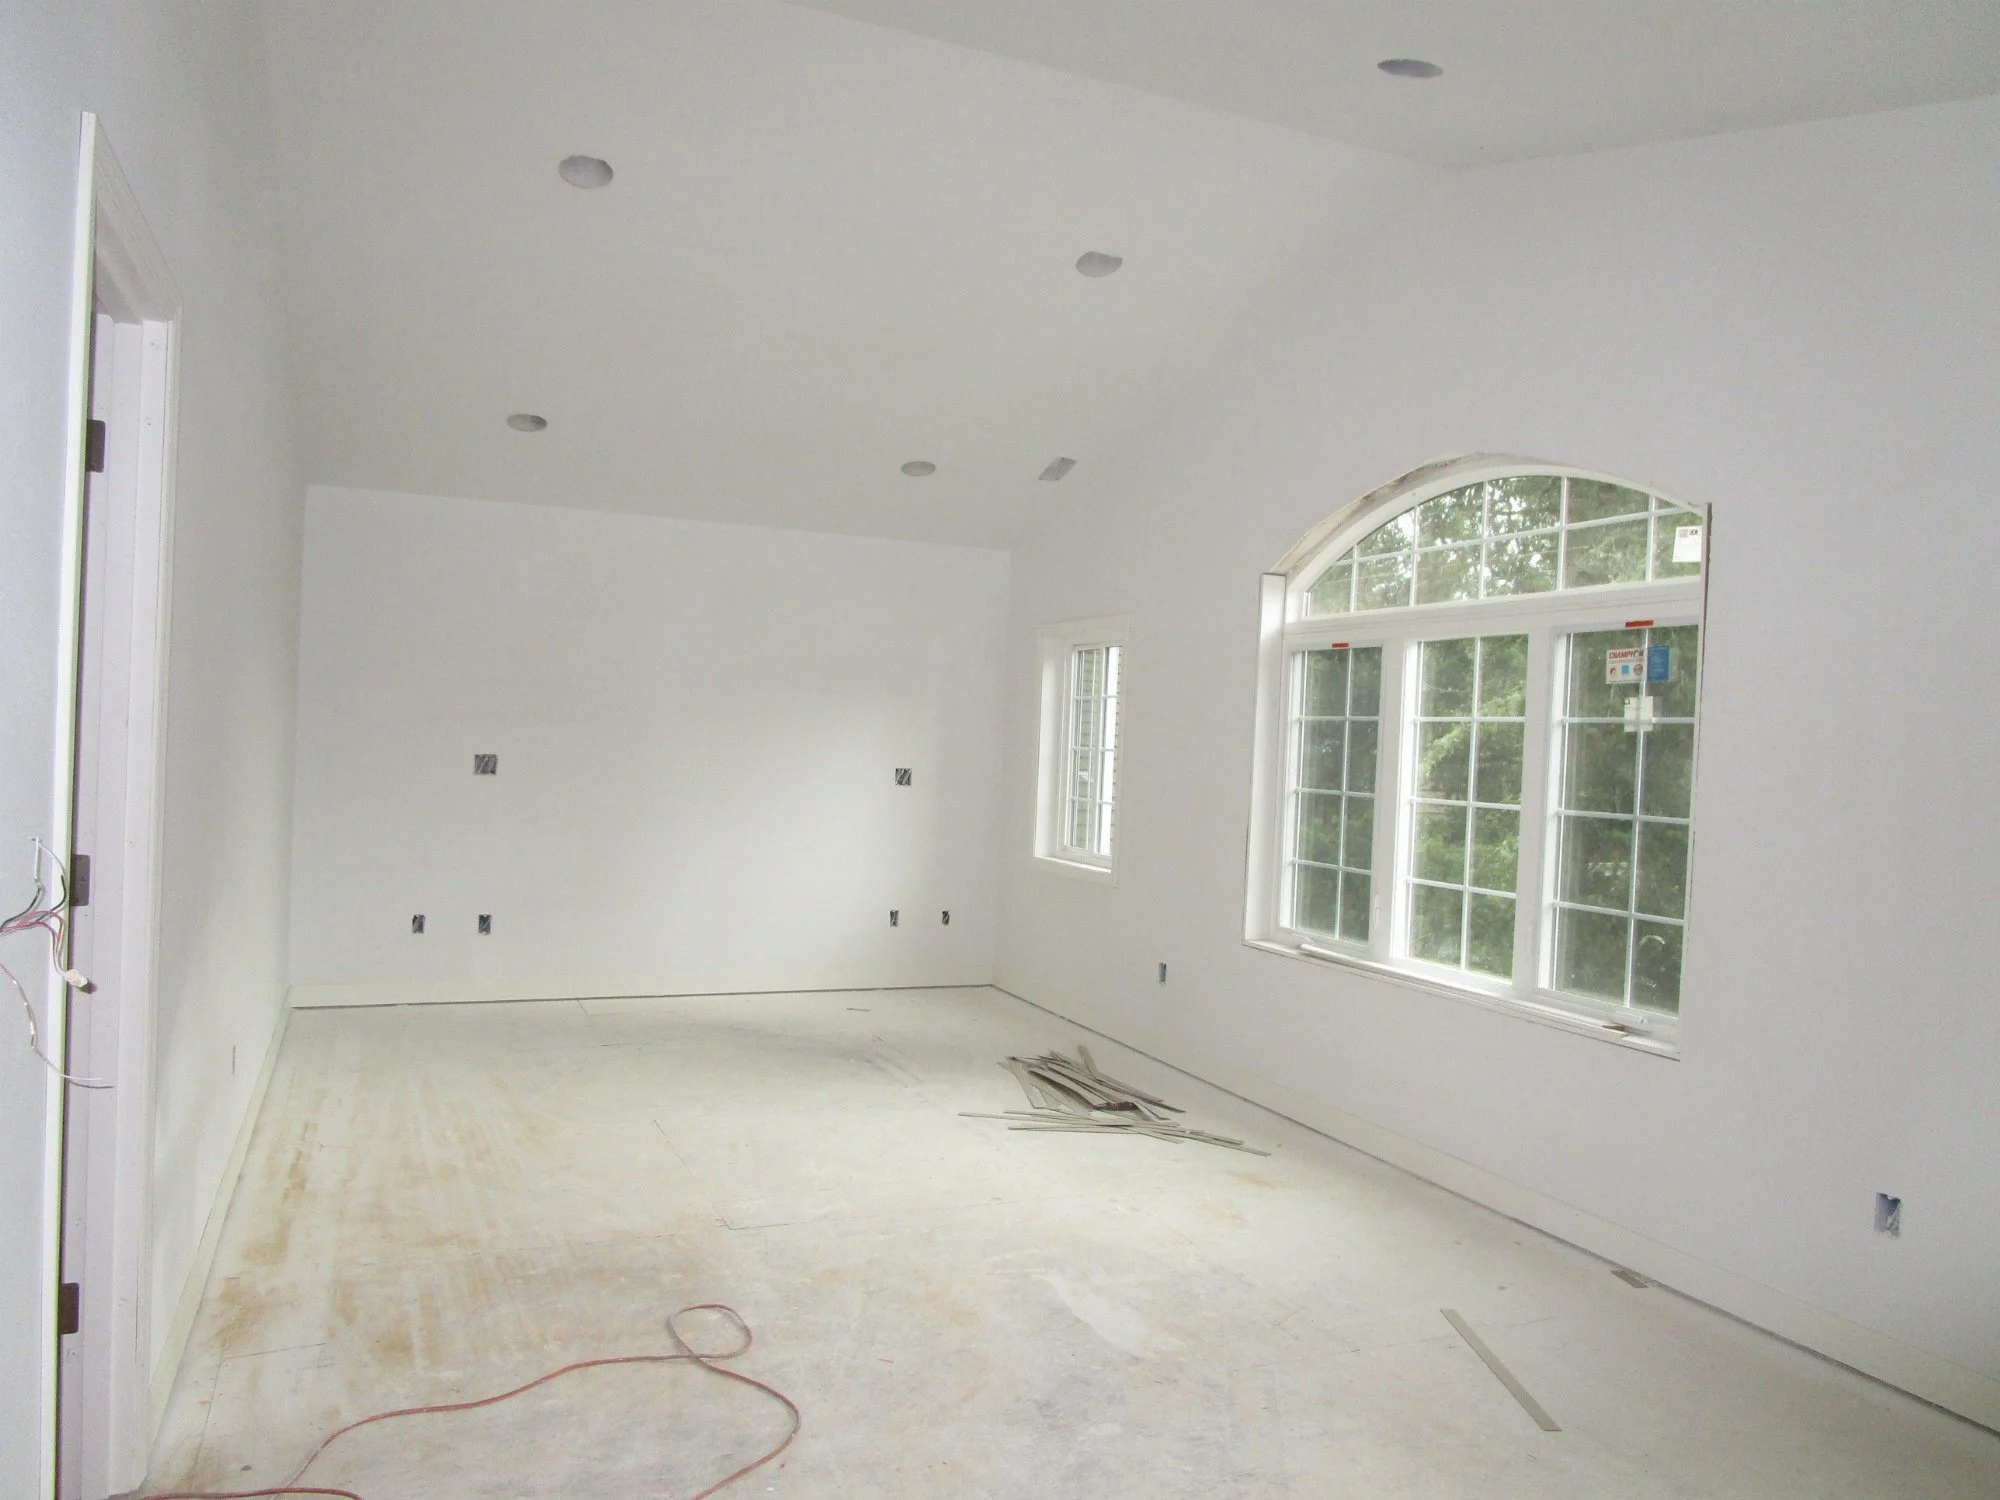
Part of the Master Bedroom, with the vaulted ceiling via use of scissor trusses.
Rough-in for a pair of sinks in the Master Bath.
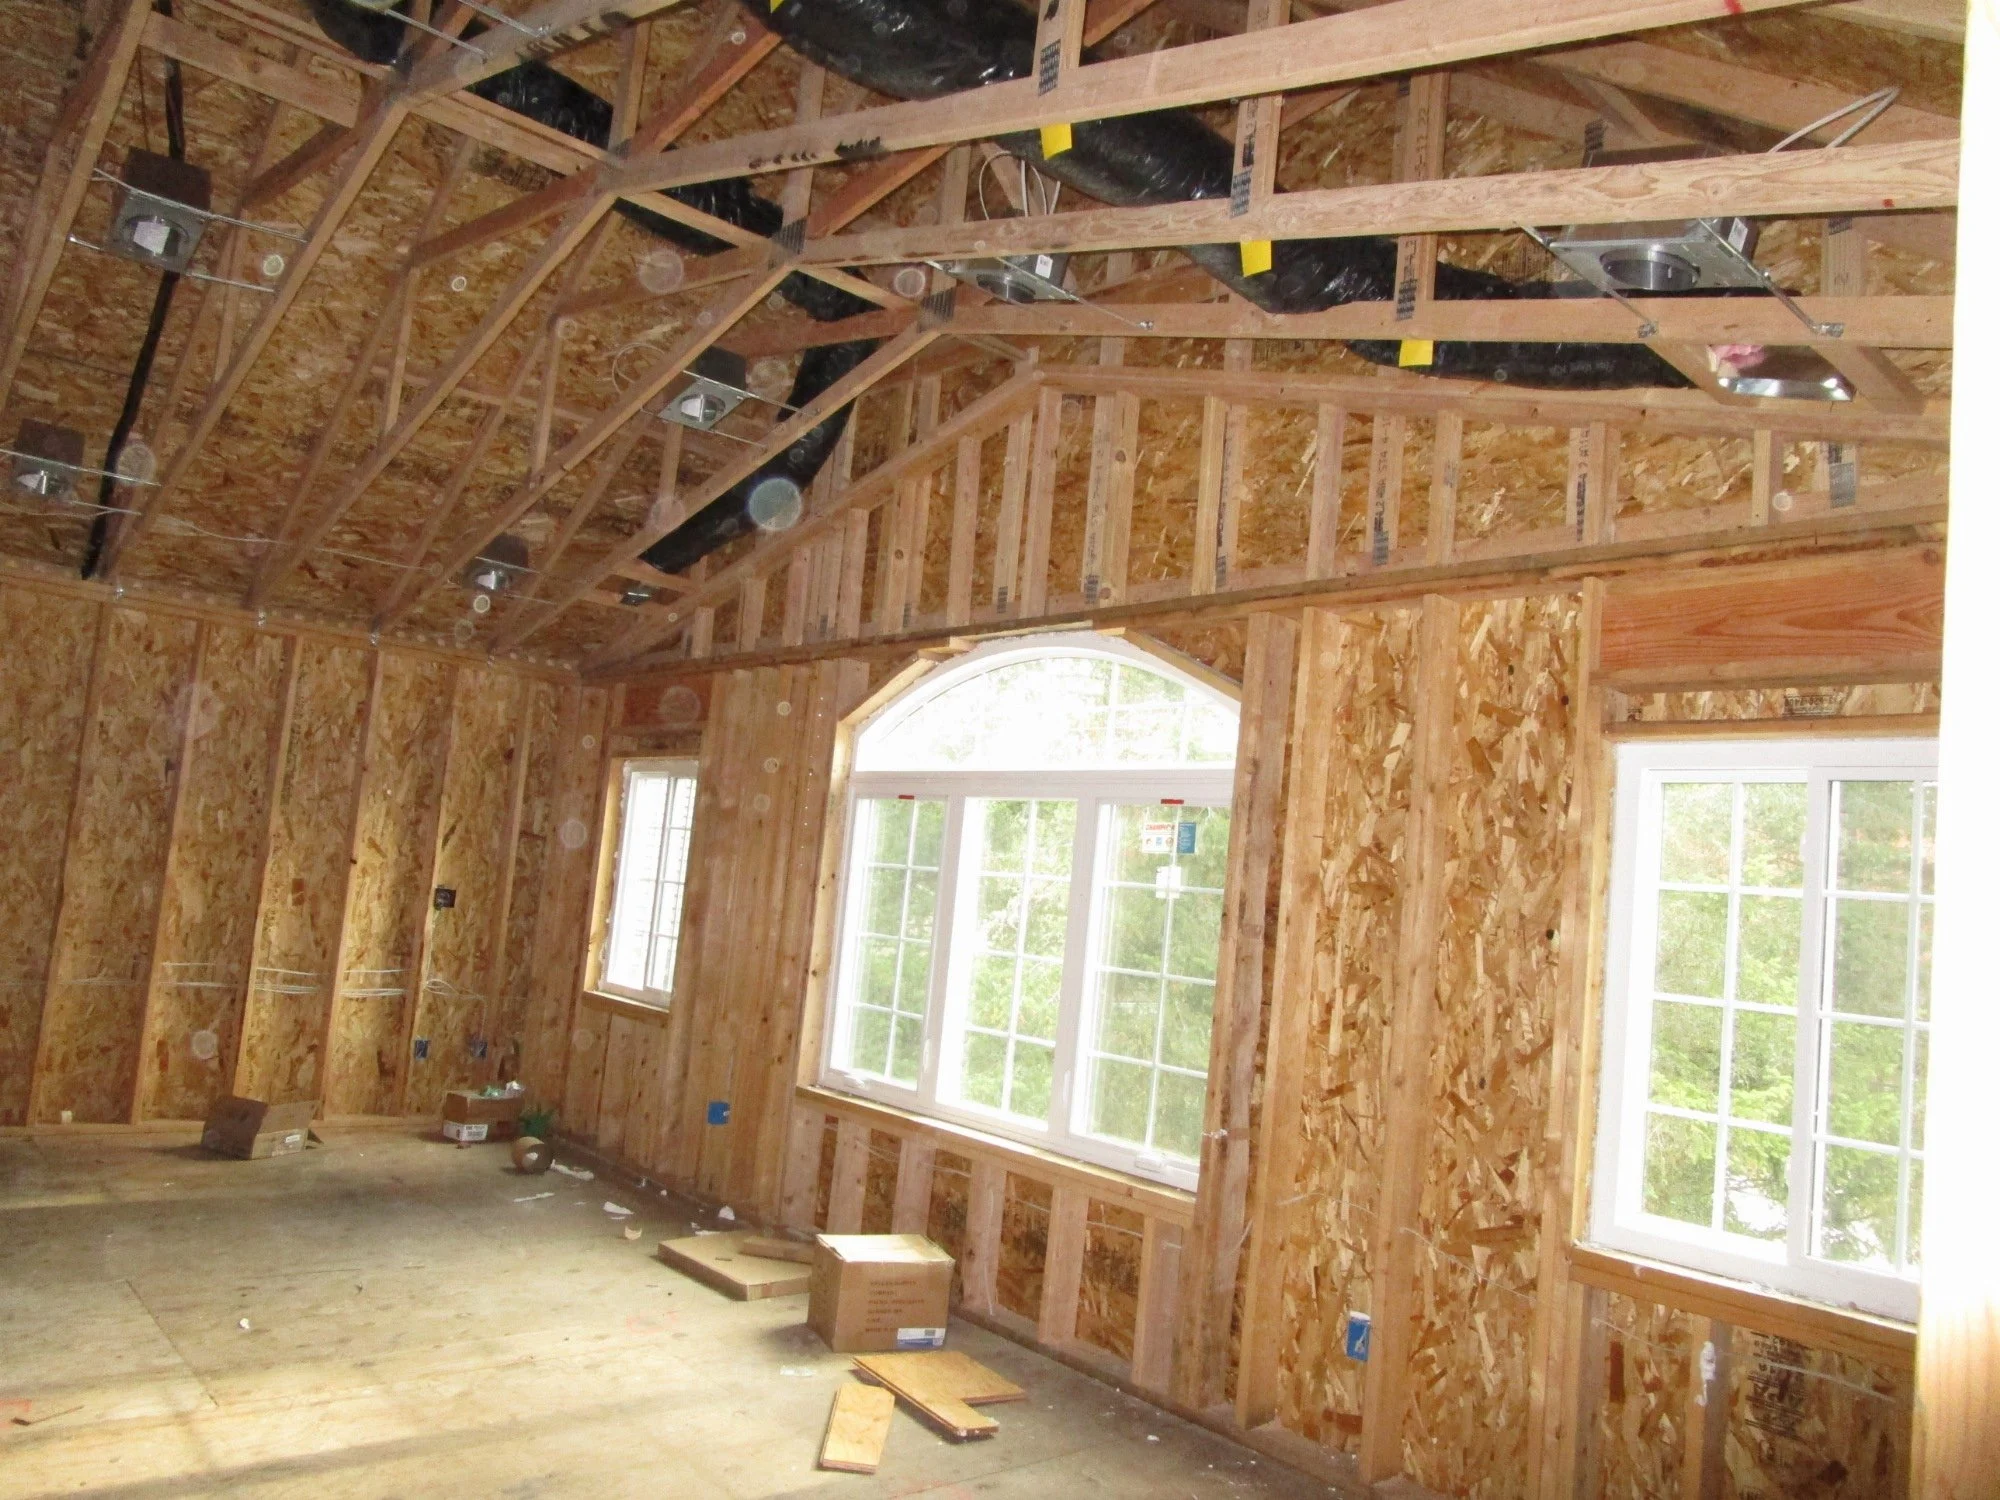
Ductwork going in for heating. Note the scissor trusses to create a vaulted ceiling.
And fast forward a bit after the sheet rock is installed. Easy vaulted ceiling.
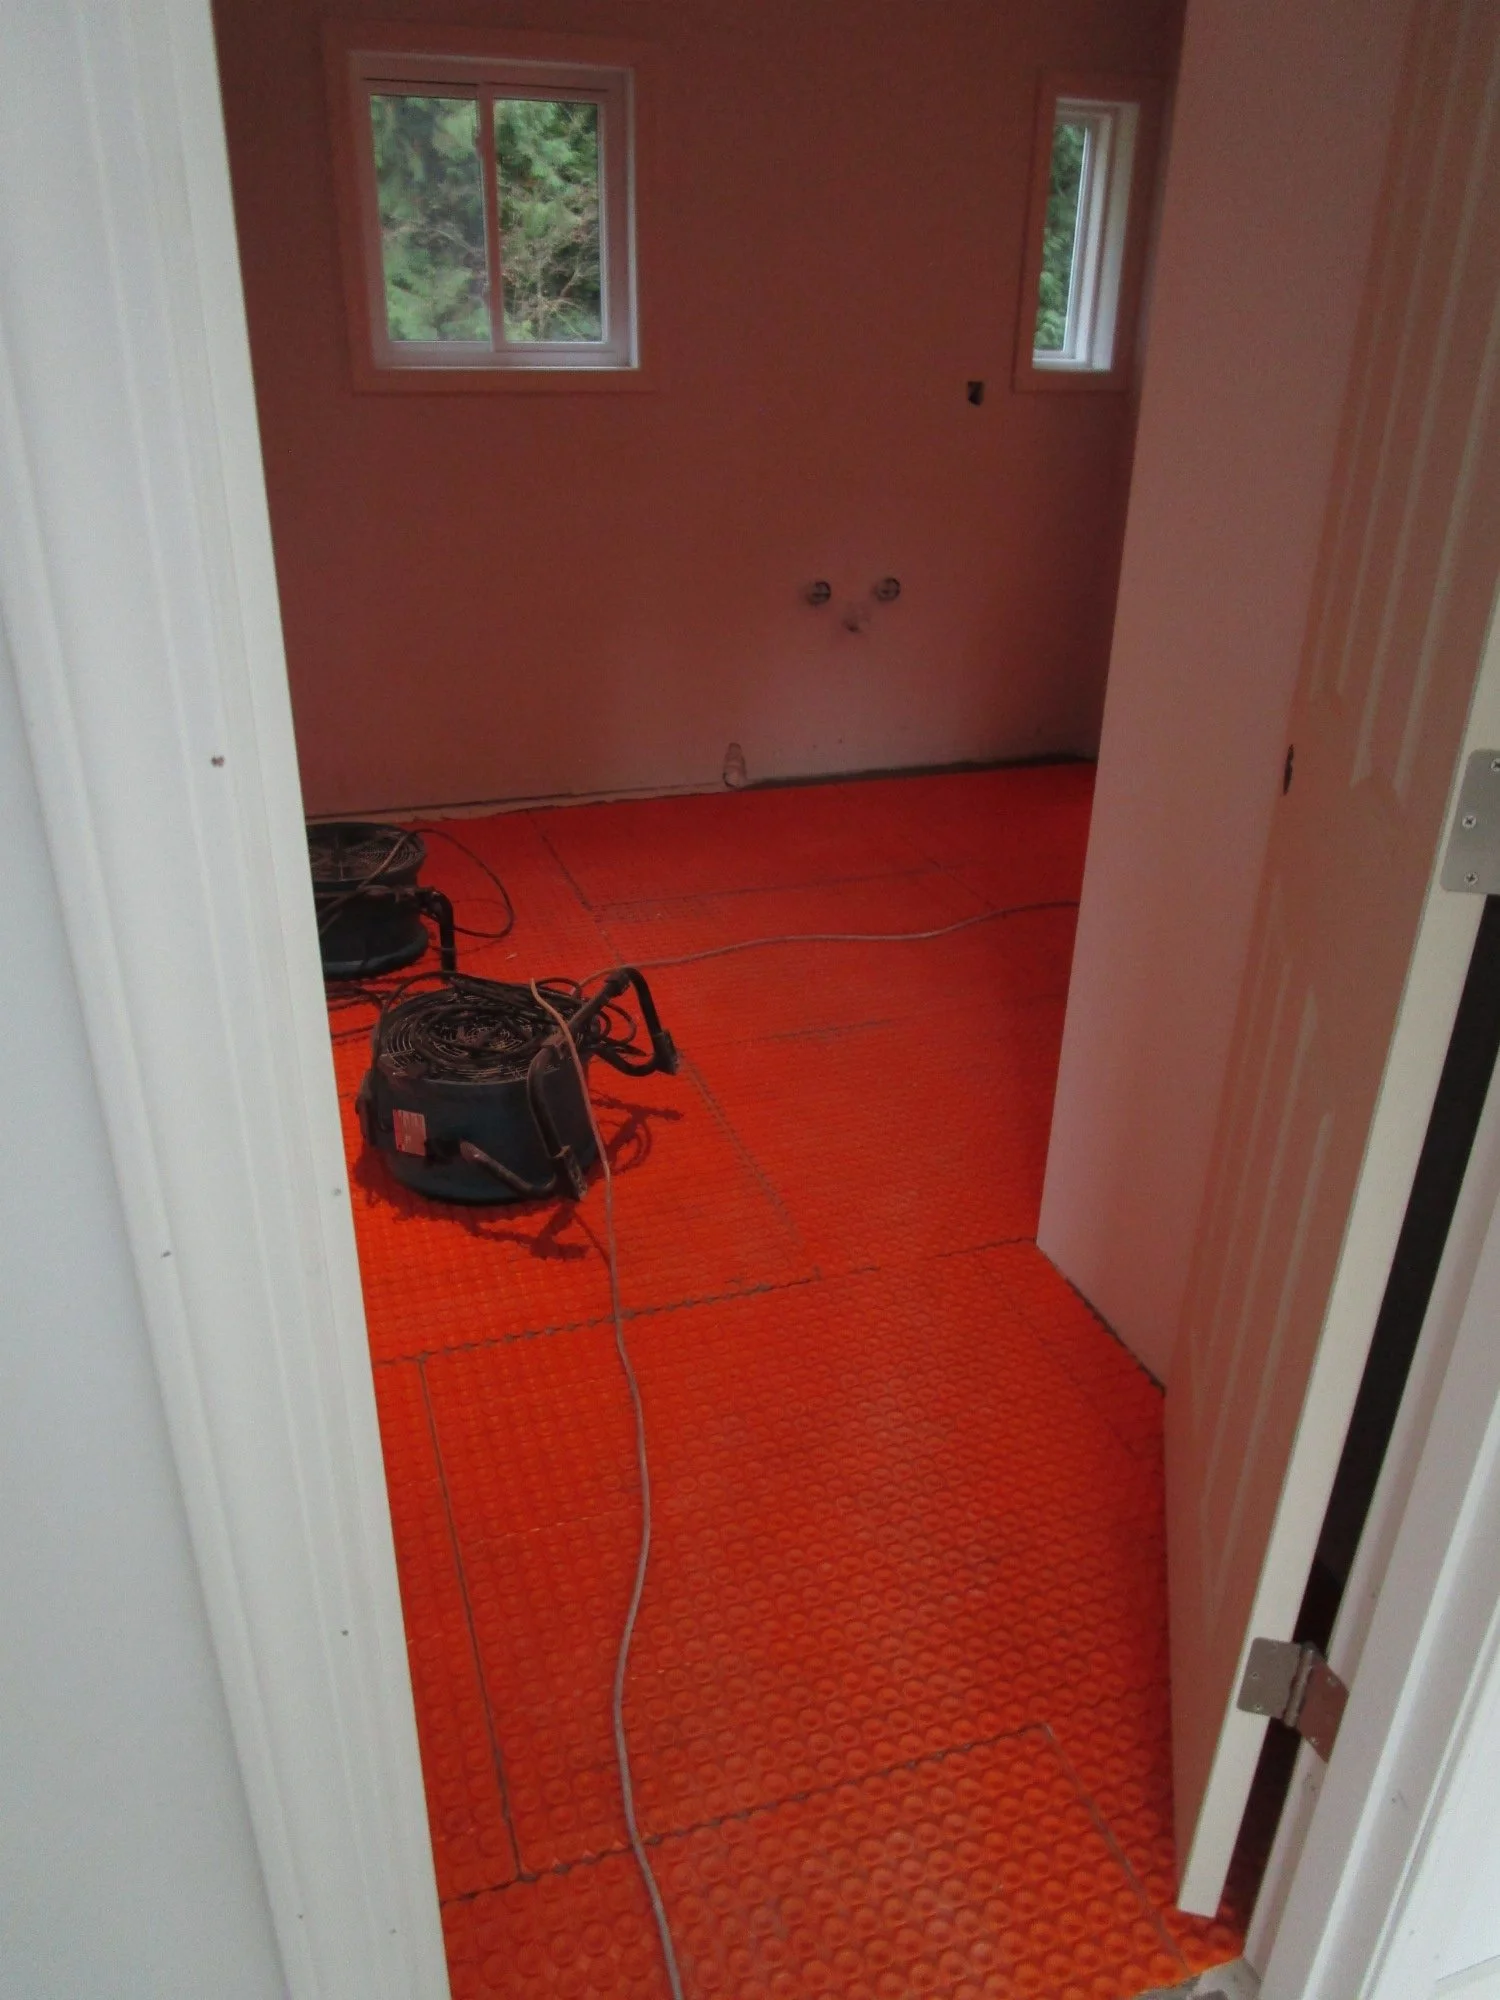
Master bath will get a heated floor.
Down in the garage, the existing panels between the garage doors are getting new metal seismic bits installed to help the building in an earthquake.
Finished addition!