


Your Custom Text Here
Late 1950's rambler. I was asked to design a sunroom where a covered deck was. Then build a new covered deck off the sun room, and bump out the kitchen-dining area by 4-feet. Plus add a new cute little covered roof over the entry door to the house. We can do that! Later, mid-project, owners decided to also bump out the master bedroom/bath. This made the roof framing a lot more complicated. At issue was we were maxed out on the allowed square footage allowed for this site. So to add in the bedroom bump we had to get creative on the covered deck roof with a big cantilever. There were some real garbage foundation and floor details, so work including making those areas better. Not perfect, but better. Always a compromise.
Late 1950's rambler. I was asked to design a sunroom where a covered deck was. Then build a new covered deck off the sun room, and bump out the kitchen-dining area by 4-feet. Plus add a new cute little covered roof over the entry door to the house. We can do that! Later, mid-project, owners decided to also bump out the master bedroom/bath. This made the roof framing a lot more complicated. At issue was we were maxed out on the allowed square footage allowed for this site. So to add in the bedroom bump we had to get creative on the covered deck roof with a big cantilever. There were some real garbage foundation and floor details, so work including making those areas better. Not perfect, but better. Always a compromise.
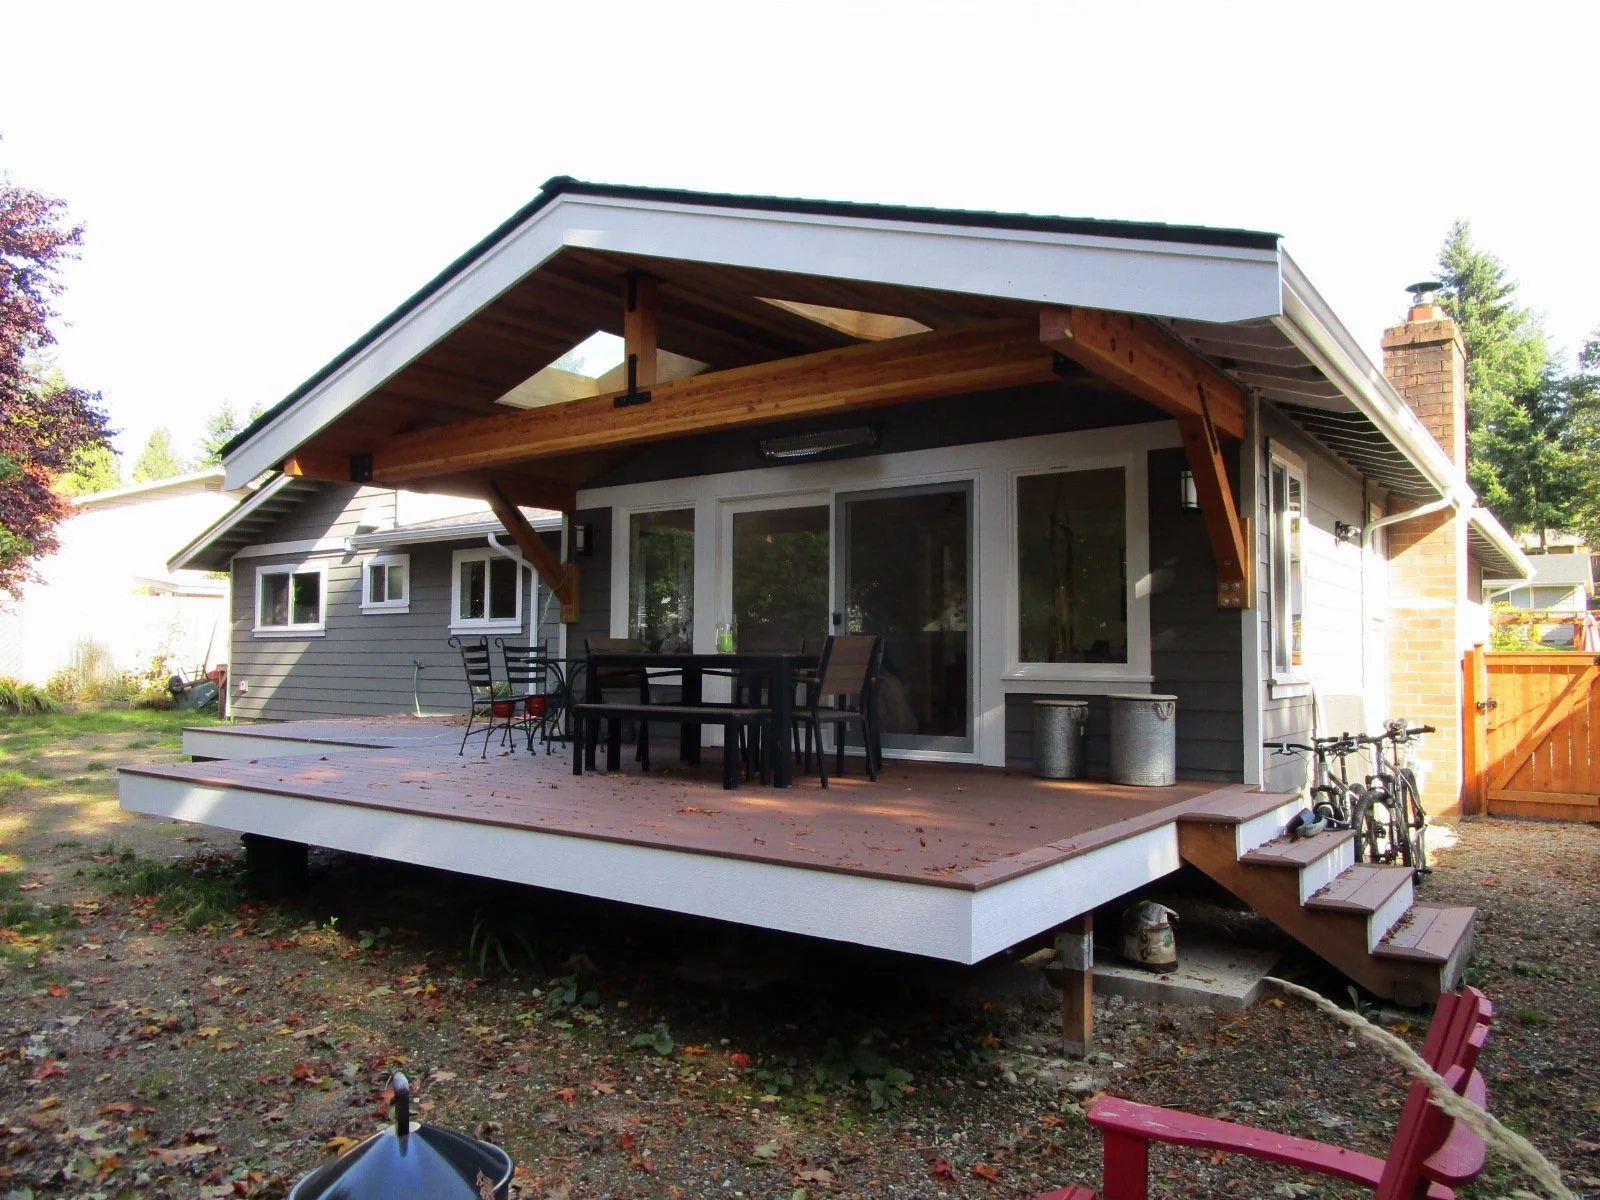
Finished covered deck with big beam cantilever.
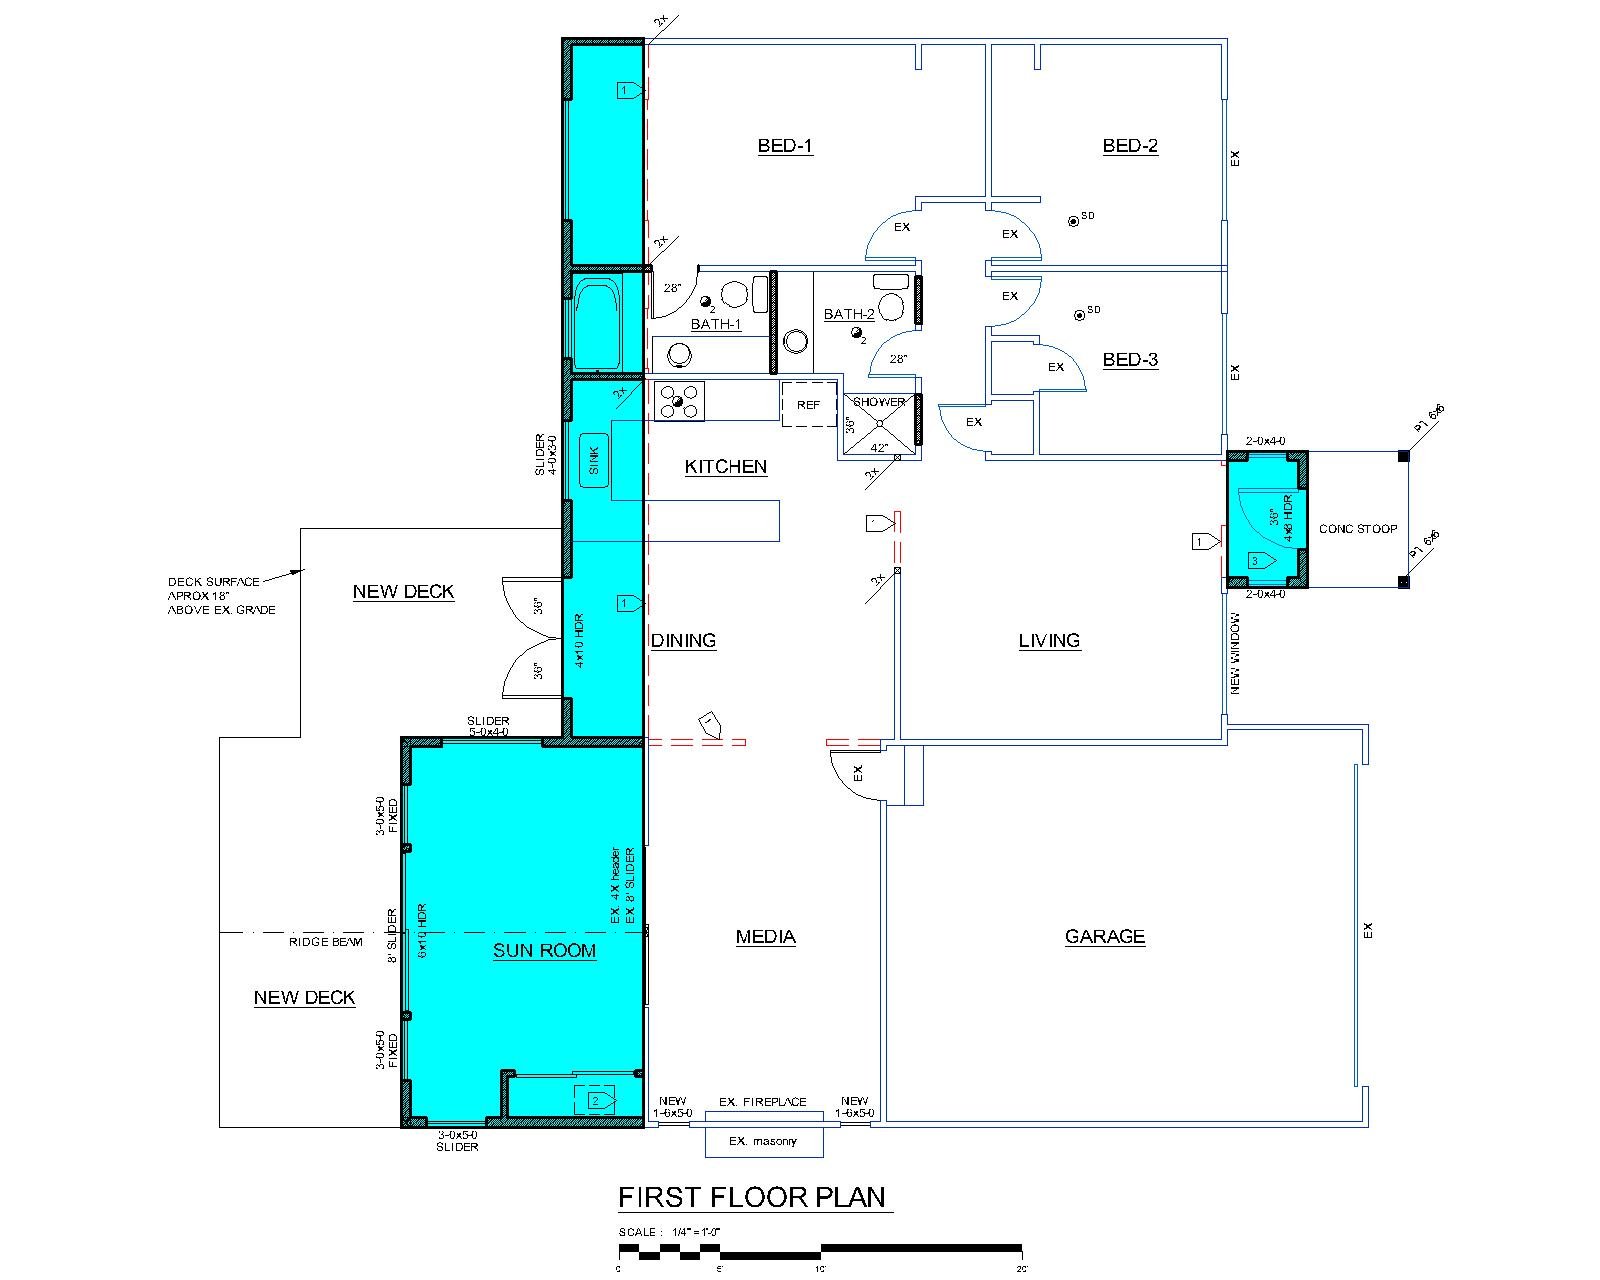
Blue are the new addition heated areas.
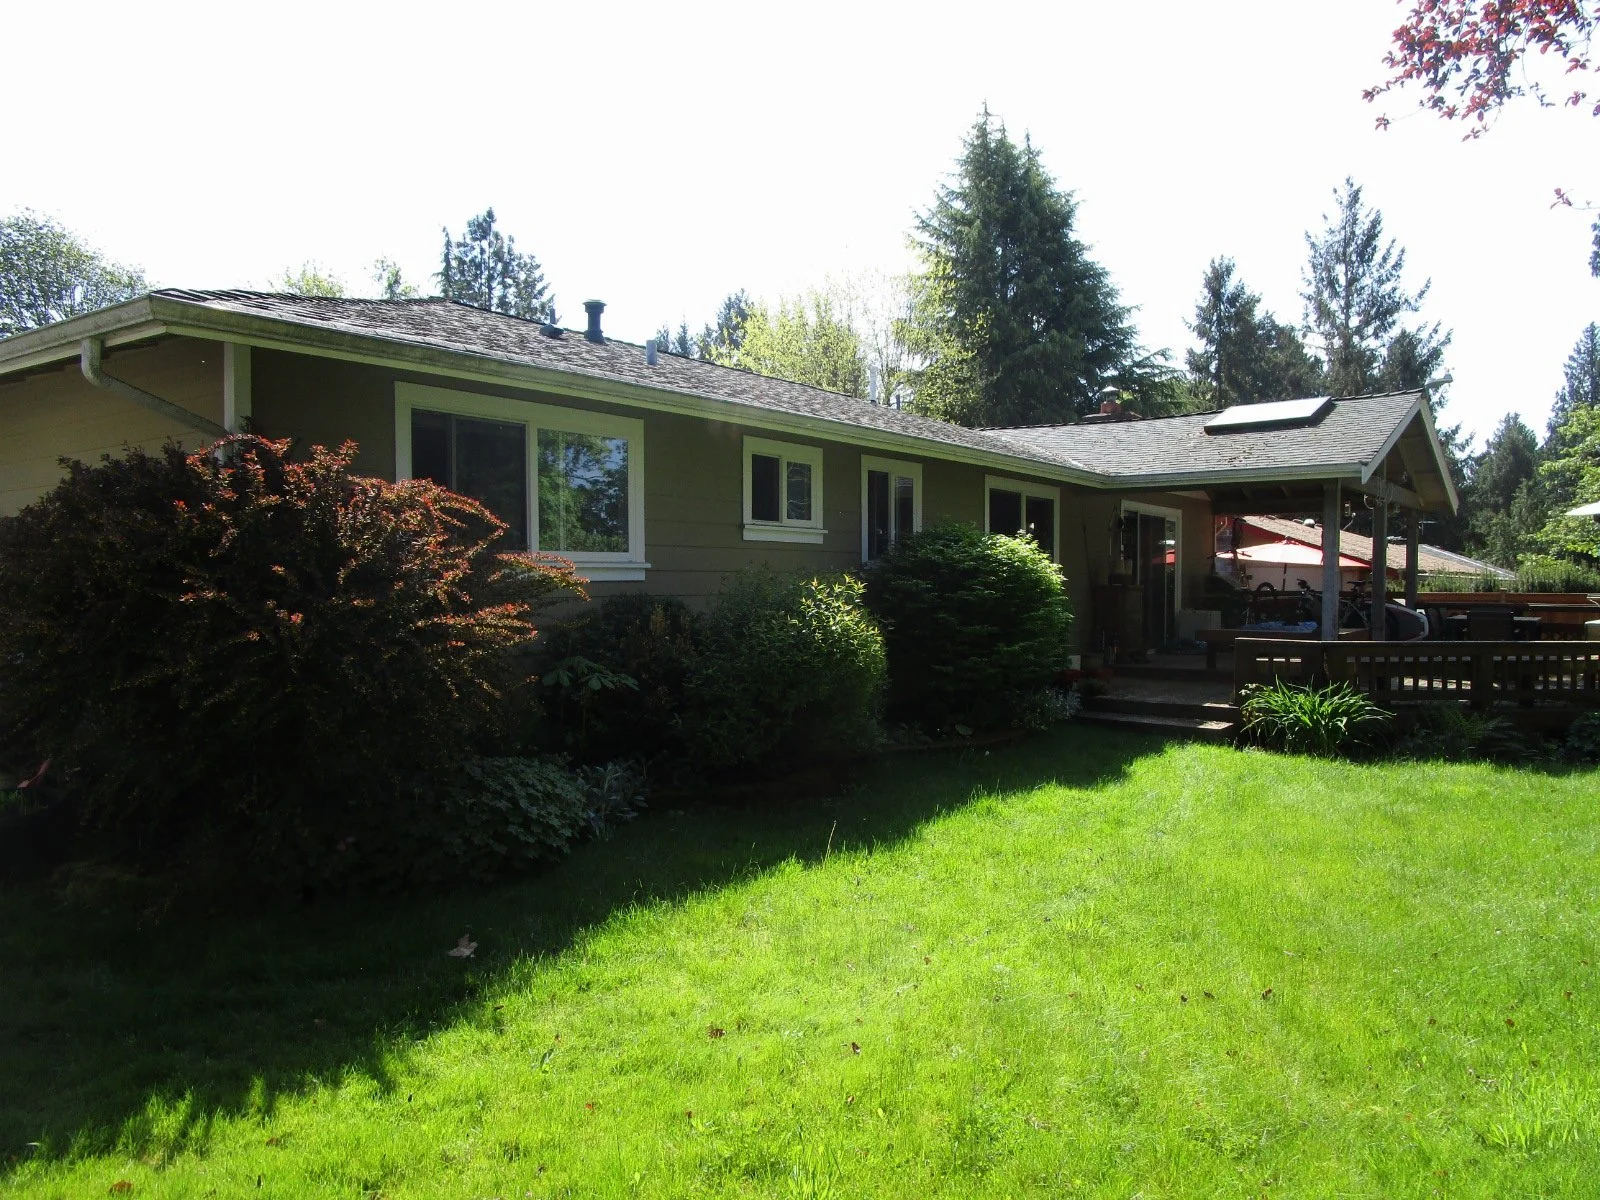
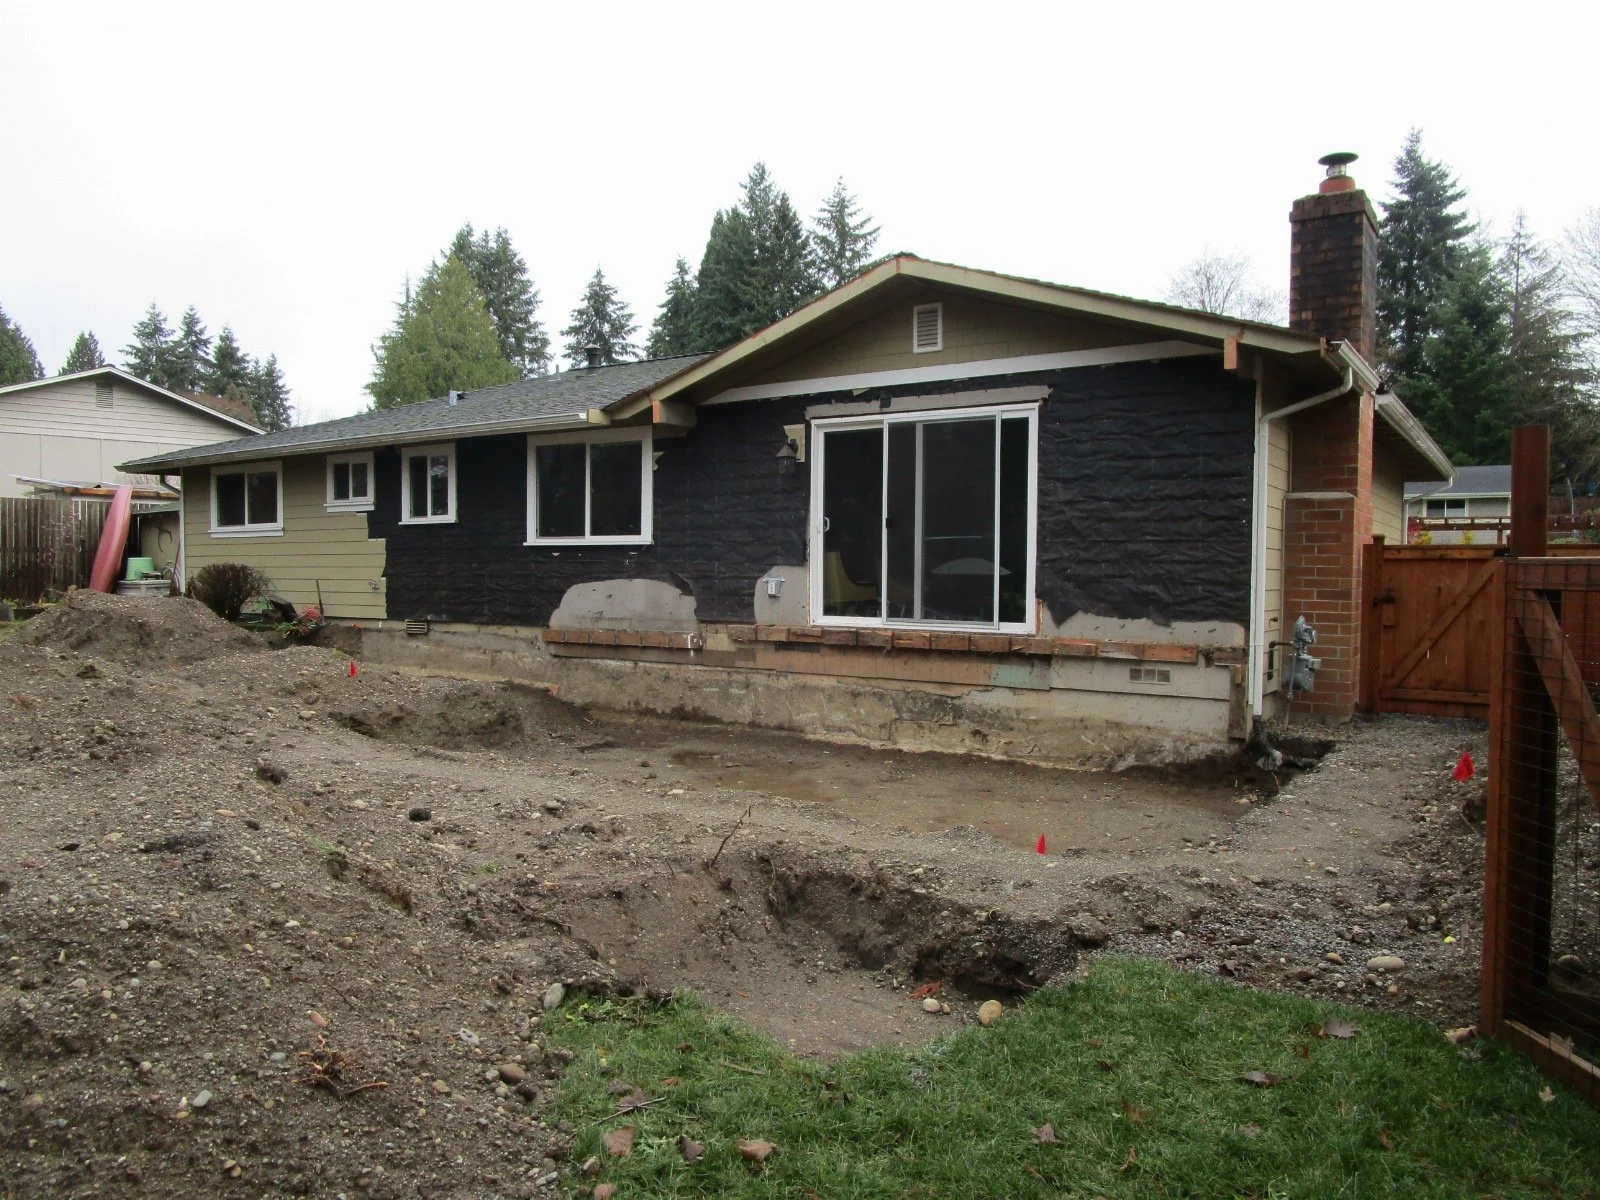
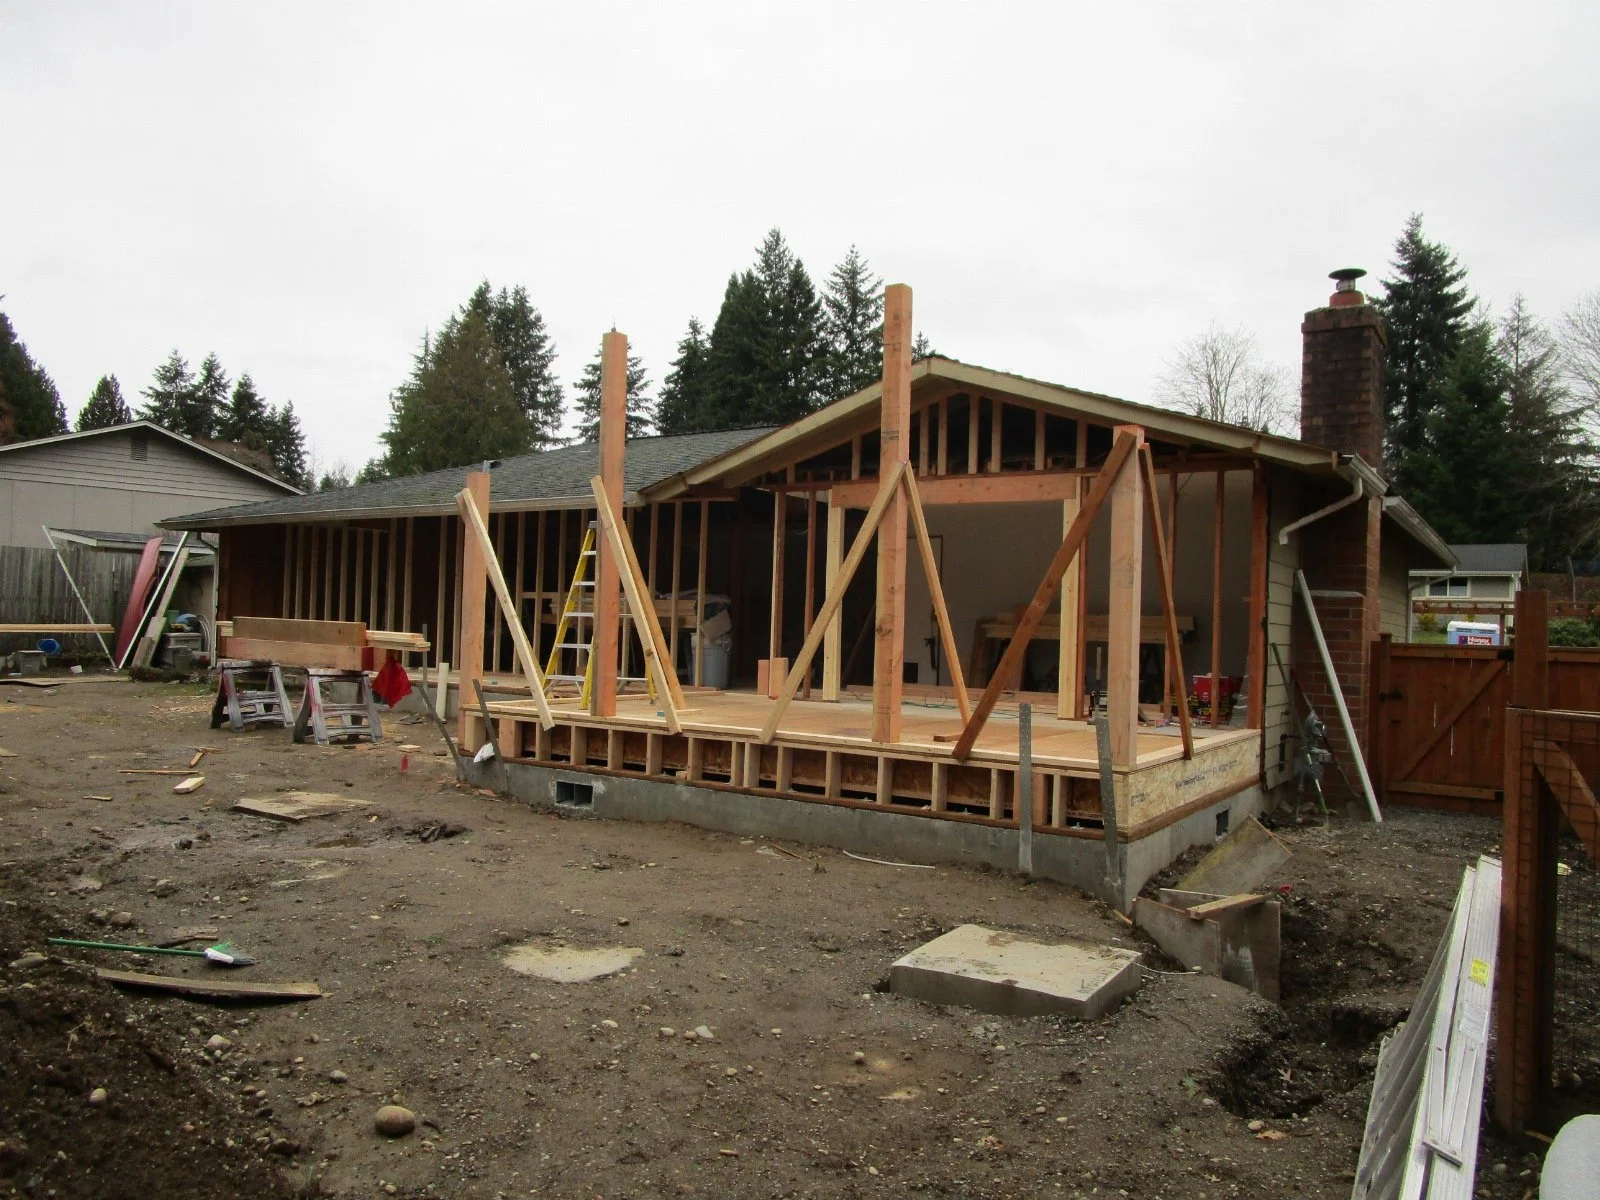
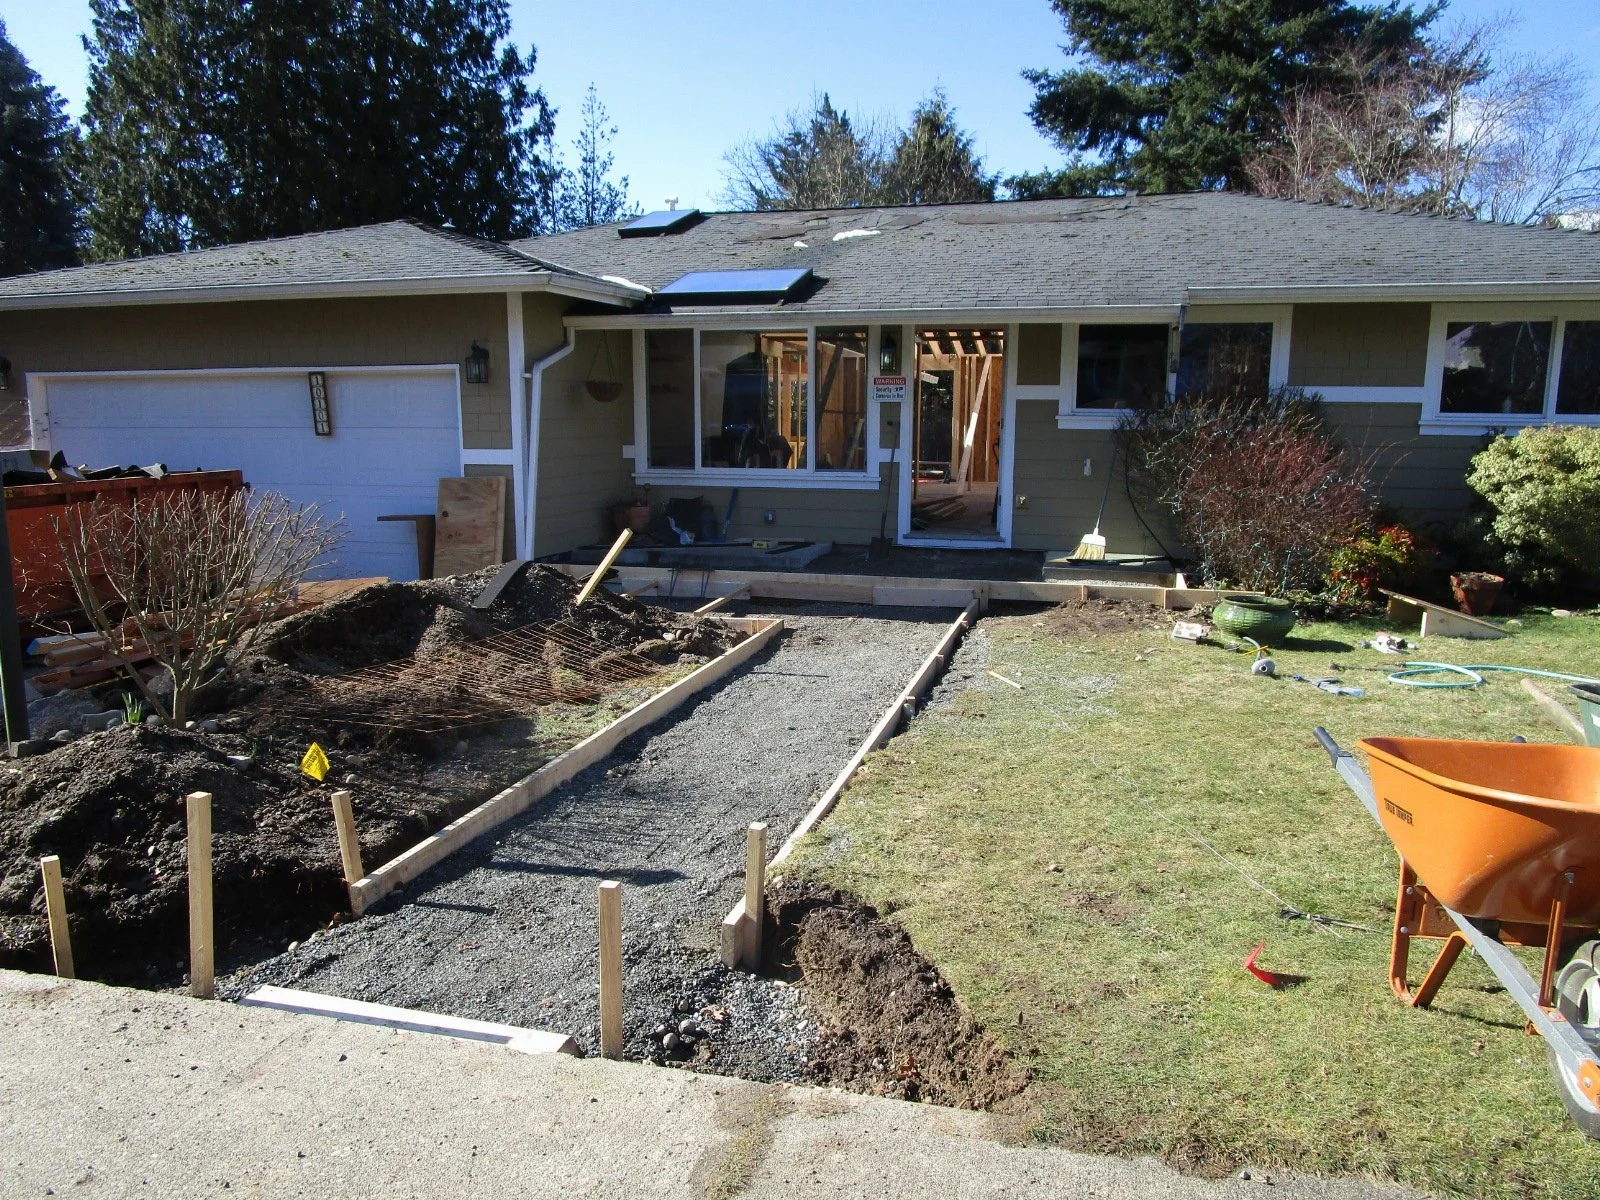
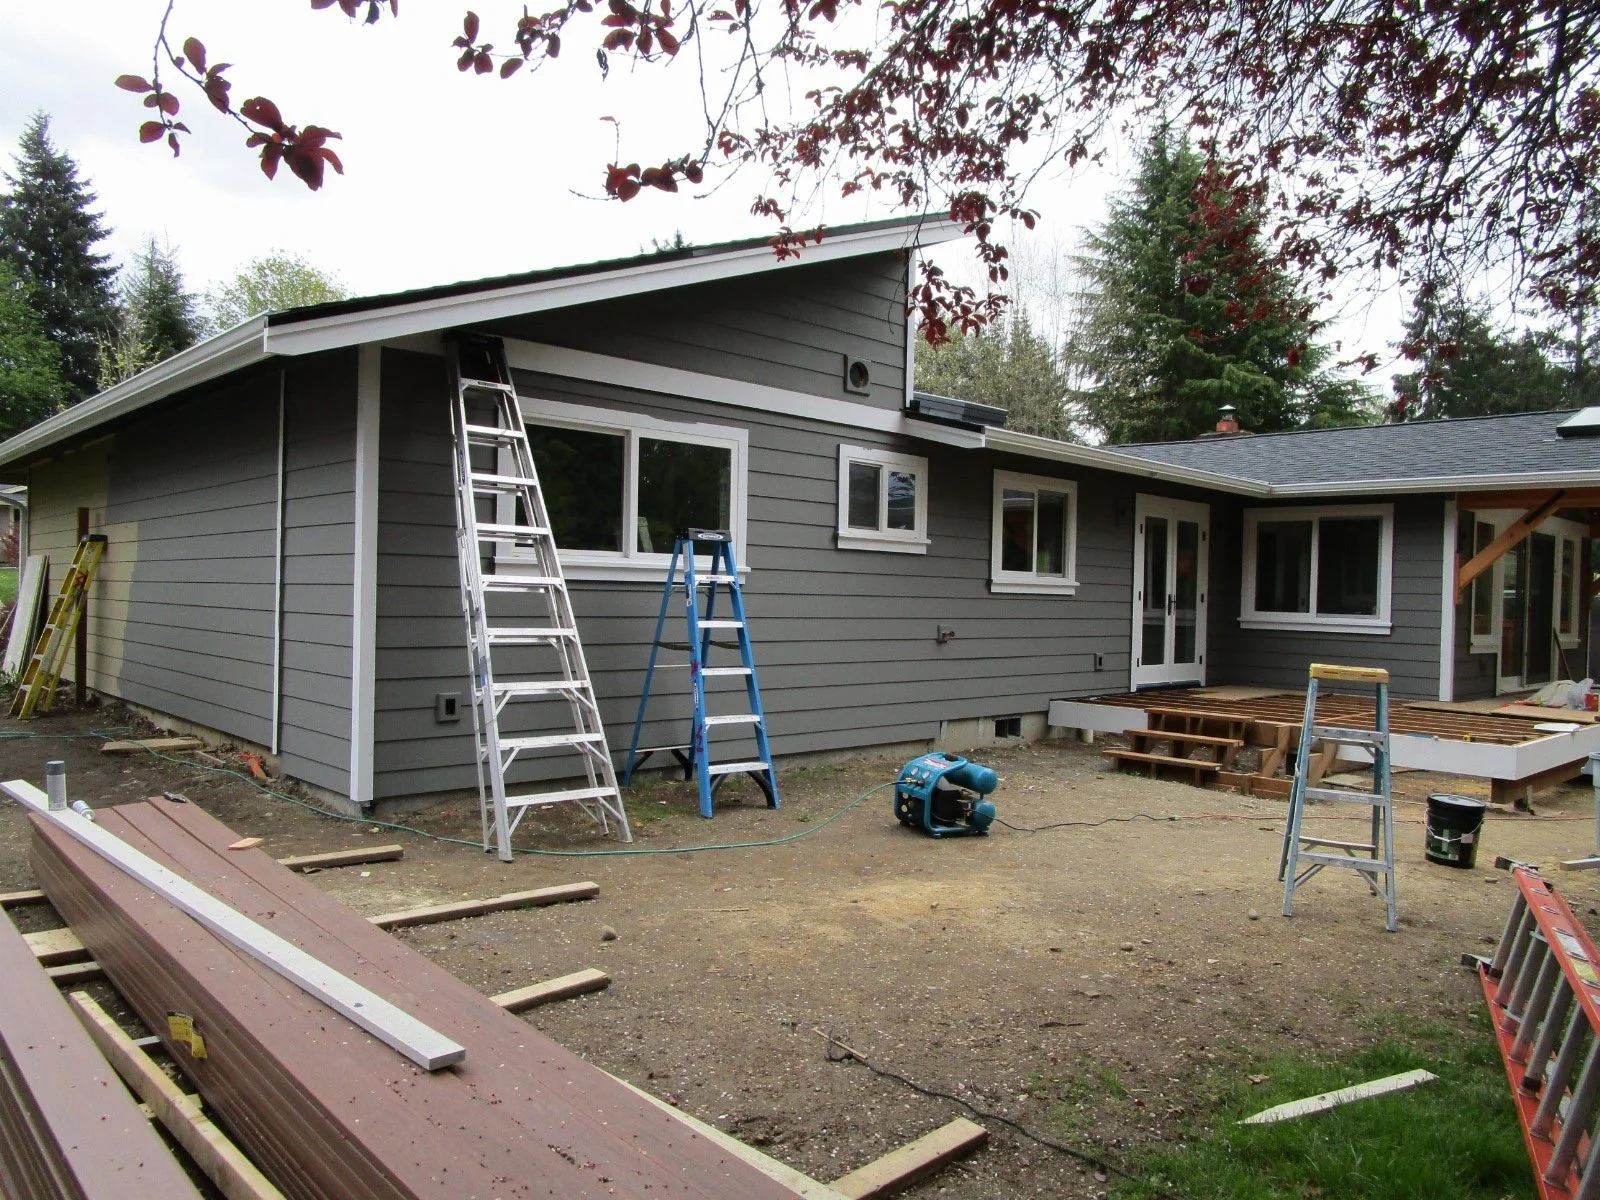
Back of house with old covered deck at the right.
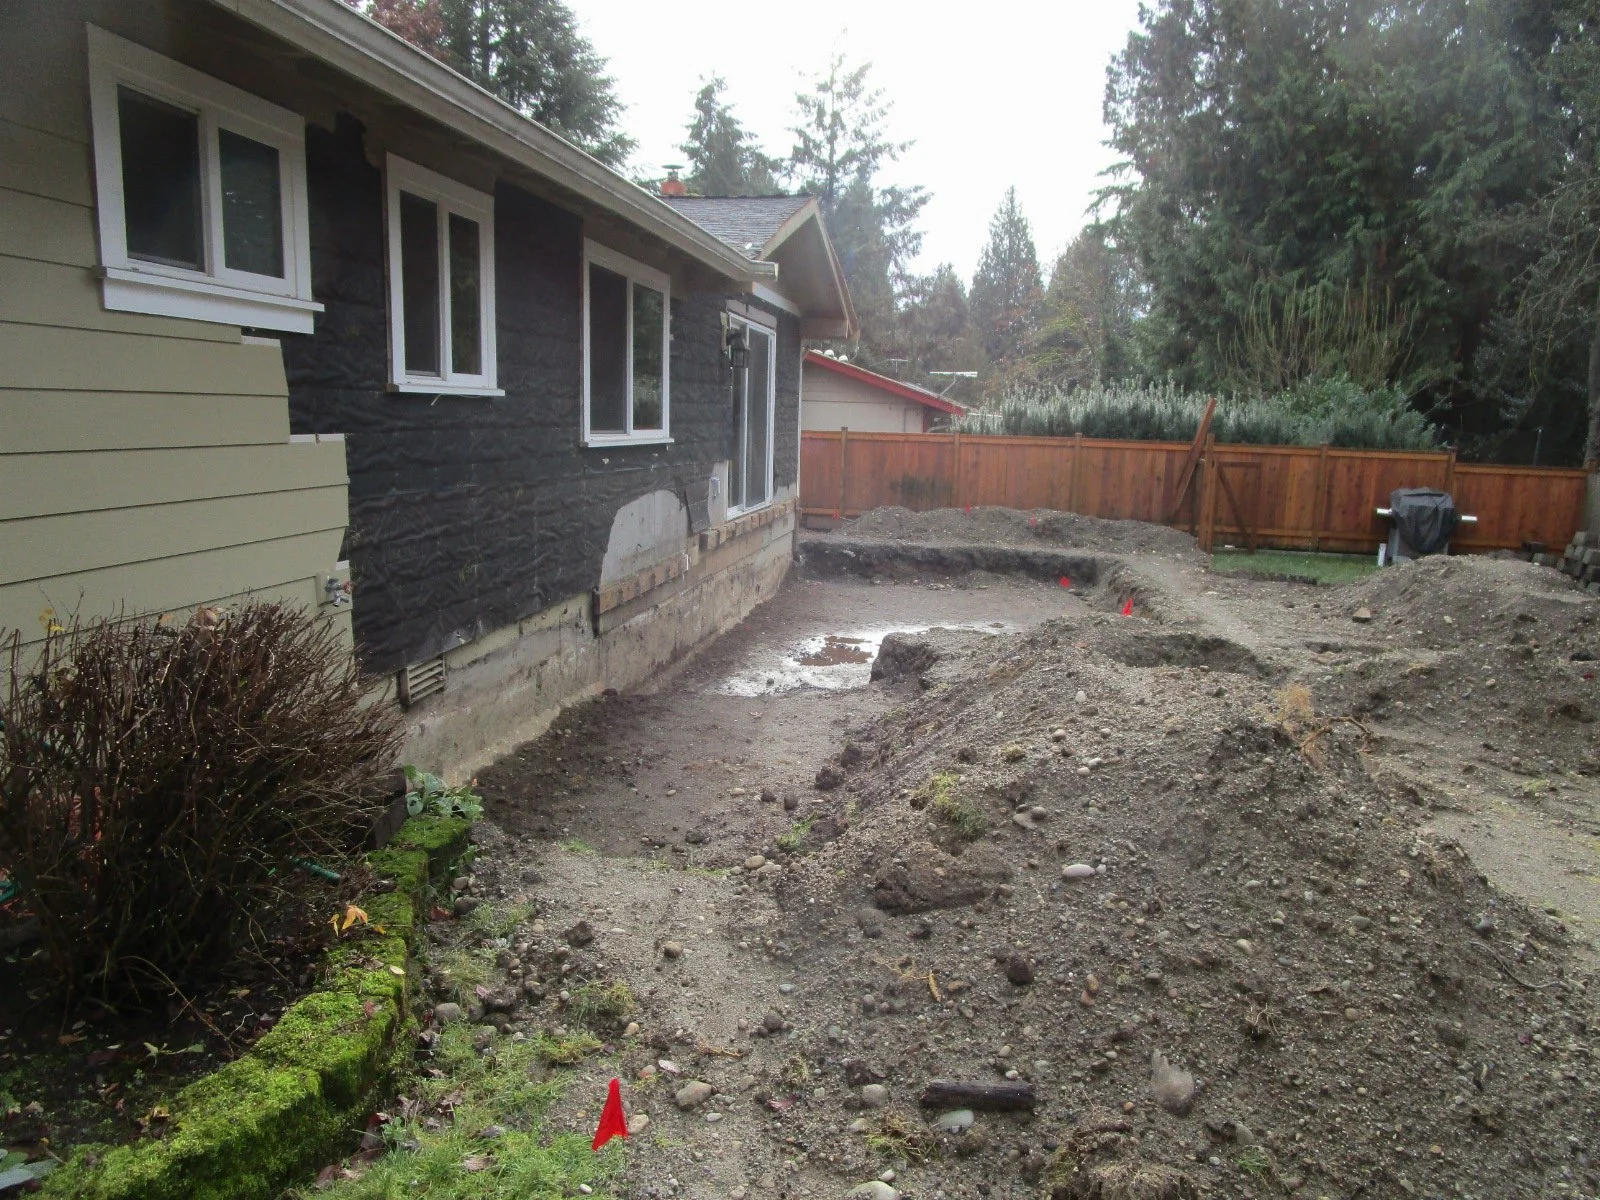
Old deck and roof gone, excavating for foundations.
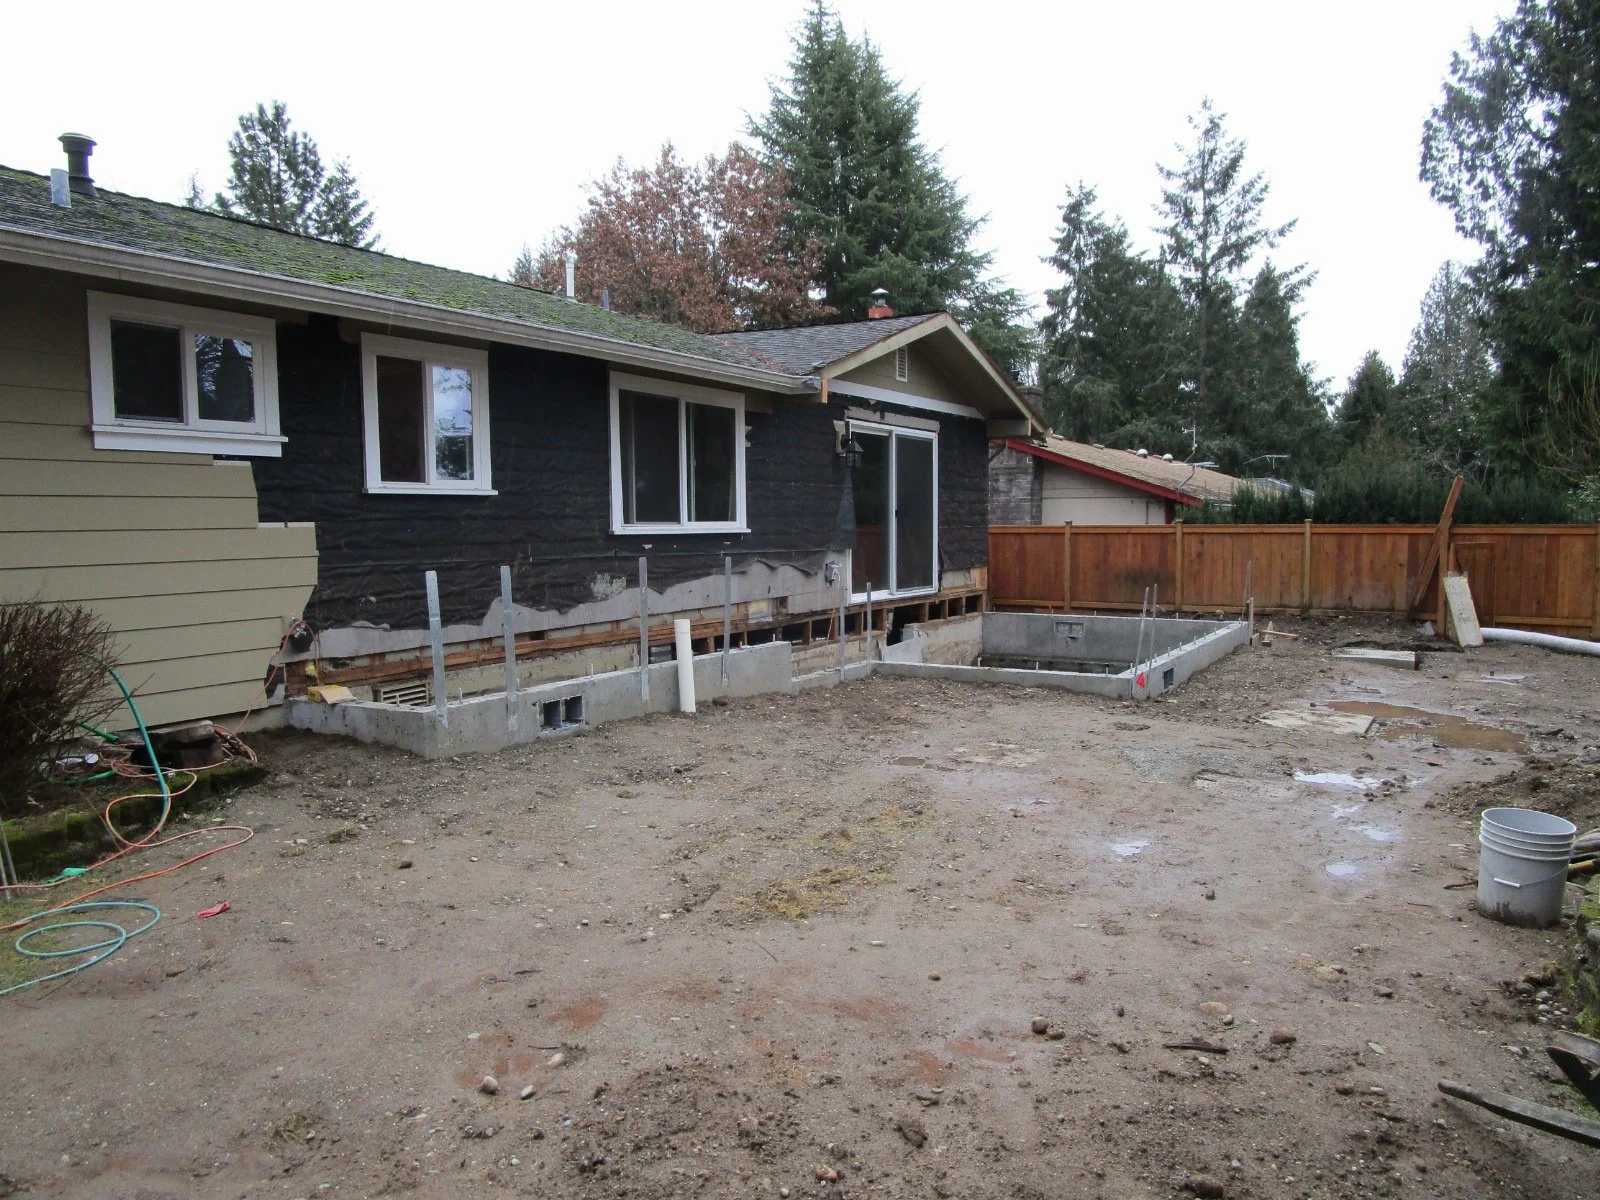
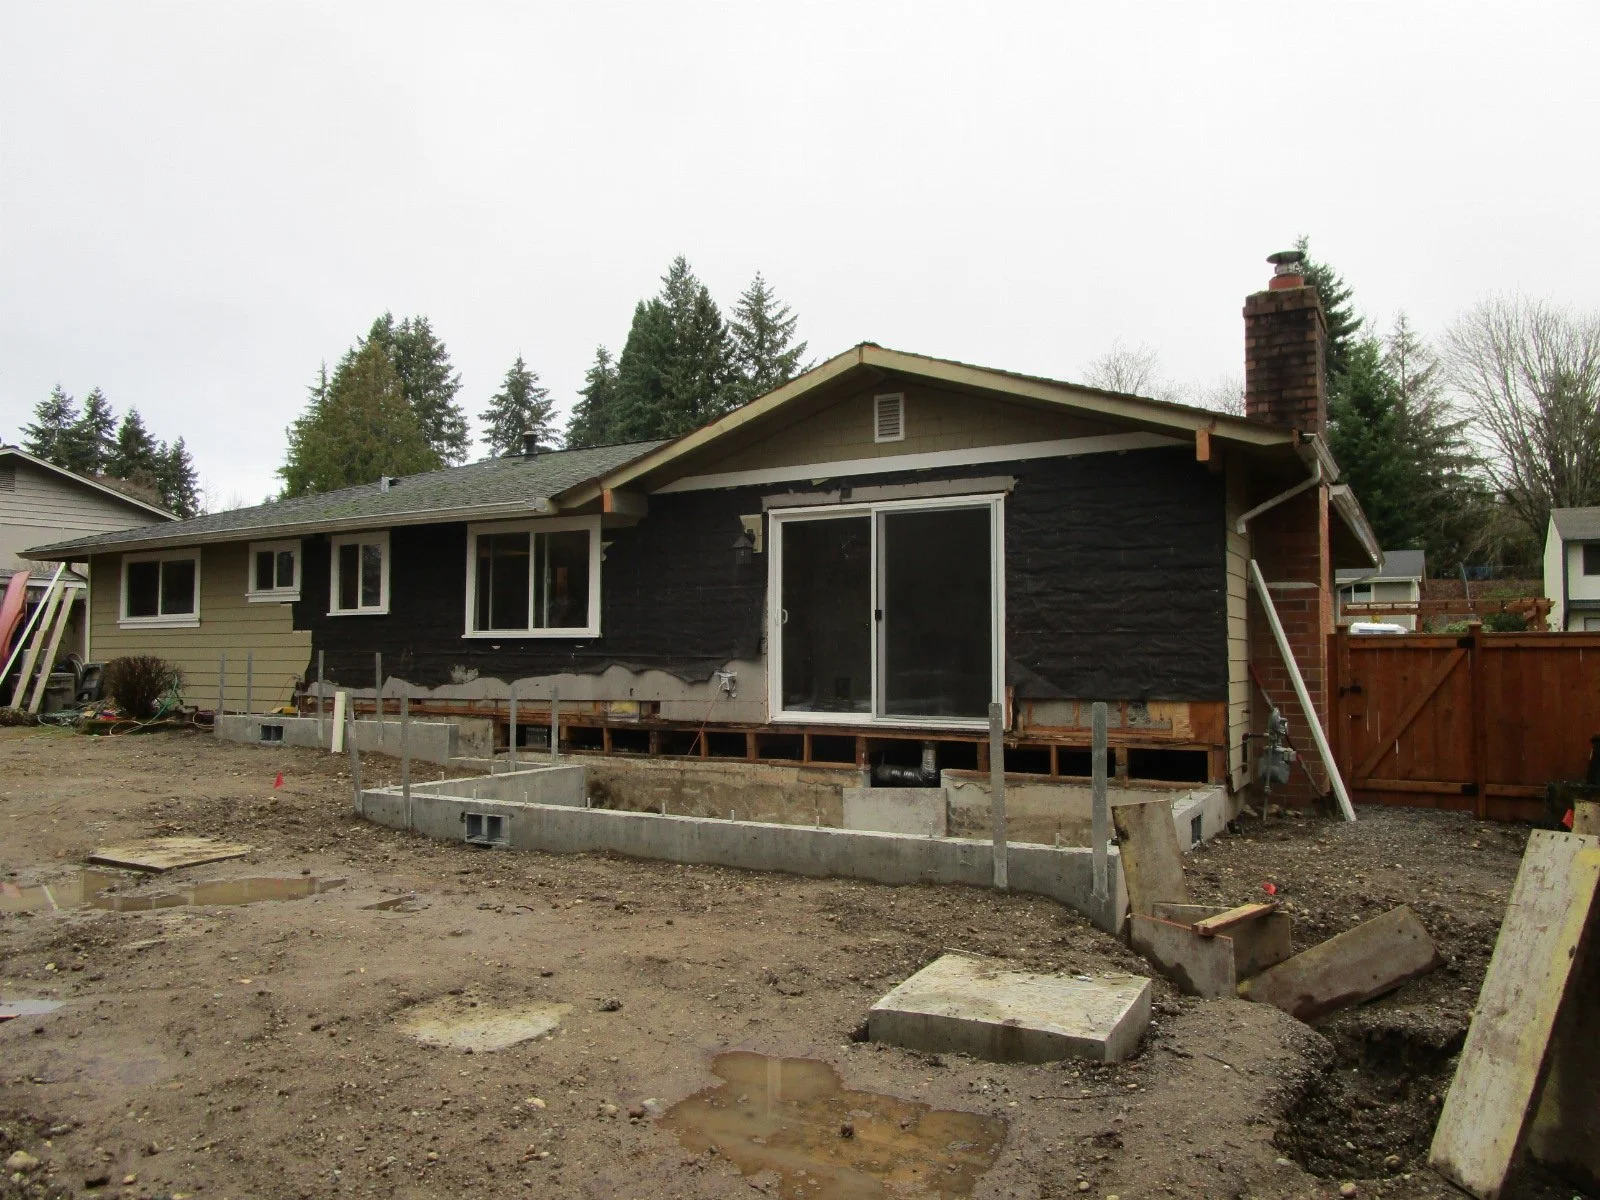
Foundations in!
Concrete pads in the near ground are for deck posts.
All these foundations seem to be getting anchor bolts at 24" OC, used to be 48".
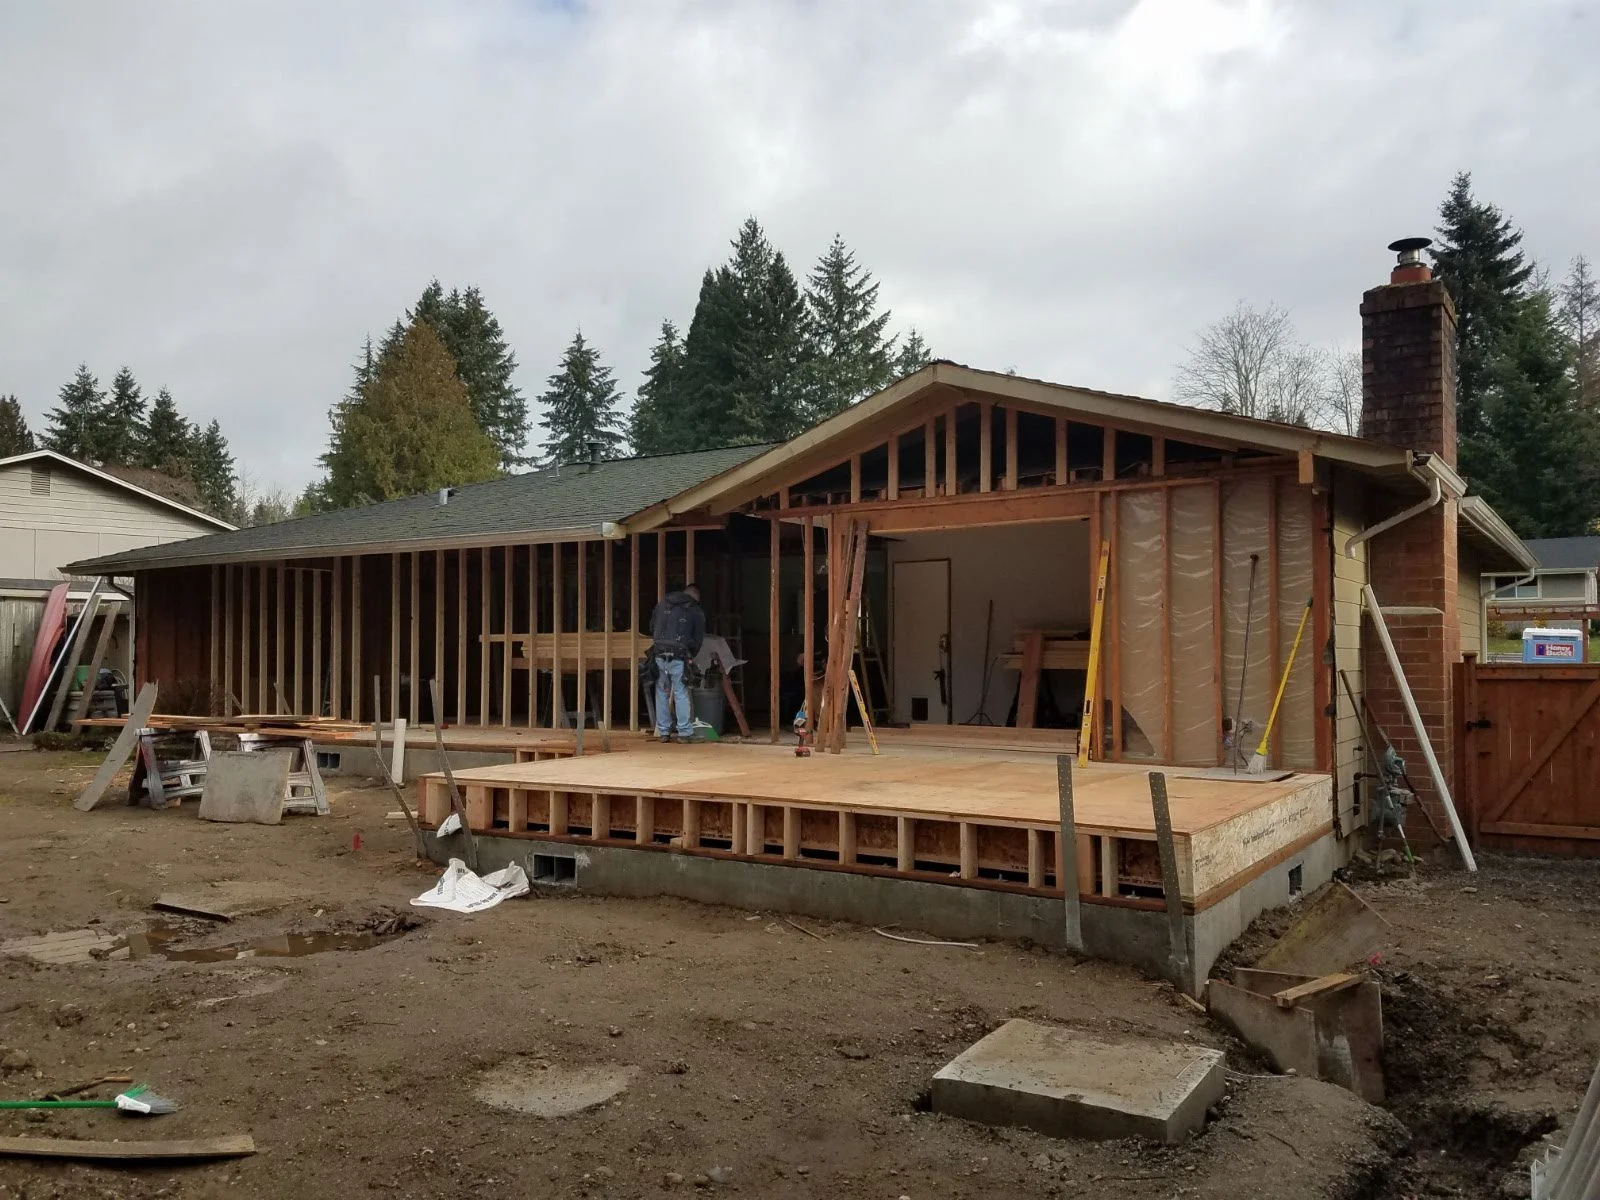
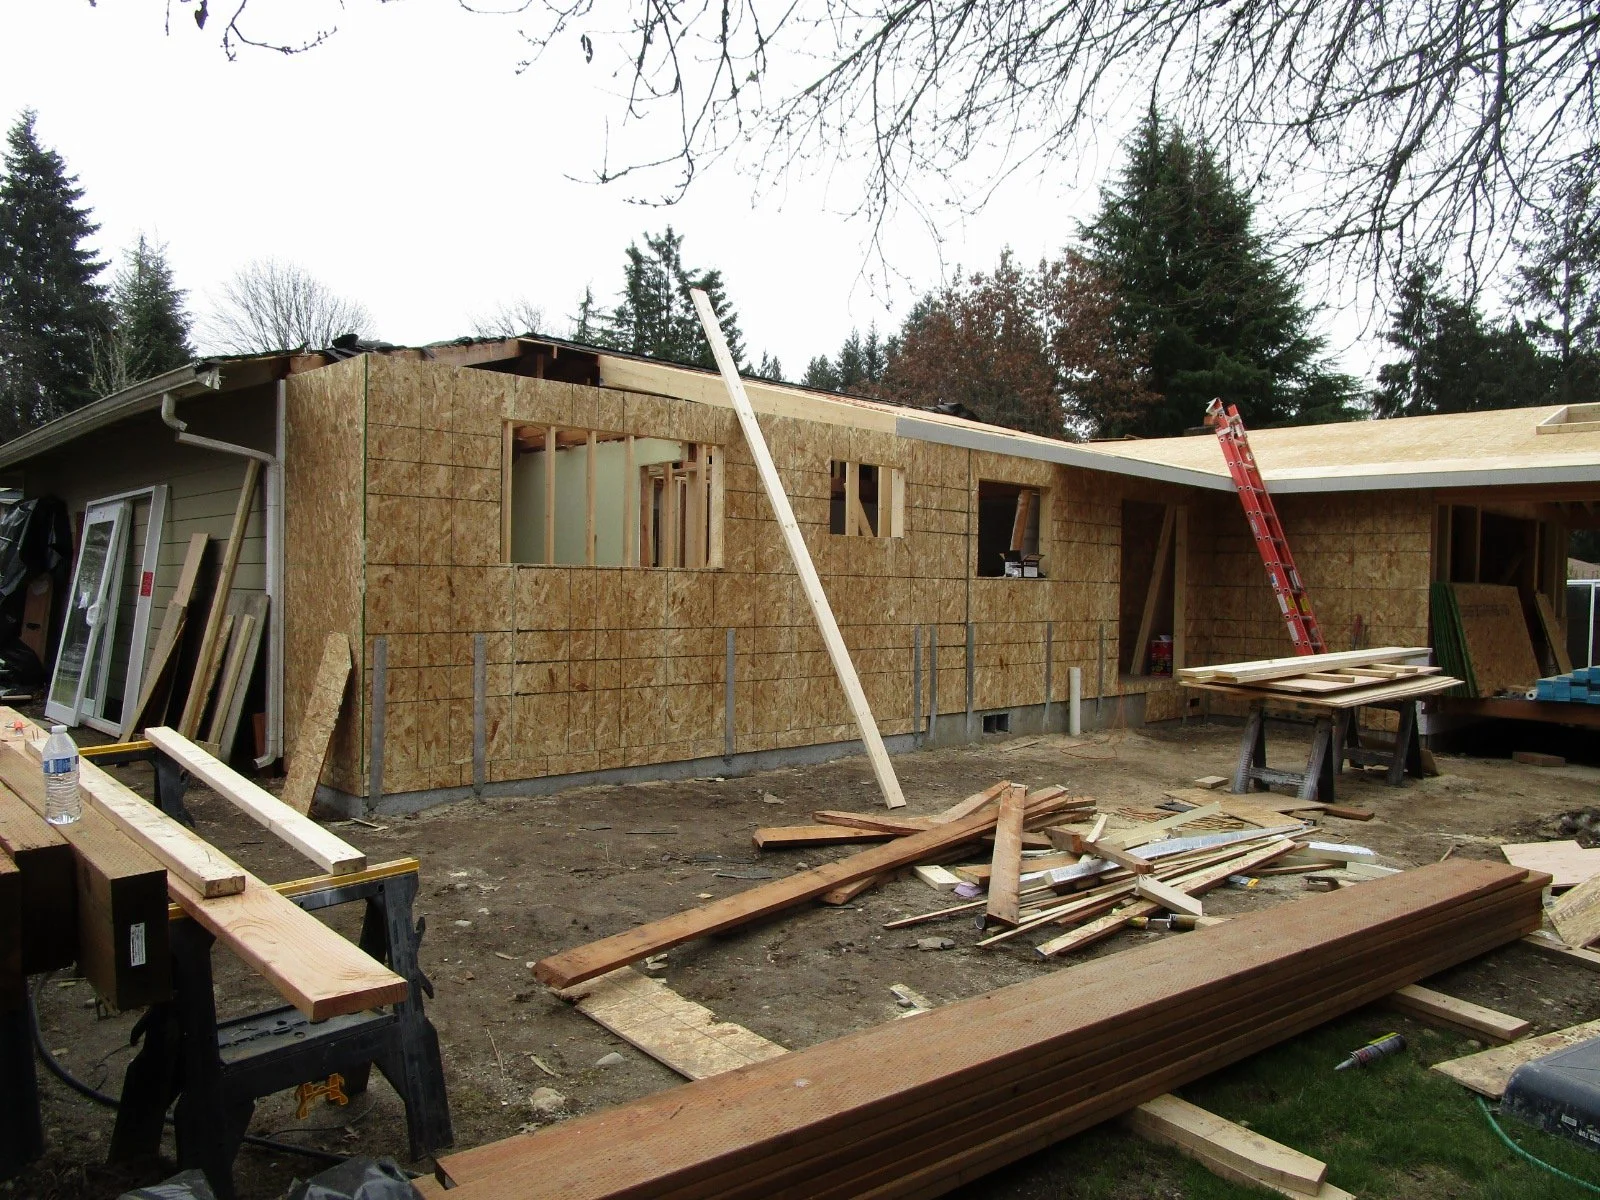
All rear walls removed and floor framed in on the new areas. Owners have decided mid-project they want to also bump out the Master Bedroom which is the room closest to us in this picture.
Problem with bumping out the Master Bedroom 4 feet is we are maxed out on our allowable lot coverage with the approved addition. So we're figuring out how to get this extra space approved mid project.
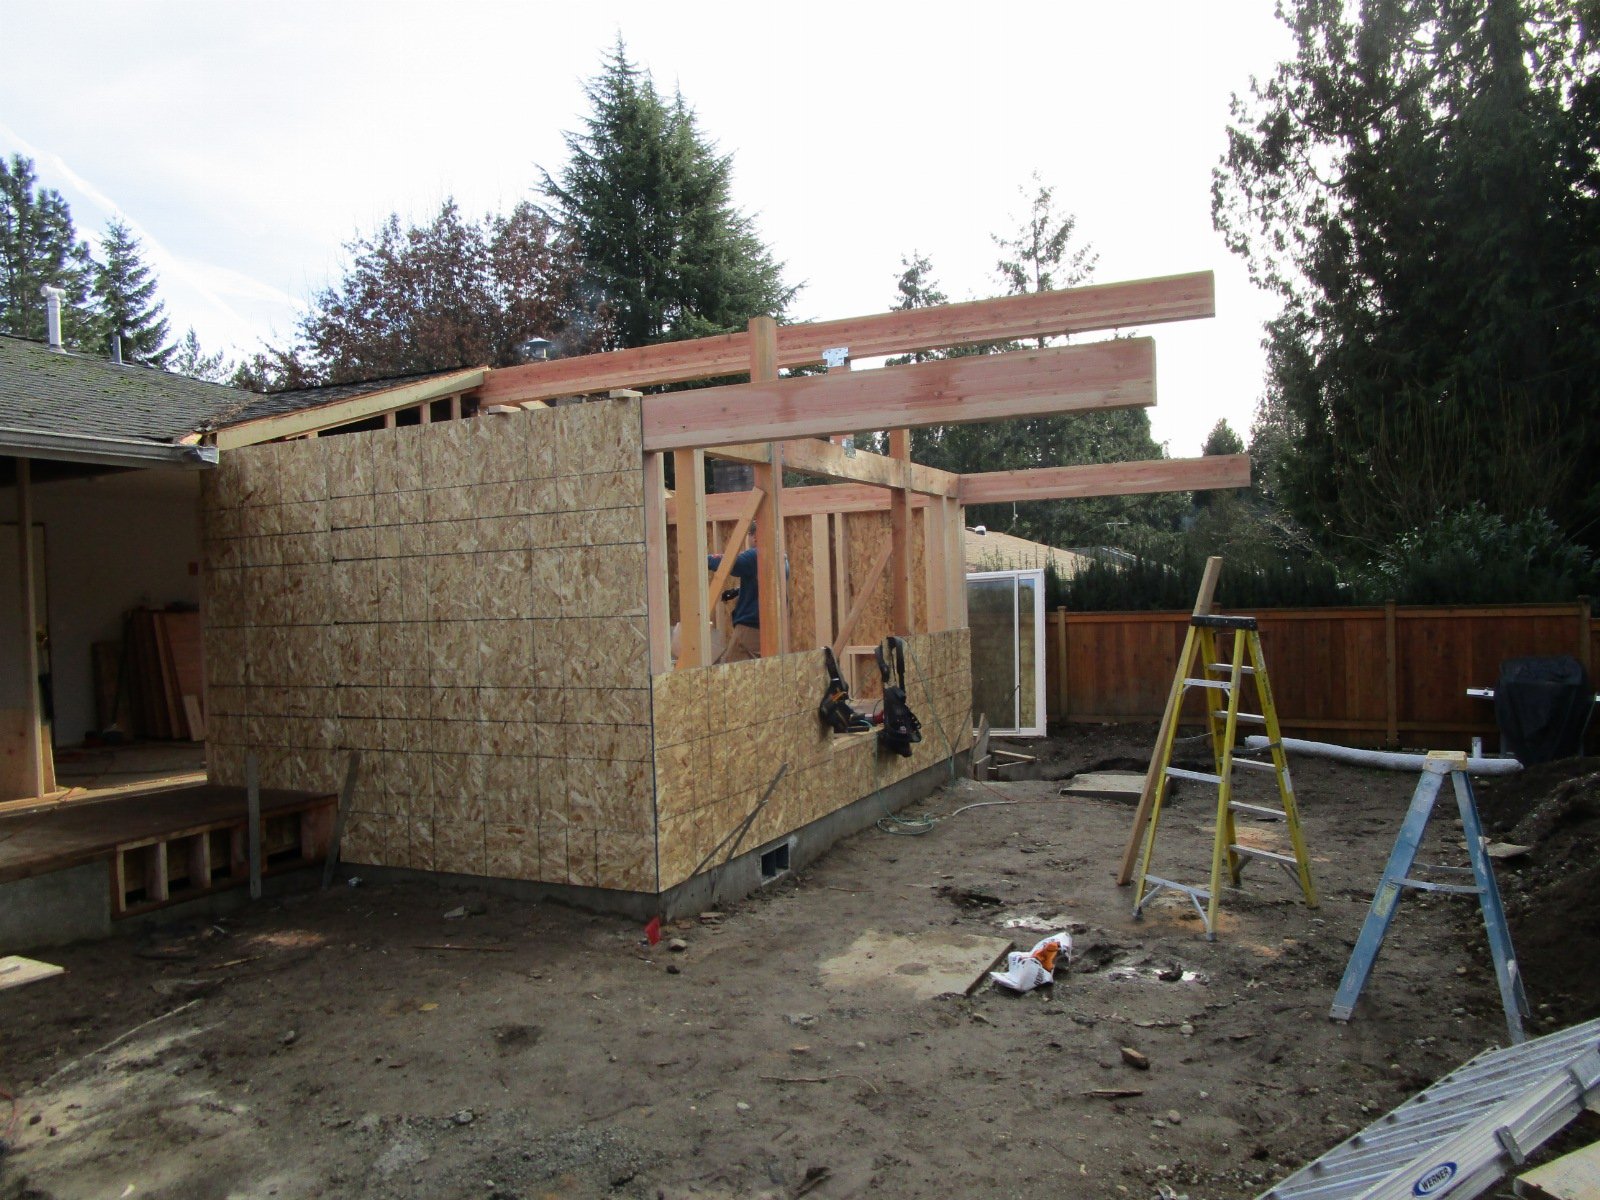
New addition, you can see the anchor bolts now hooked up to the sill plate. TJI floor joists are running side to side (rather than front to back) so we only bear on new foundation.
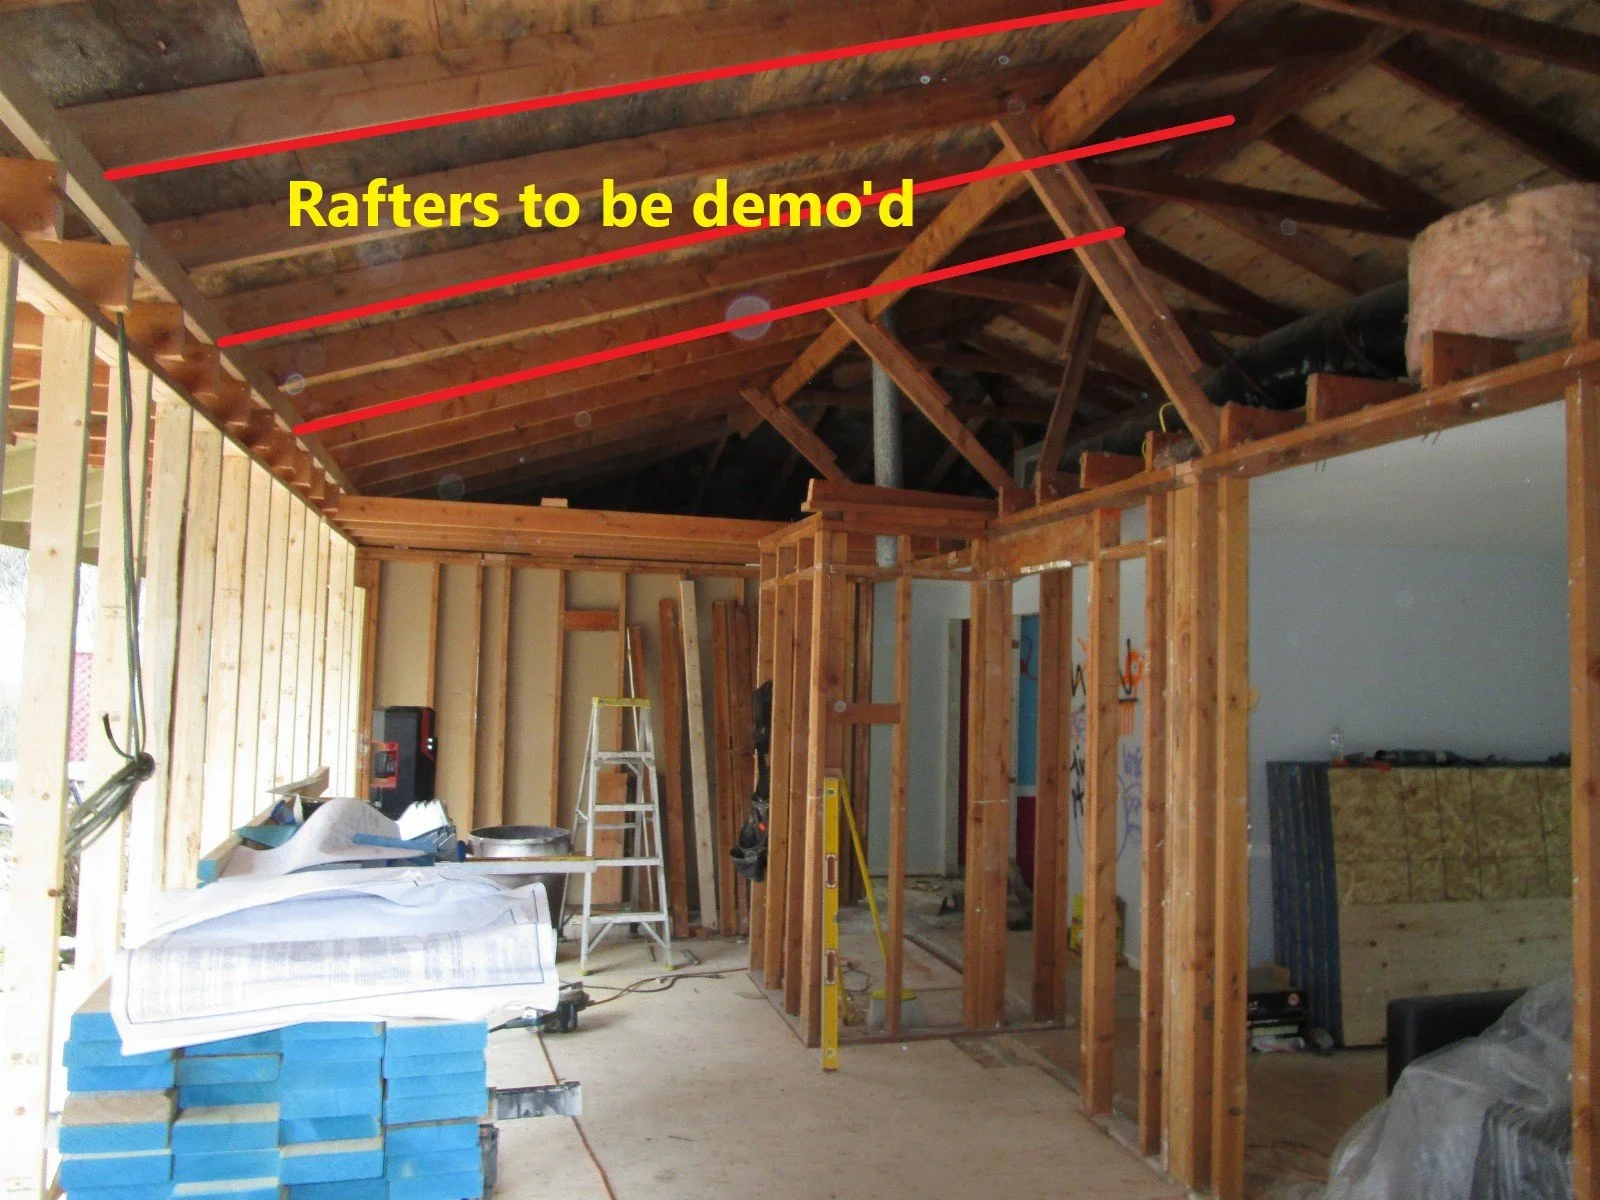
With the ceiling removed, always interesting to see how houses were framed in the 50's. Really minimal amount of framing to get the job done. This will all come out when the new roof rafters are ready
Existing floor system is T&G car decking over floor beams. The T&G spans about 4 feet between beams. Now with things really exposed, we can see the floor has been sagging. So as we open up these rooms
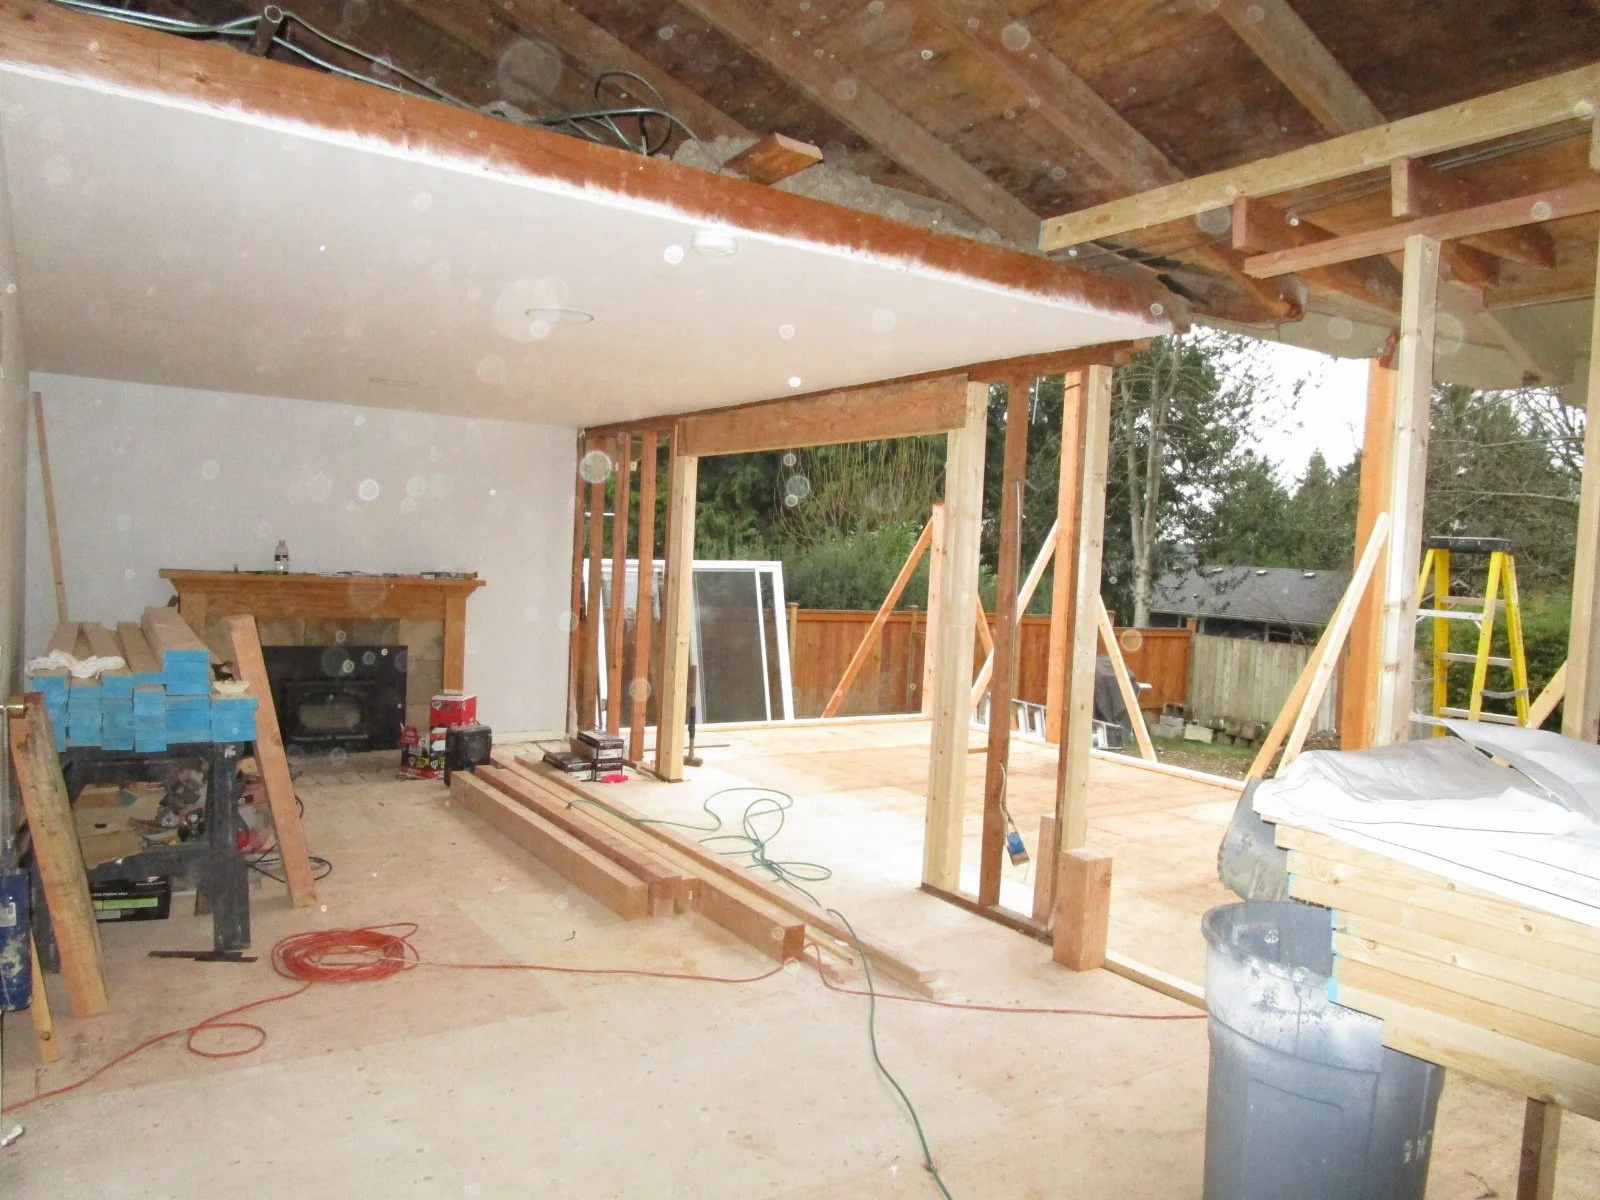
The framed wall along the left is a new temporary support for the existing roof. The exterior wall has been removed. The area in red will be a bump out of the Master Bedroom that the owners have just
Red line notes were the original exterior bearing wall was. The bump out mid picture to the right is for the kitchen/dining. Sun Room in the distance.
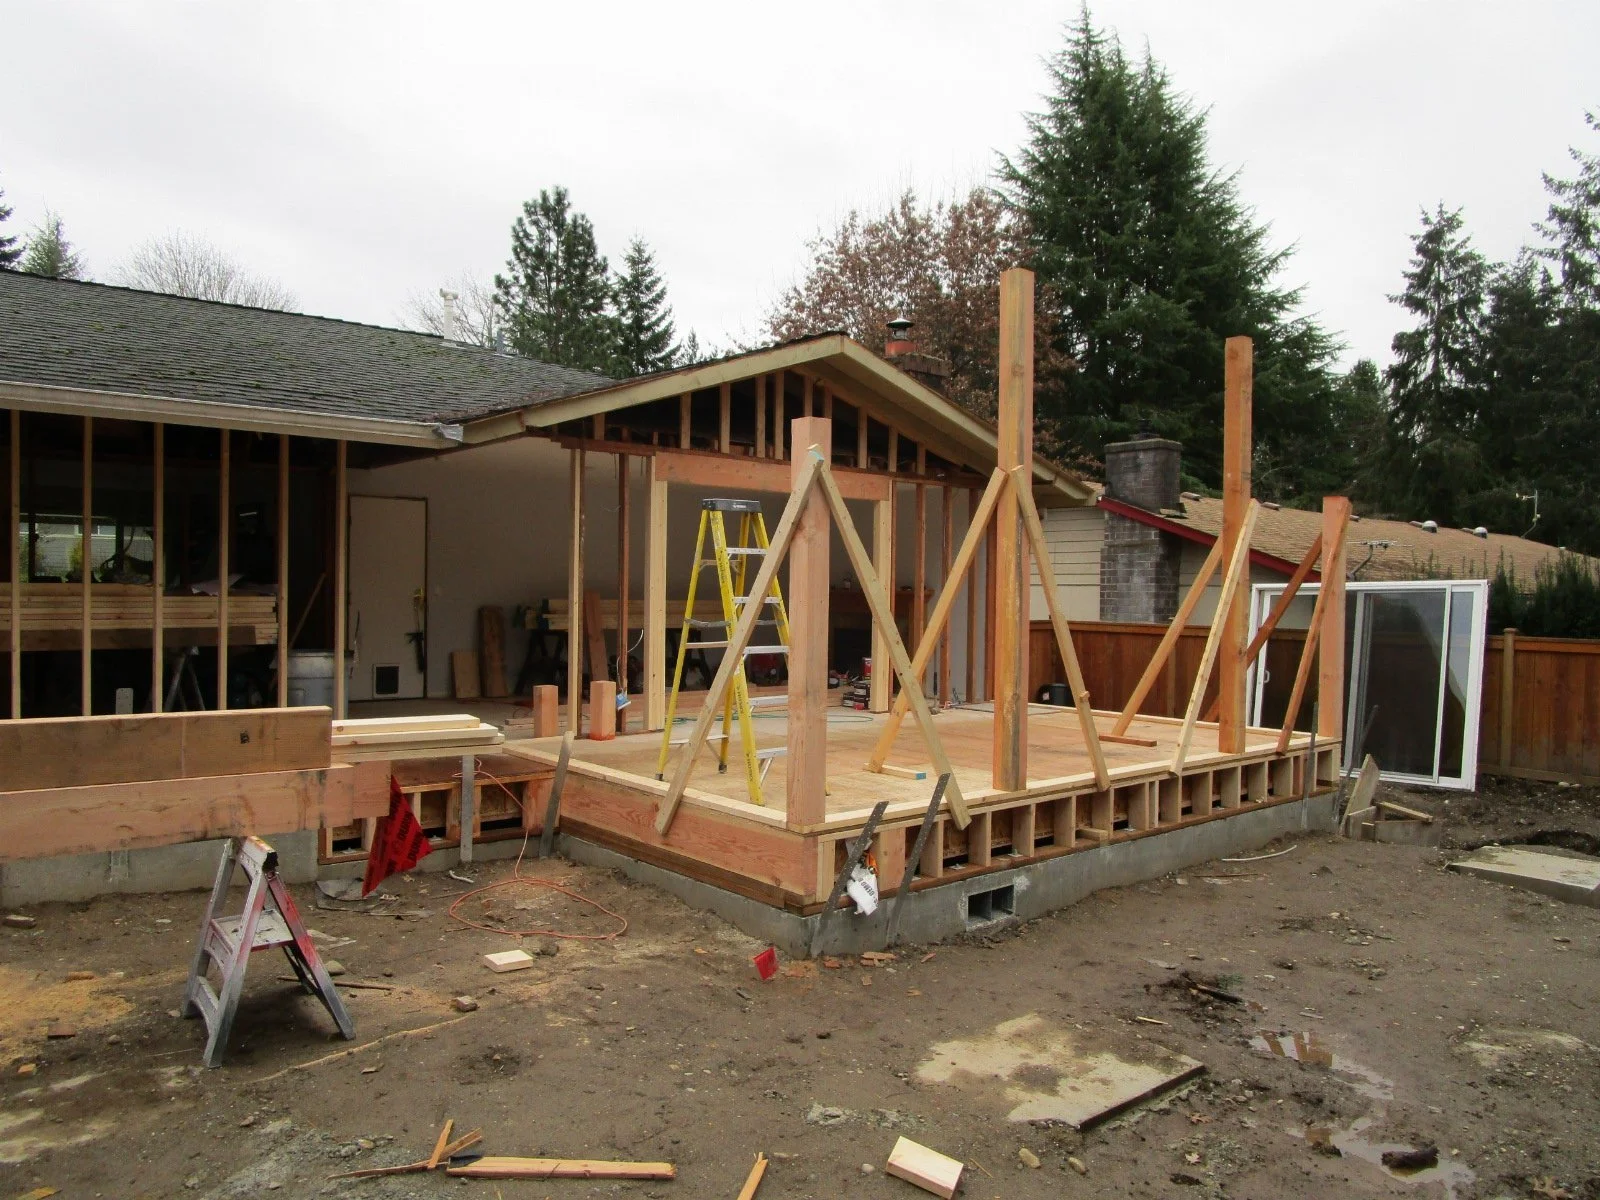
New posts for the future Sun Room.
Eventually there will be a new covered deck in front of the Sun Room, with a seamless extension of the sun room roof over the deck.
Little by little they are taking the existing house apart, as they do the work. Yes, the family has moved out of the house.
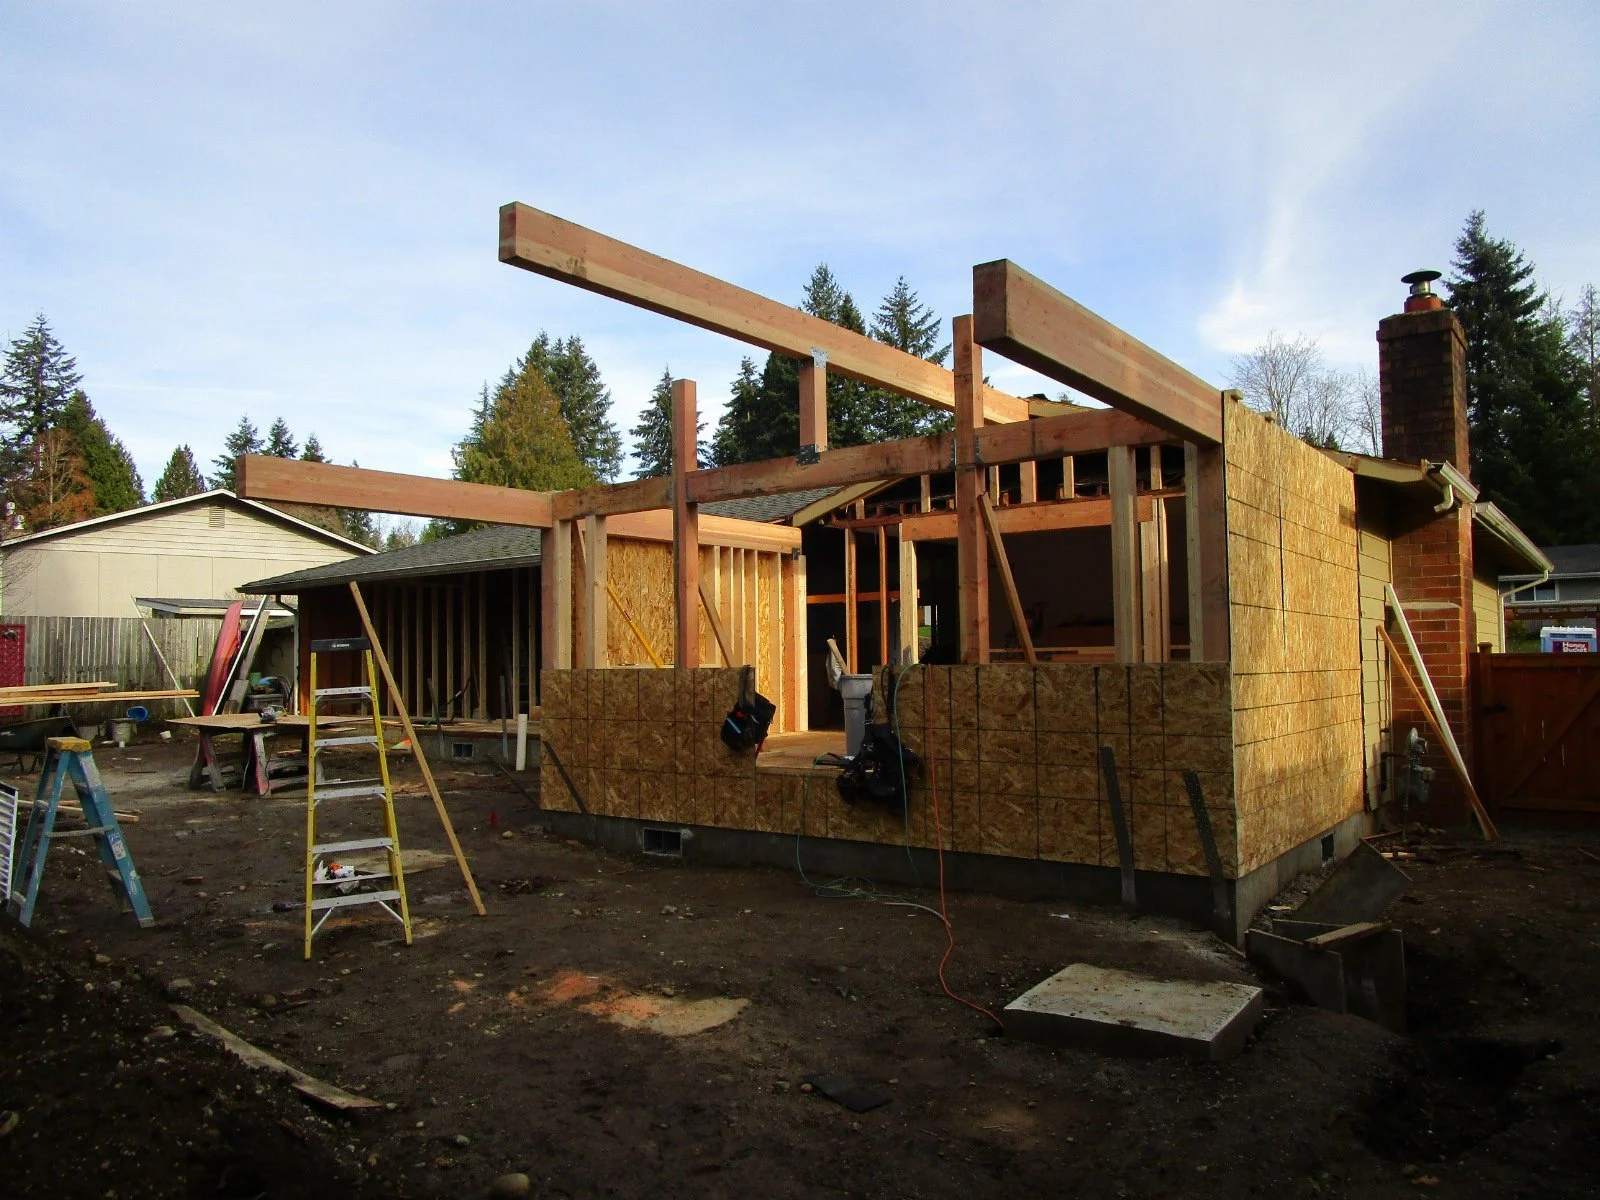
Eventually all of these rafters to the ridge will be removed. New rafters will span from the ridge out to the new exterior wall. And, the ceiling will be vaulted.
Blue is existing, red dashed is stuff coming out, and black is the new wall and roof slope.
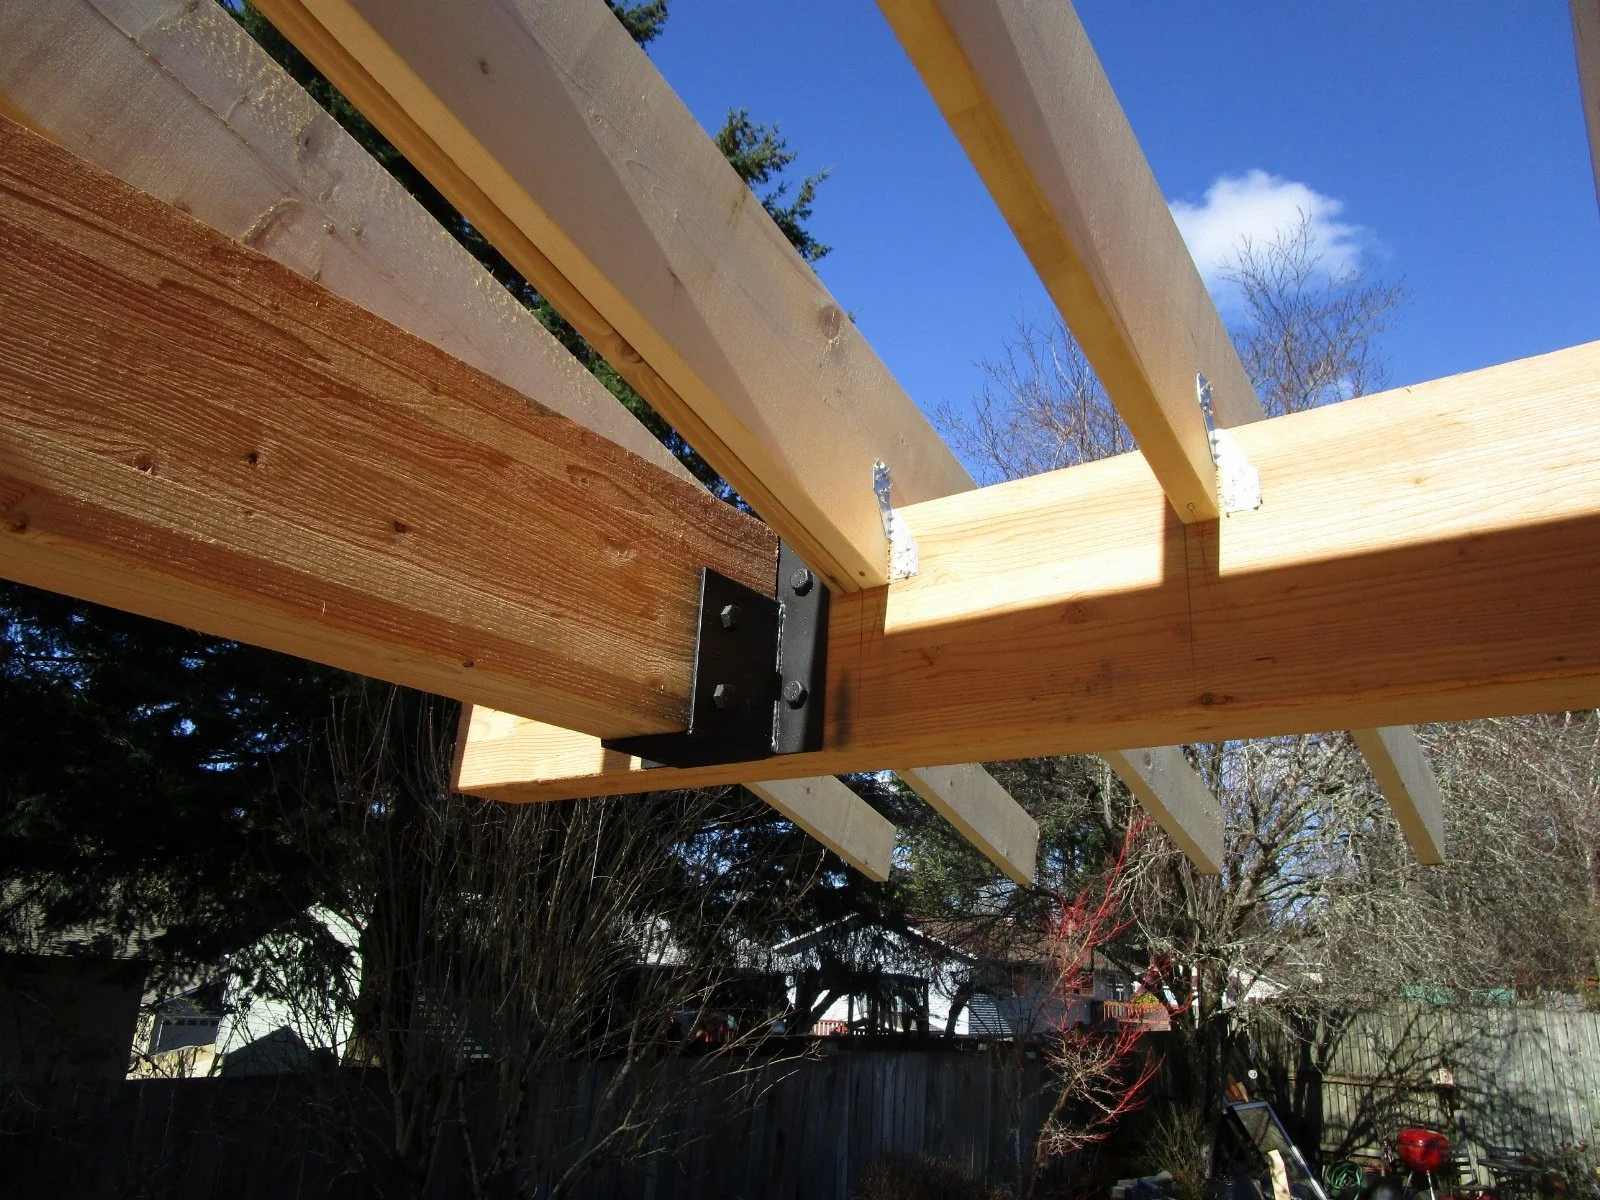
The cantilever beams were to have columns at the ends to support them. But to add the 4' bump to the bedroom mid project, we had to re-engineer the beams to be cantilever beams. This way without the p
Fast forward a few weeks. There will eventually be some decorative elbow braces to help support the cantilever.
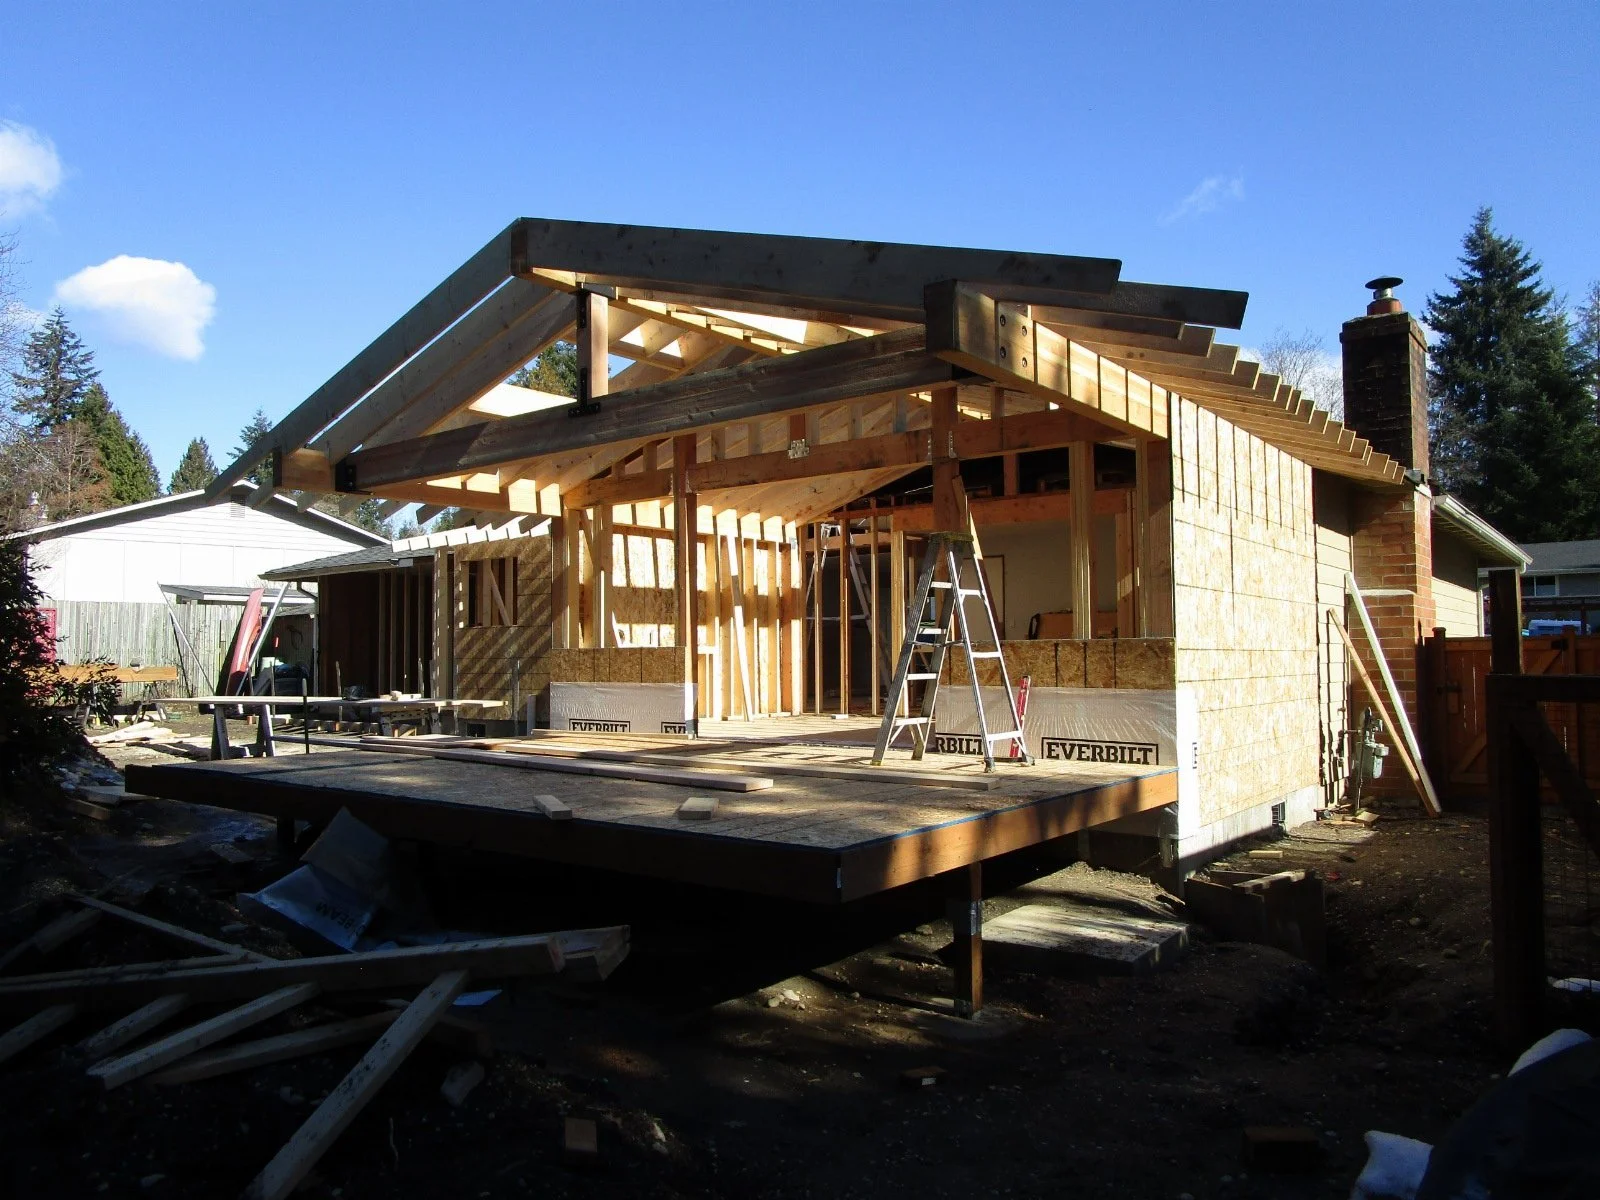
Early view from the other side.
And a couple of weeks later.
With big skylights eventually.
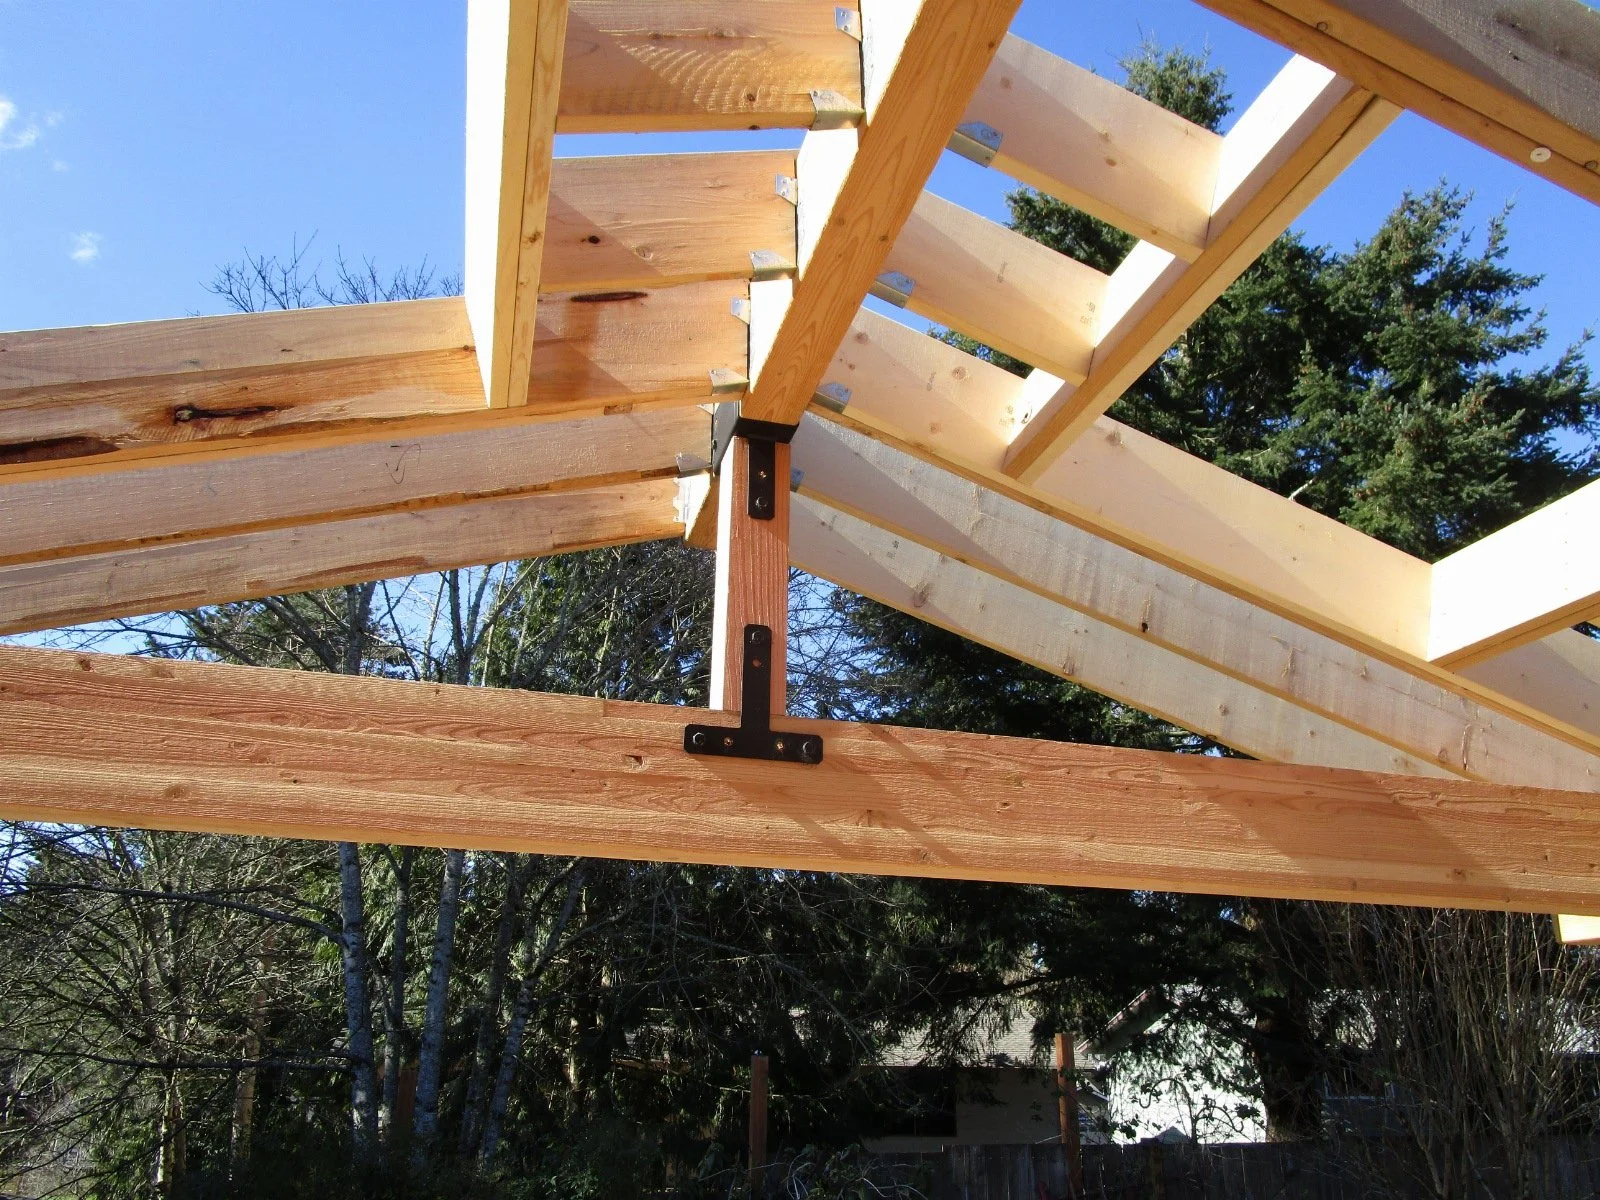
Special brackets to support the beams.
Meanwhile out front, we are adding an alcove entry and covered entry stoop. That framing has not started yet. First, pour the concrete.
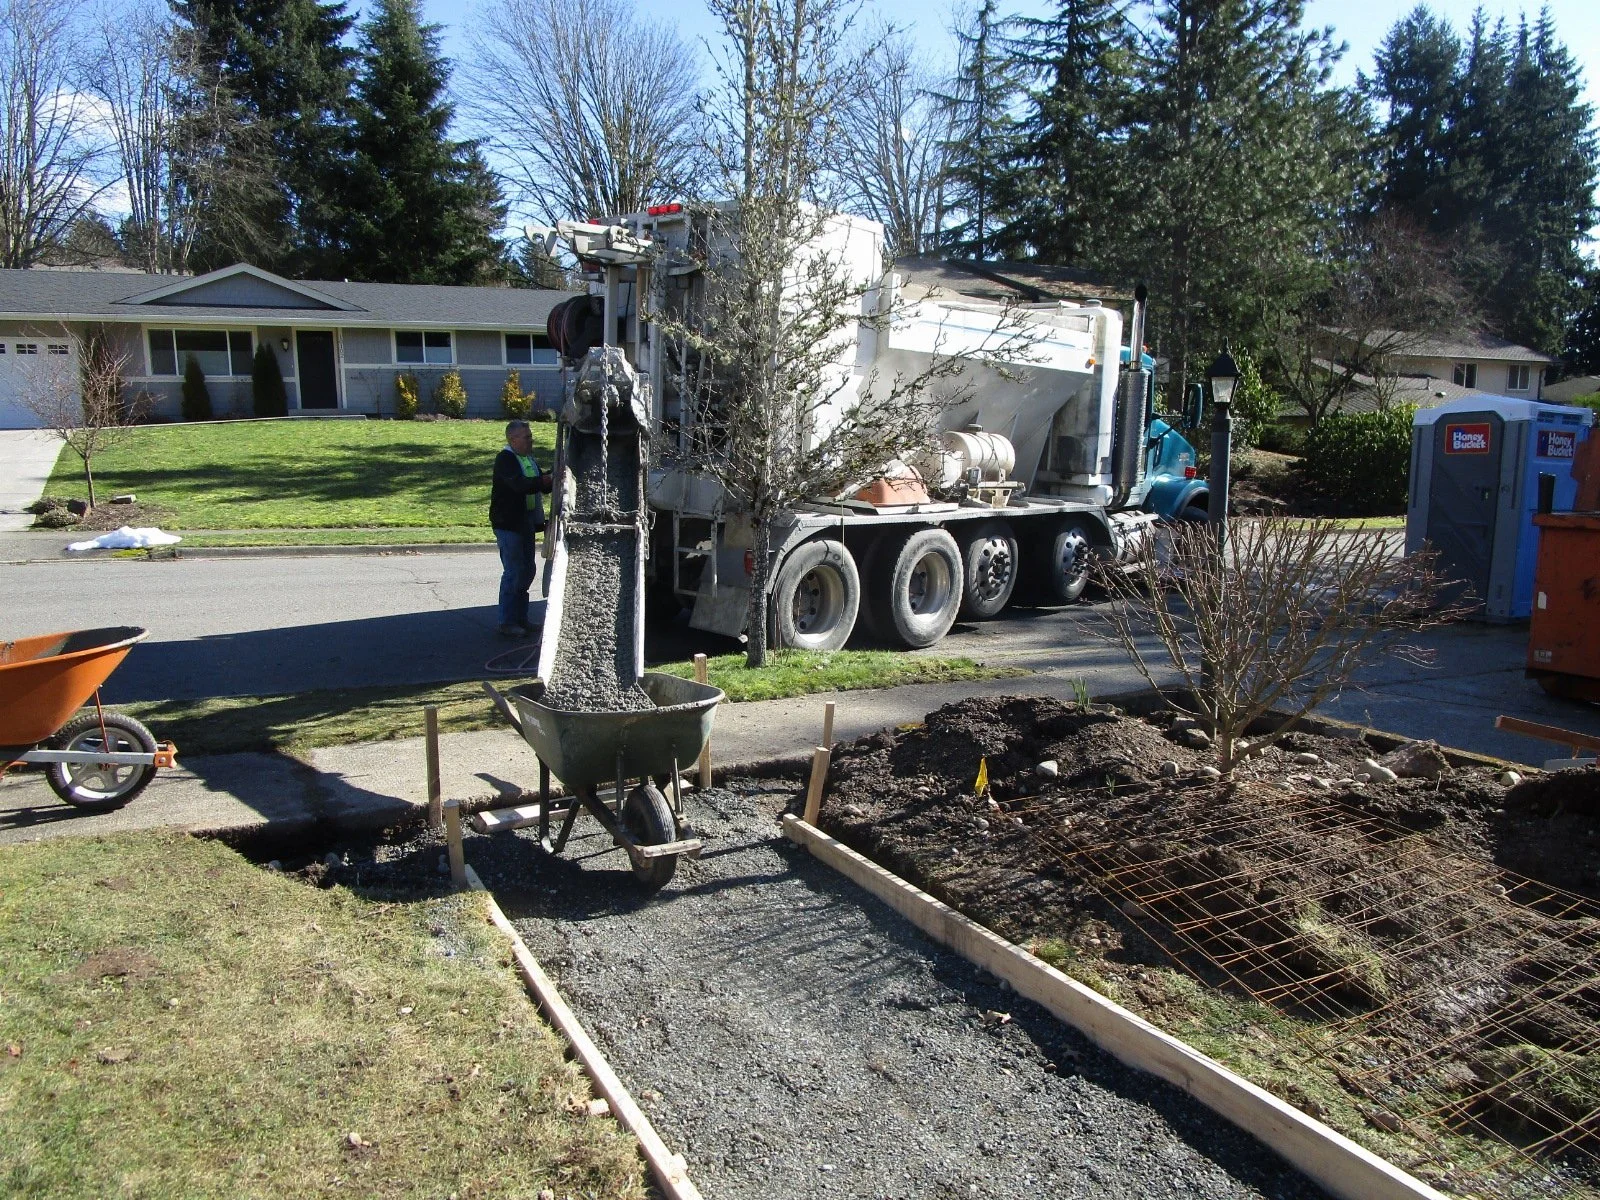
Little mini concrete truck that mixes the batch right at the site. Great for if you need just a oouple of yards.
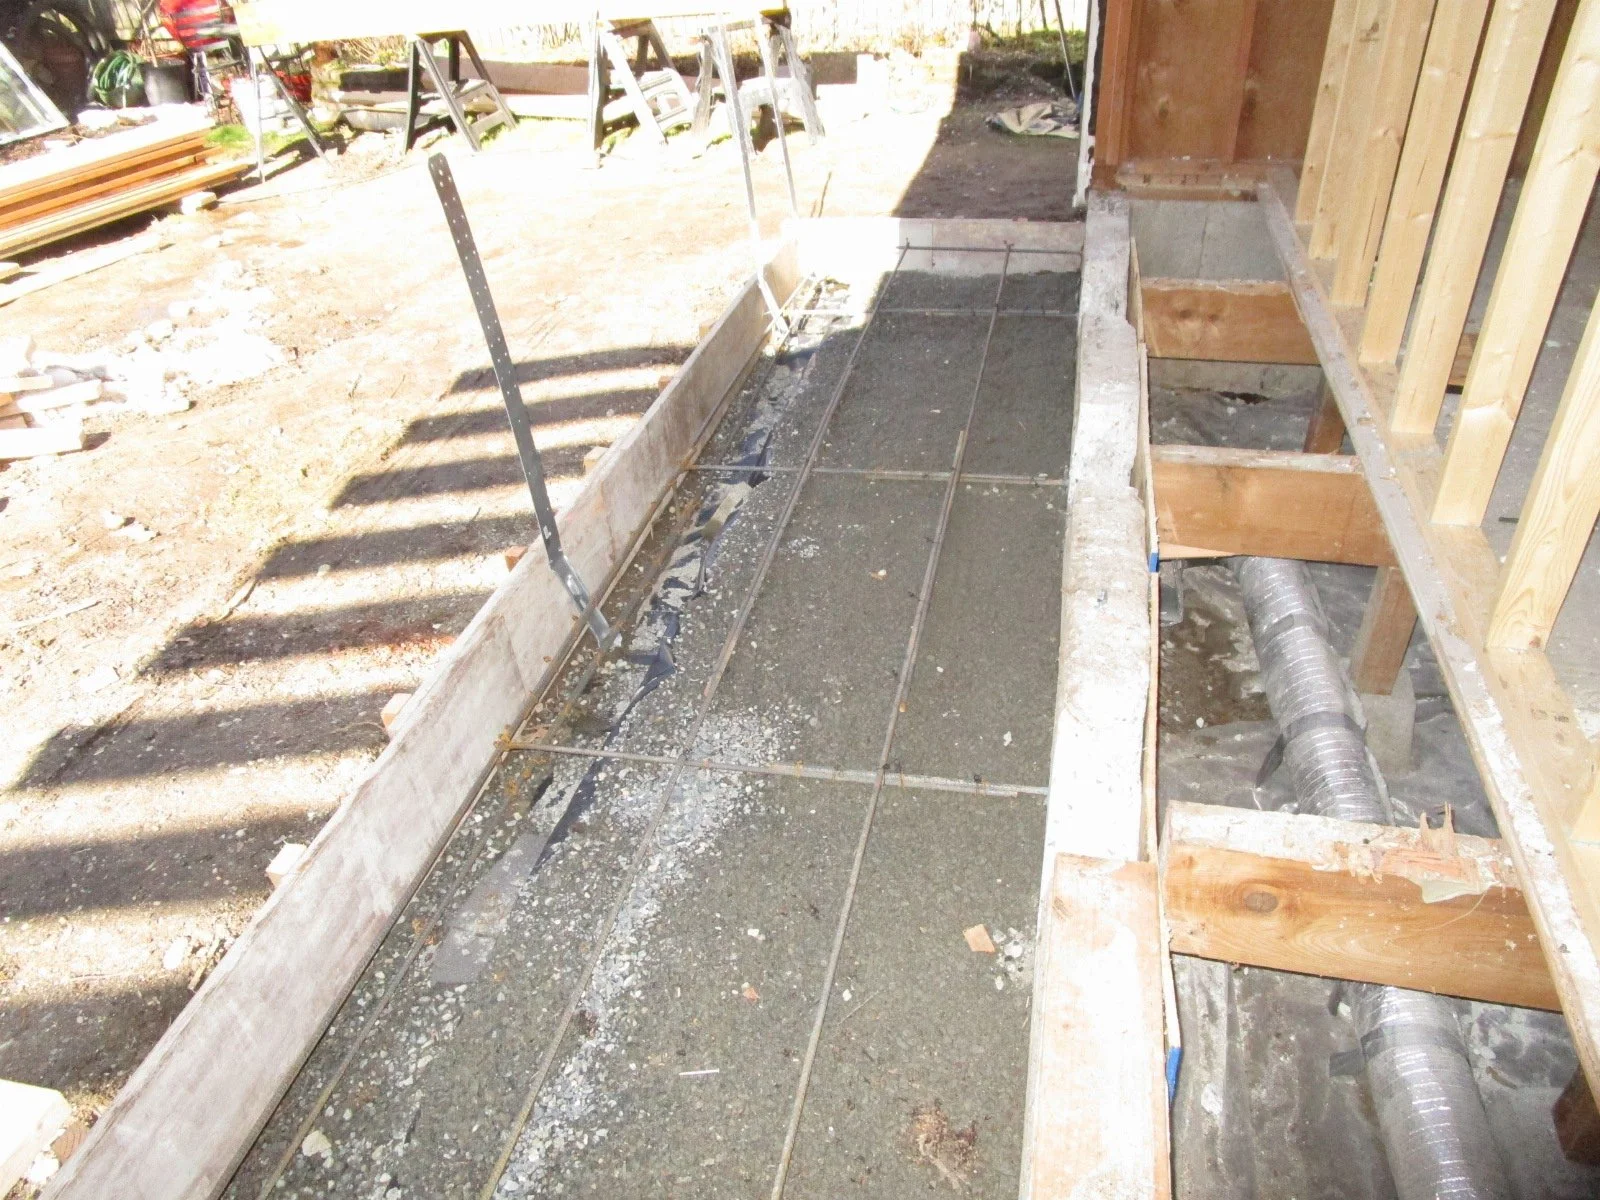
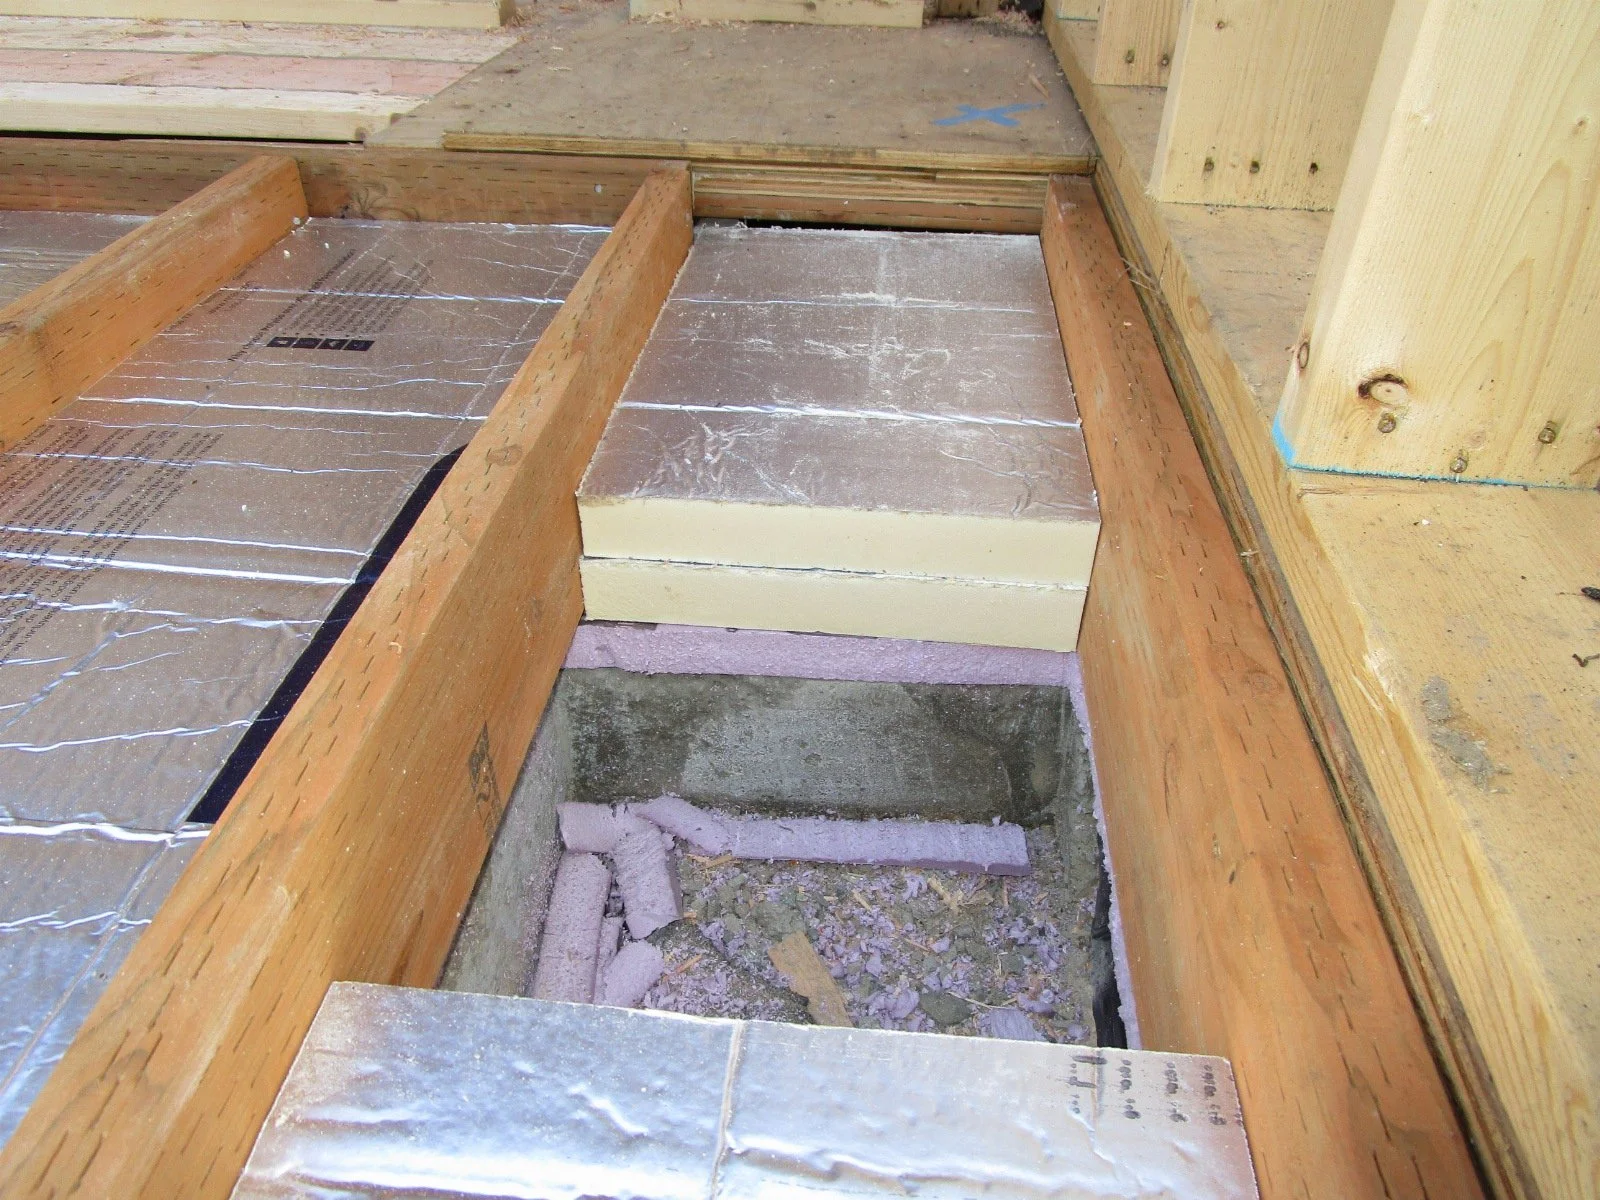
On these mid project bump outs, we doing a concrete slab floor, rather than building a crawl space (crawl space peeks out on the right.
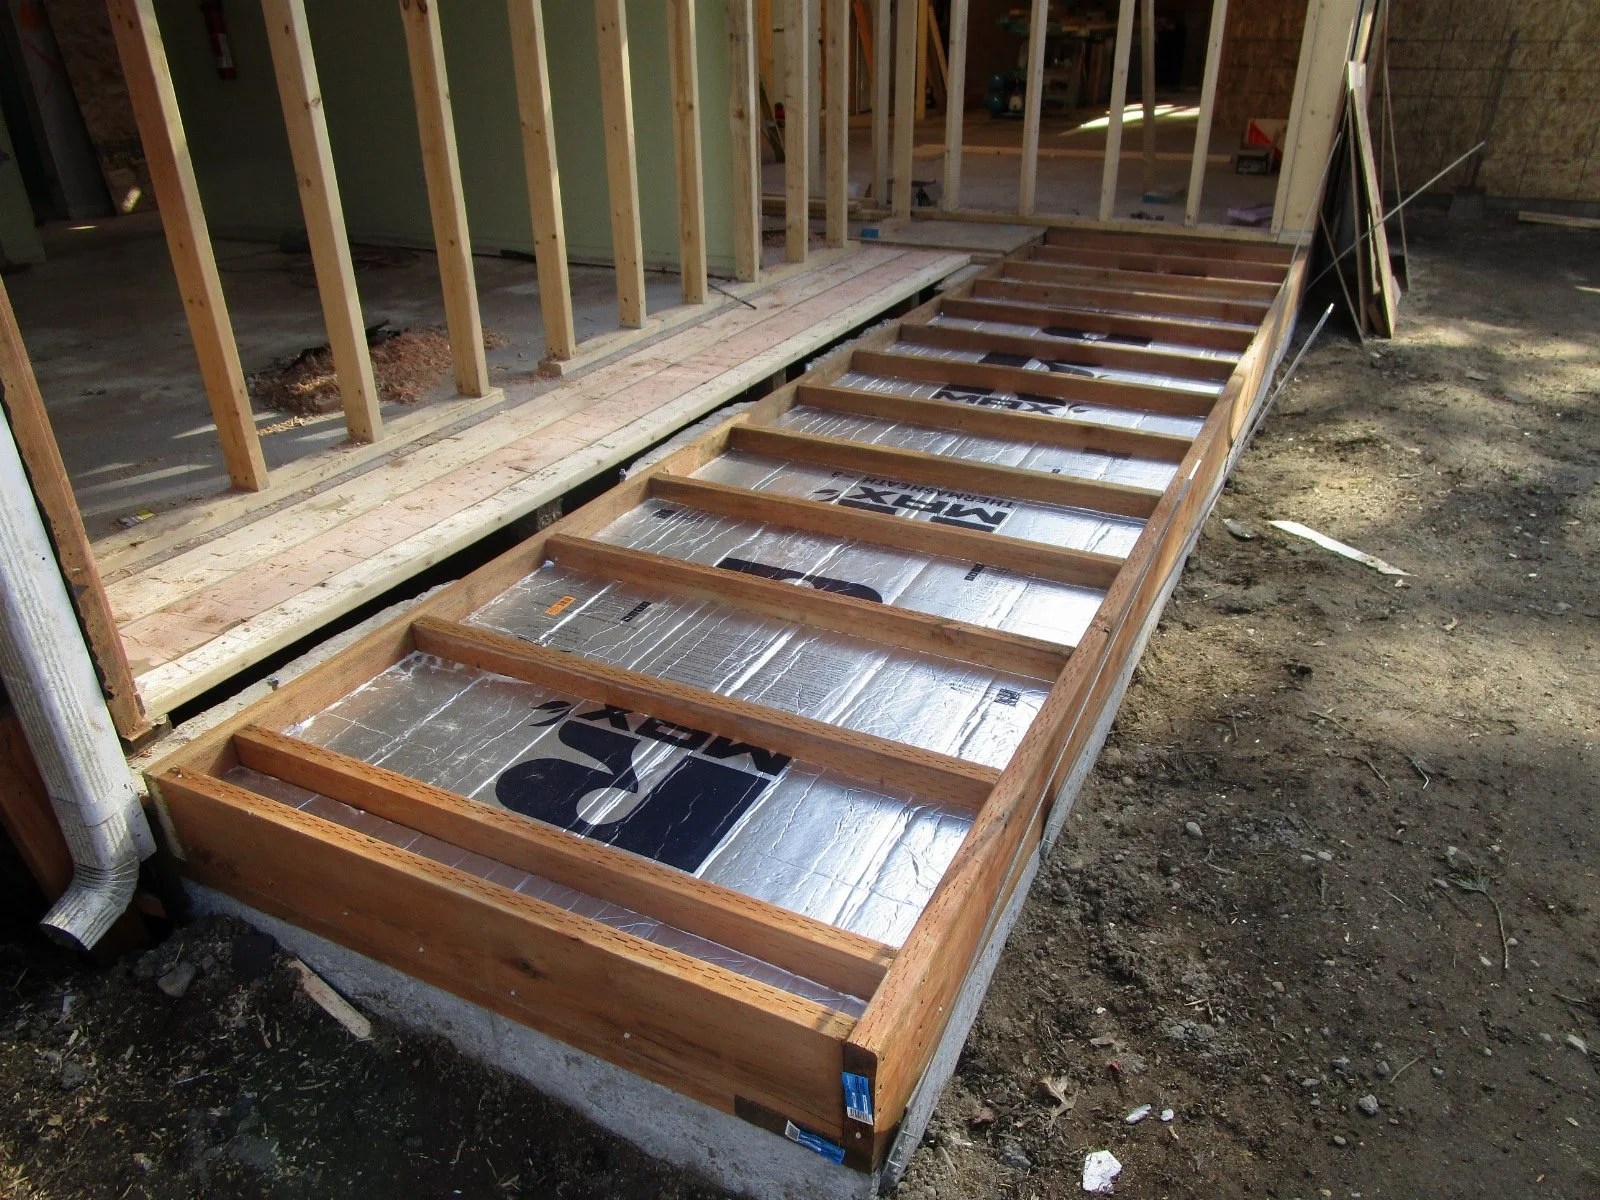
Concrete poured, filling the floor with rigid insulation to meet the energy code.
These floor cavities will get fully filled. A little time consuming to trim all of the rigid foam panels. Once filled fully, the plywood subfloor will go down.
Outside, the 4-foot bump out of the corner bedroom posed problems for how to structure the roof, when the end of the roof has a hip, rather than a gable.
We've decided to go hipster modern and build a mono plane roof over this area, it can't be seen from the street. Top beam going in here.
Fast forward to see the basic shape.
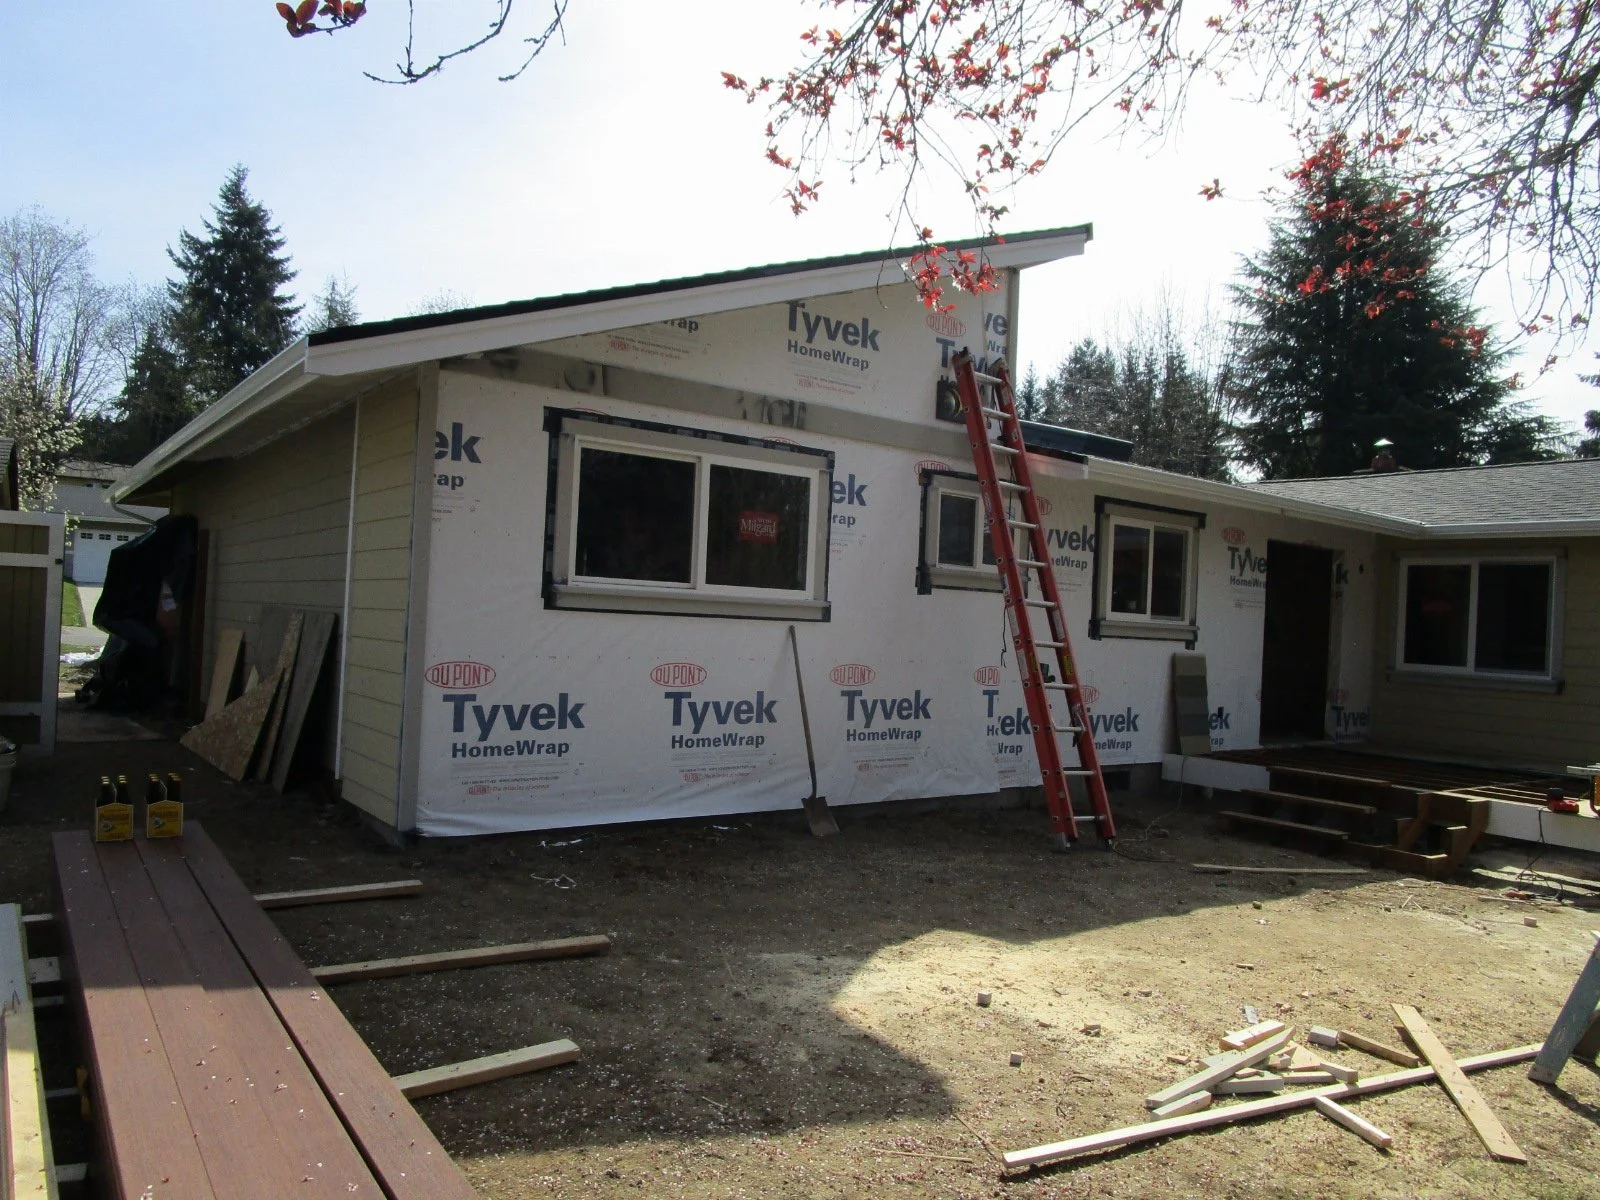
And sided. The vault adds some nice volume to the bedroom and bathroom.
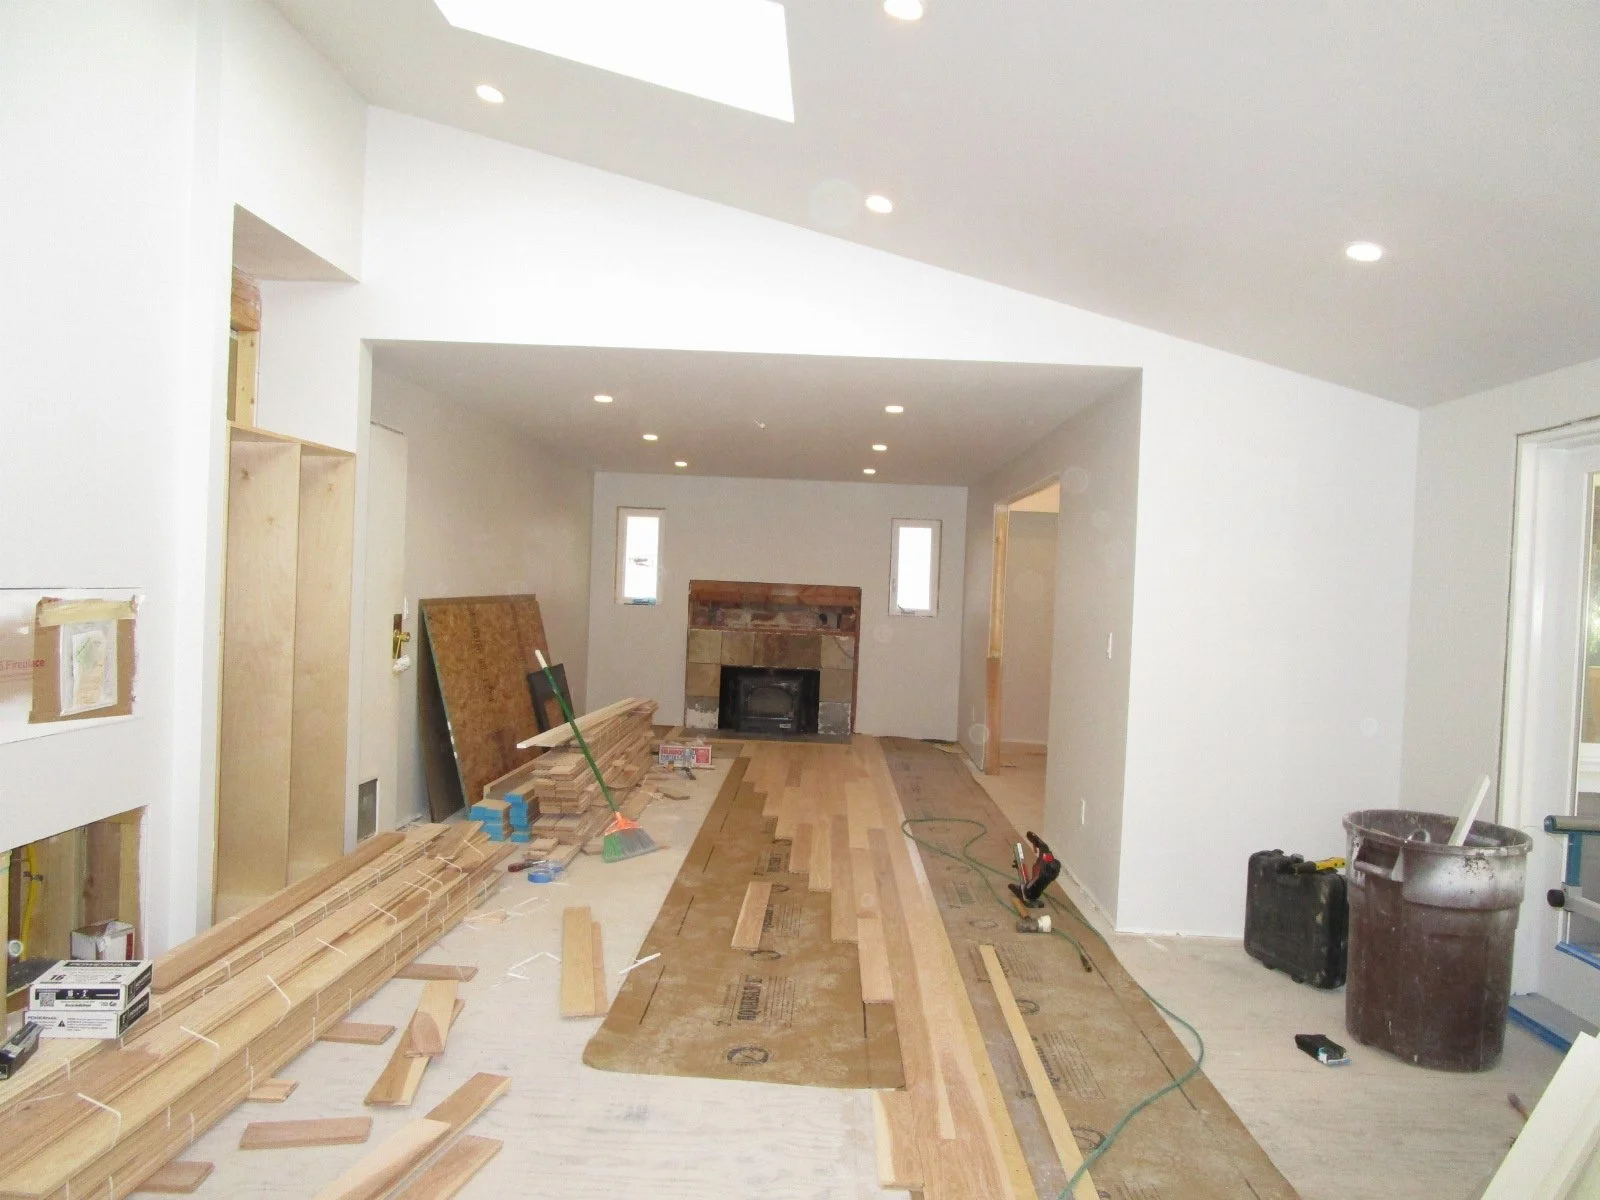
Hardwood flooring going in.
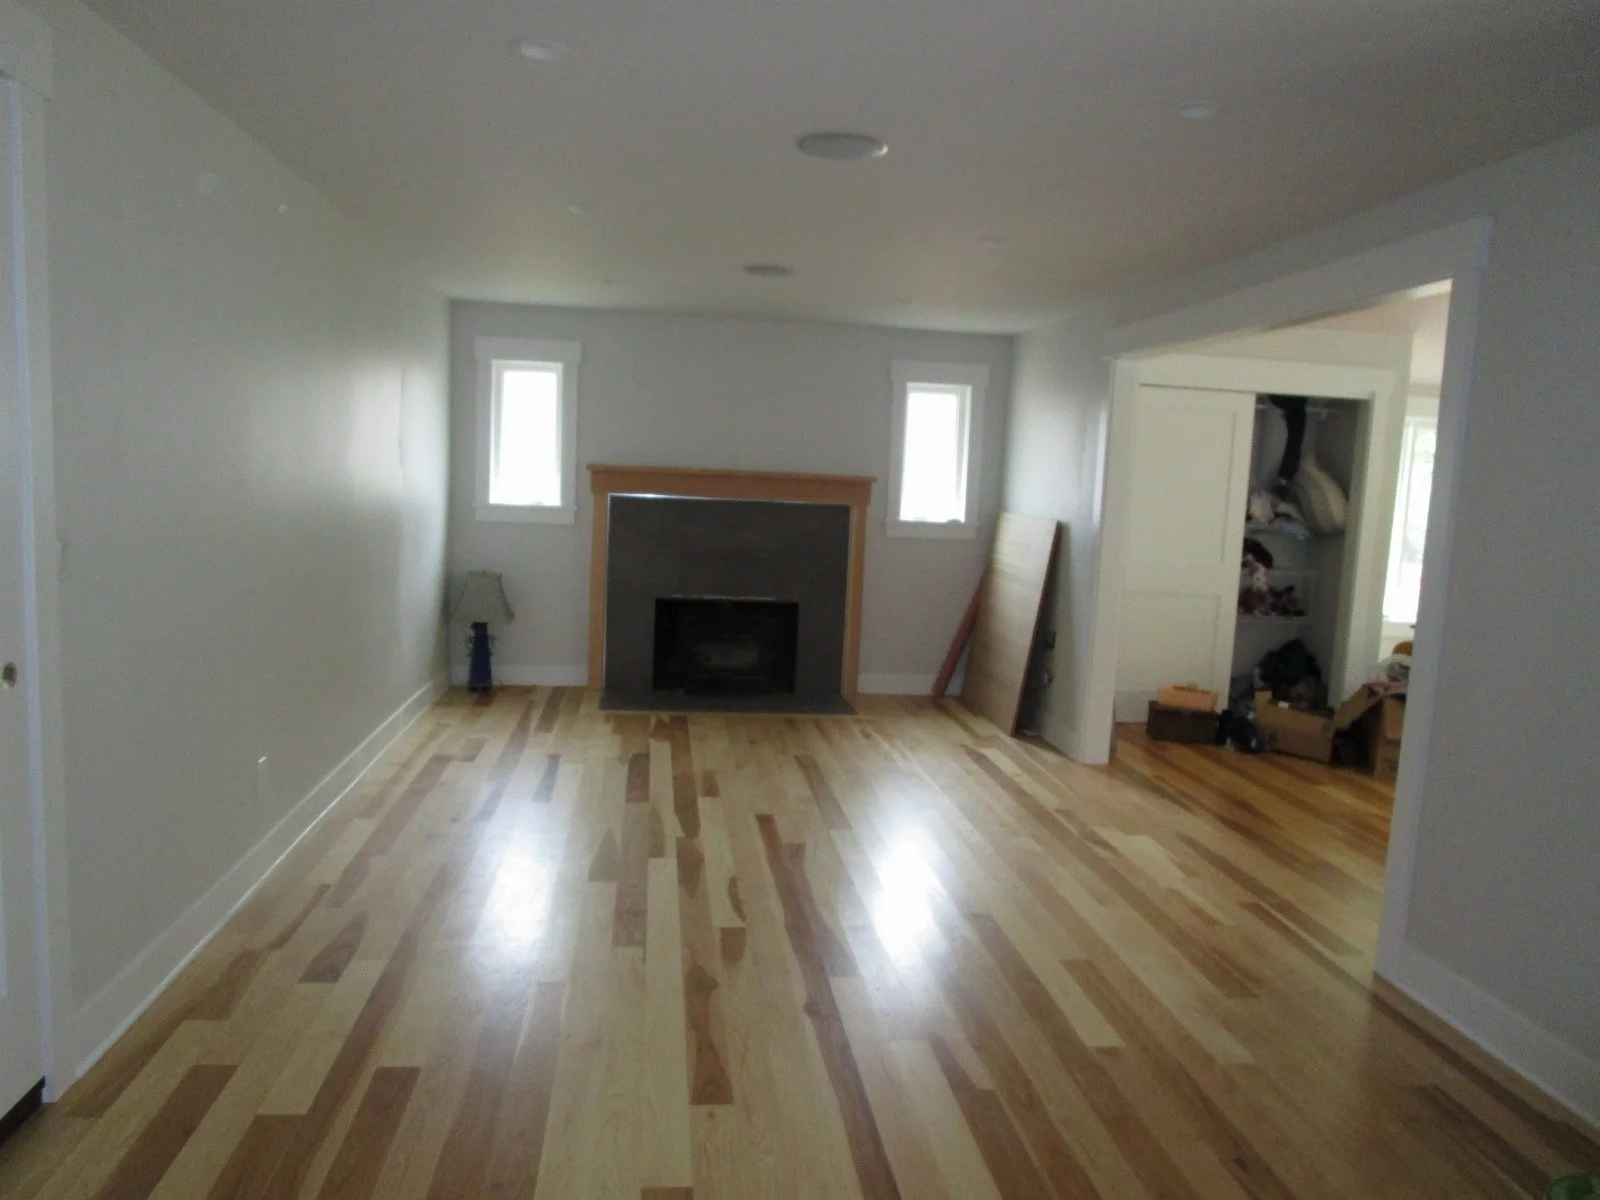
And a couple weeks later, mostly in...
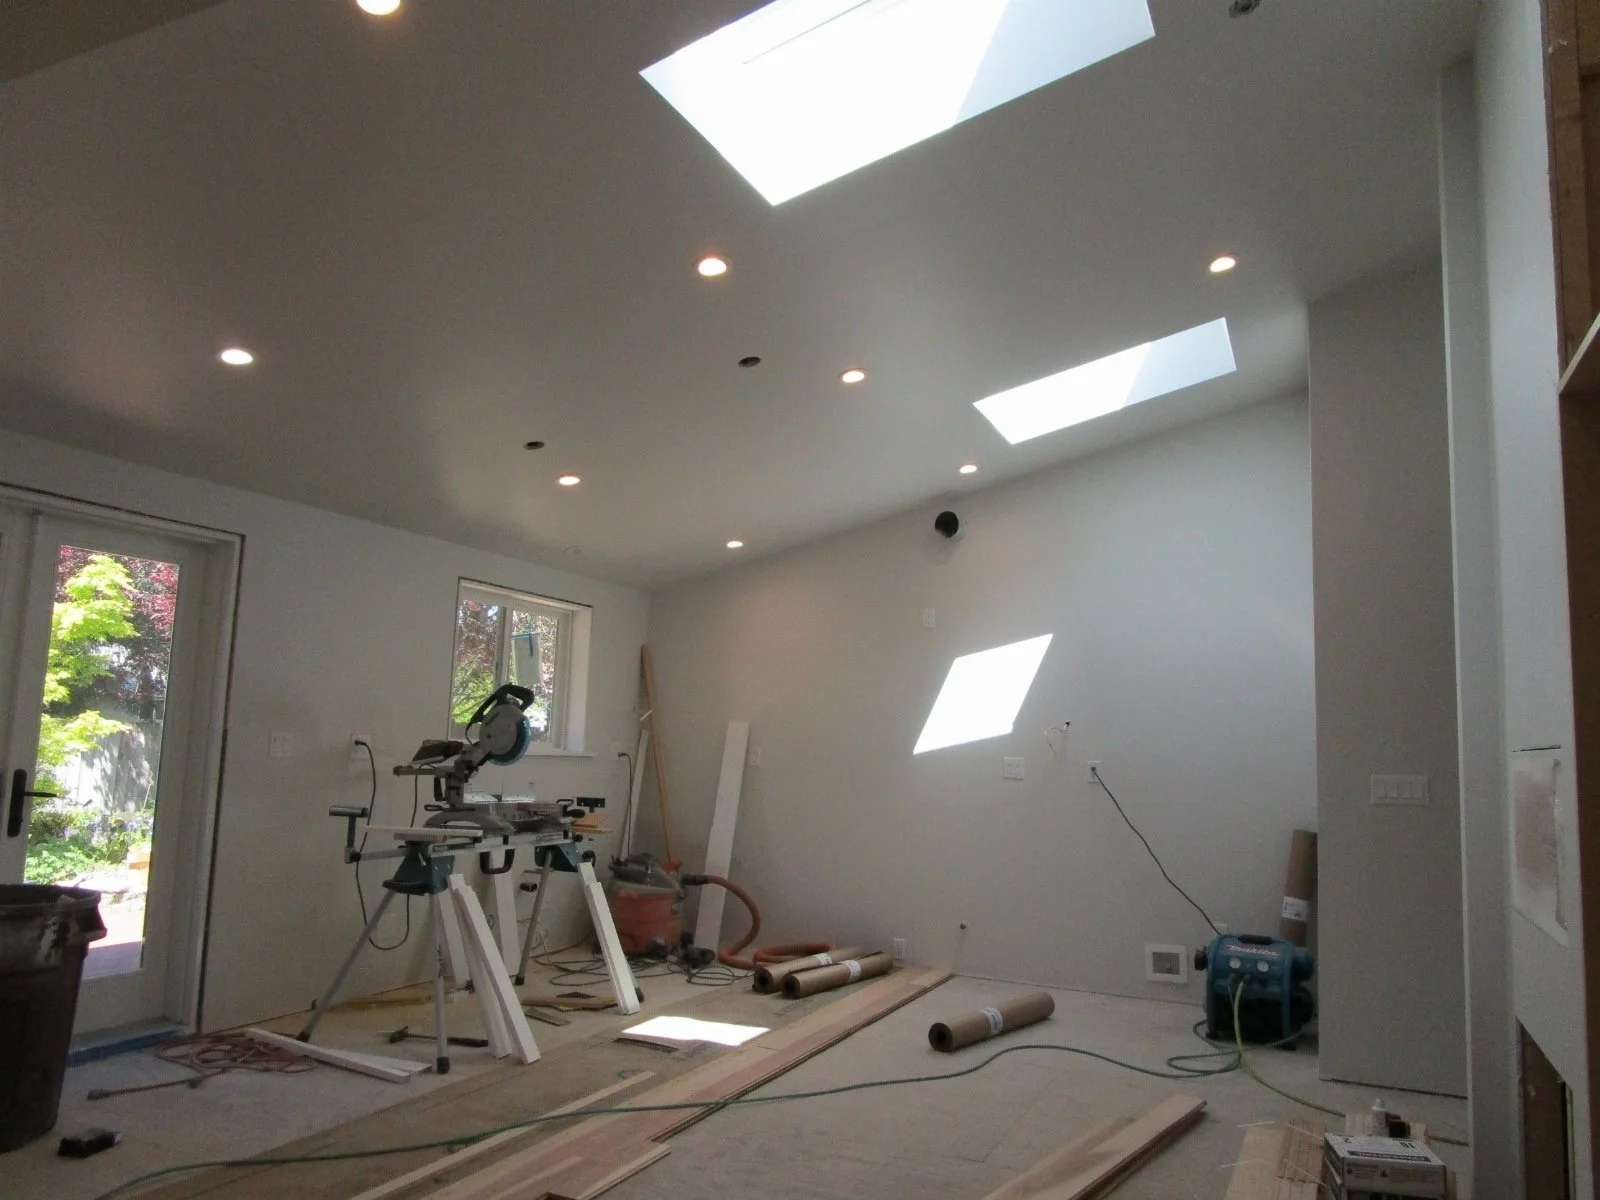
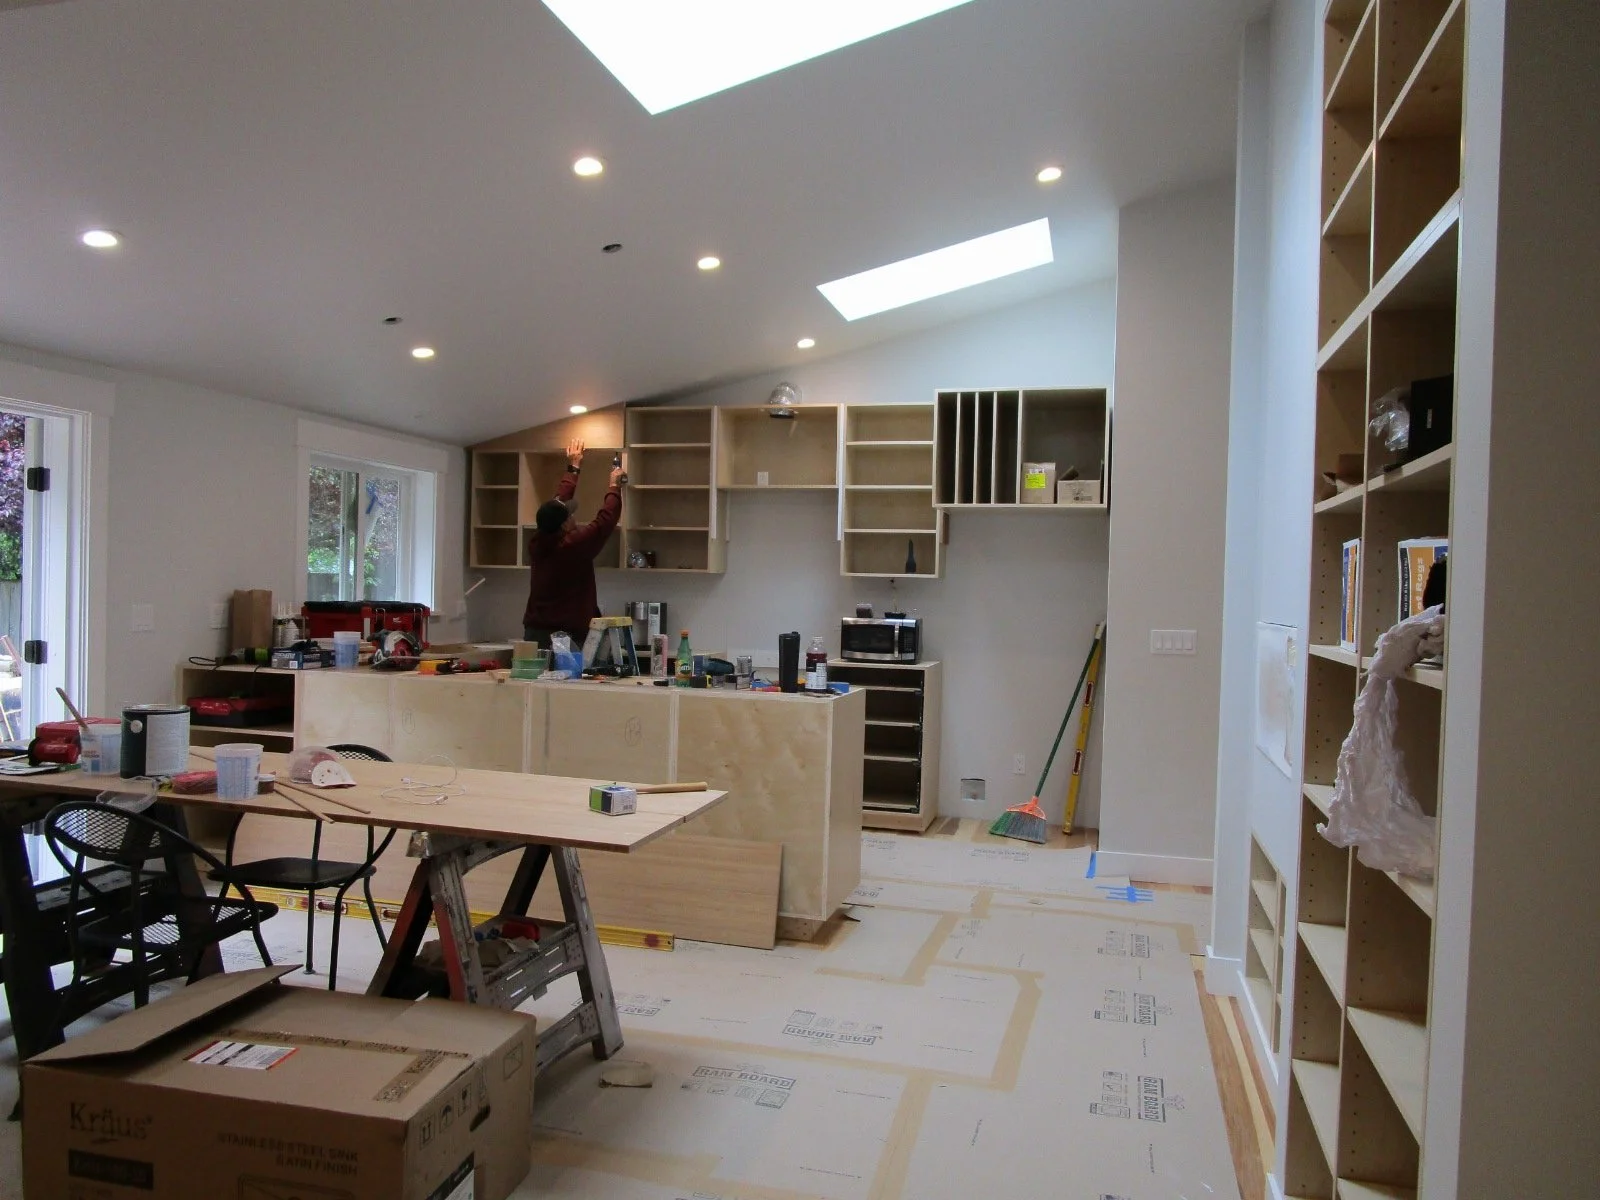
View of the kitchen area with the 4-foot bump out now, and a vaulted ceiling, new skylights will add lots of extra light.
Kitchen cabinets are being built on site.
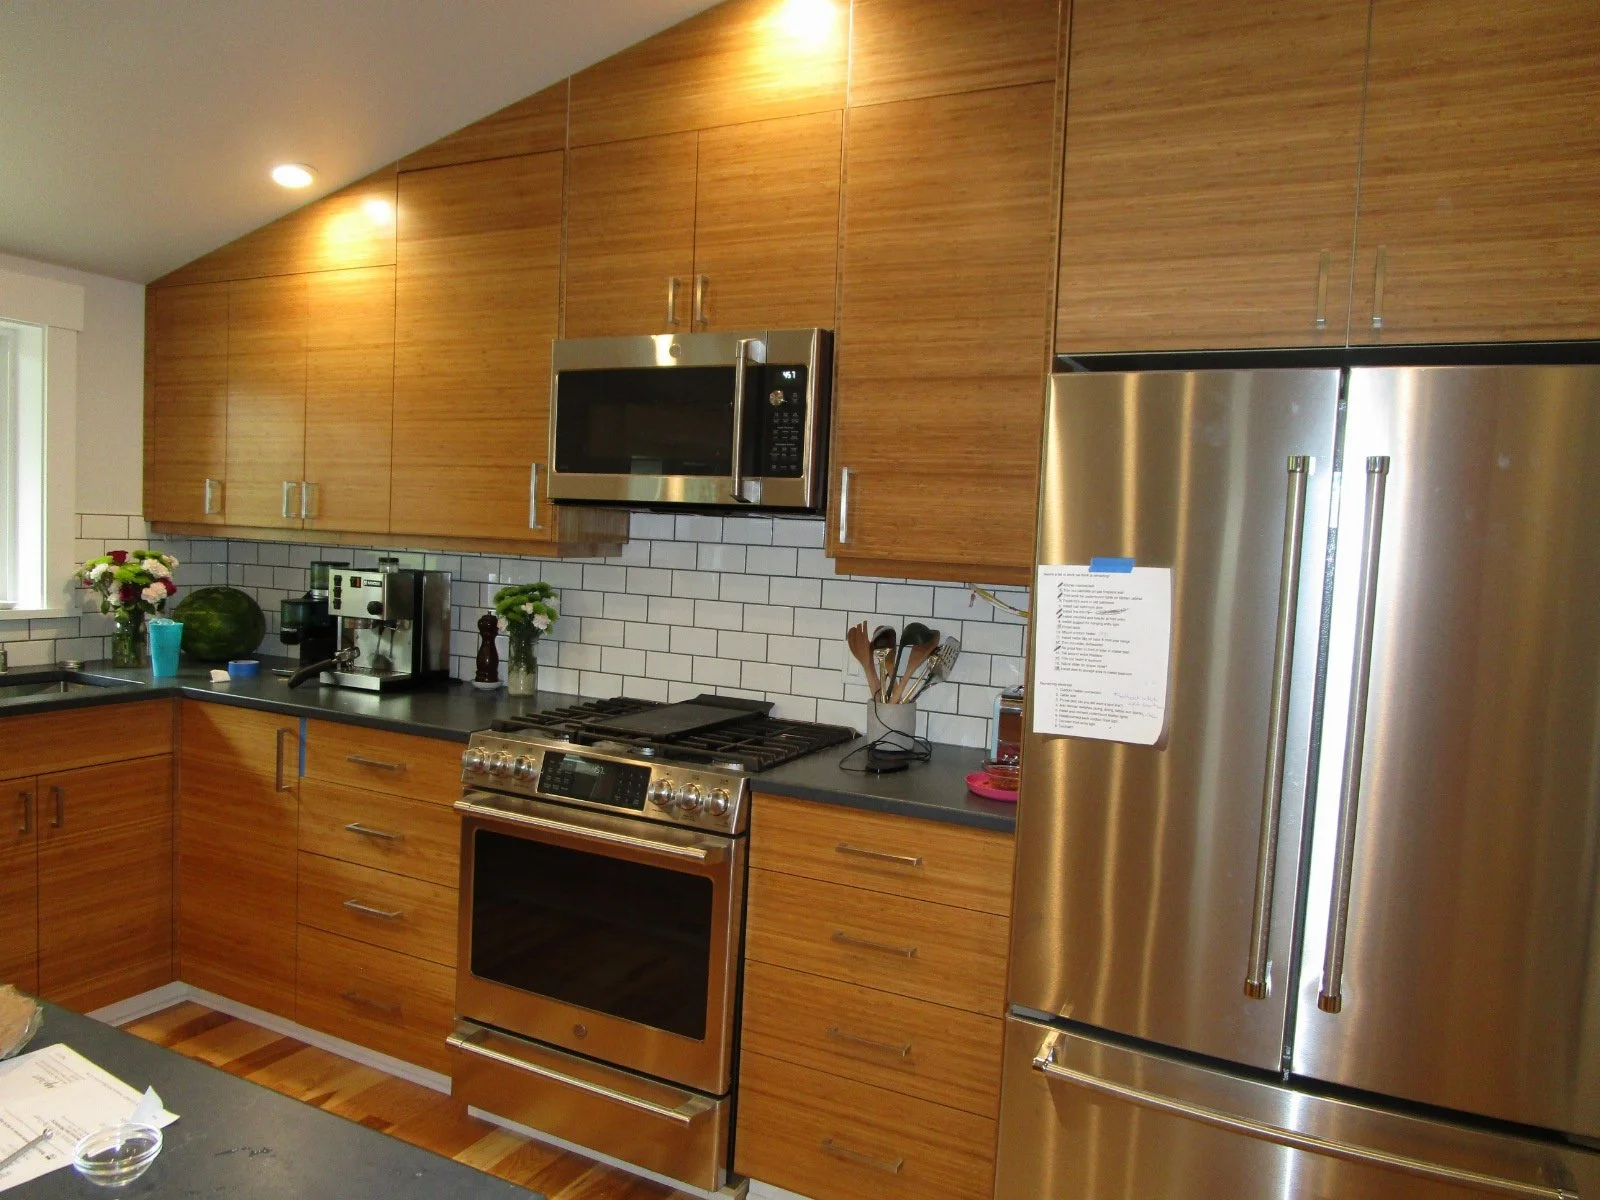
Kitchen mostly done. Punch list on the refer. As seems to be the case on these major remodels, the homeowners start moving back in when the project is about 98% done.
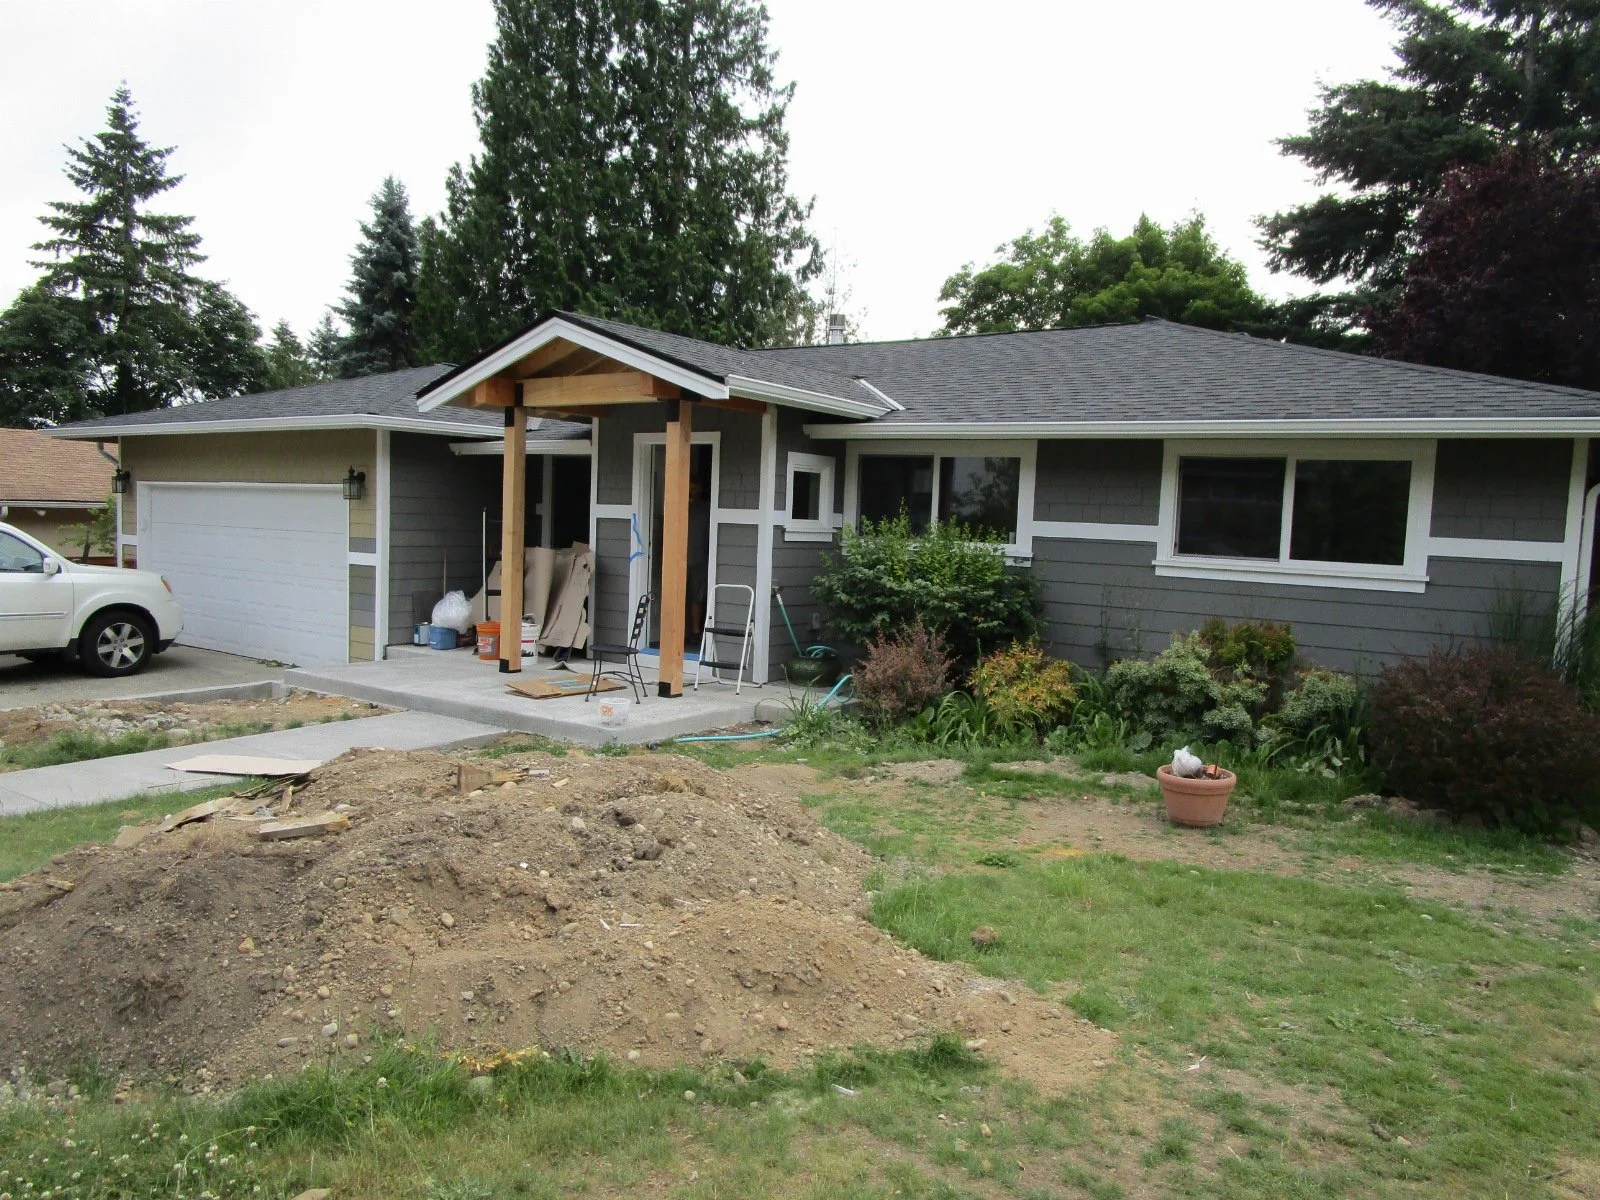
Outside the new little entry takes shape.
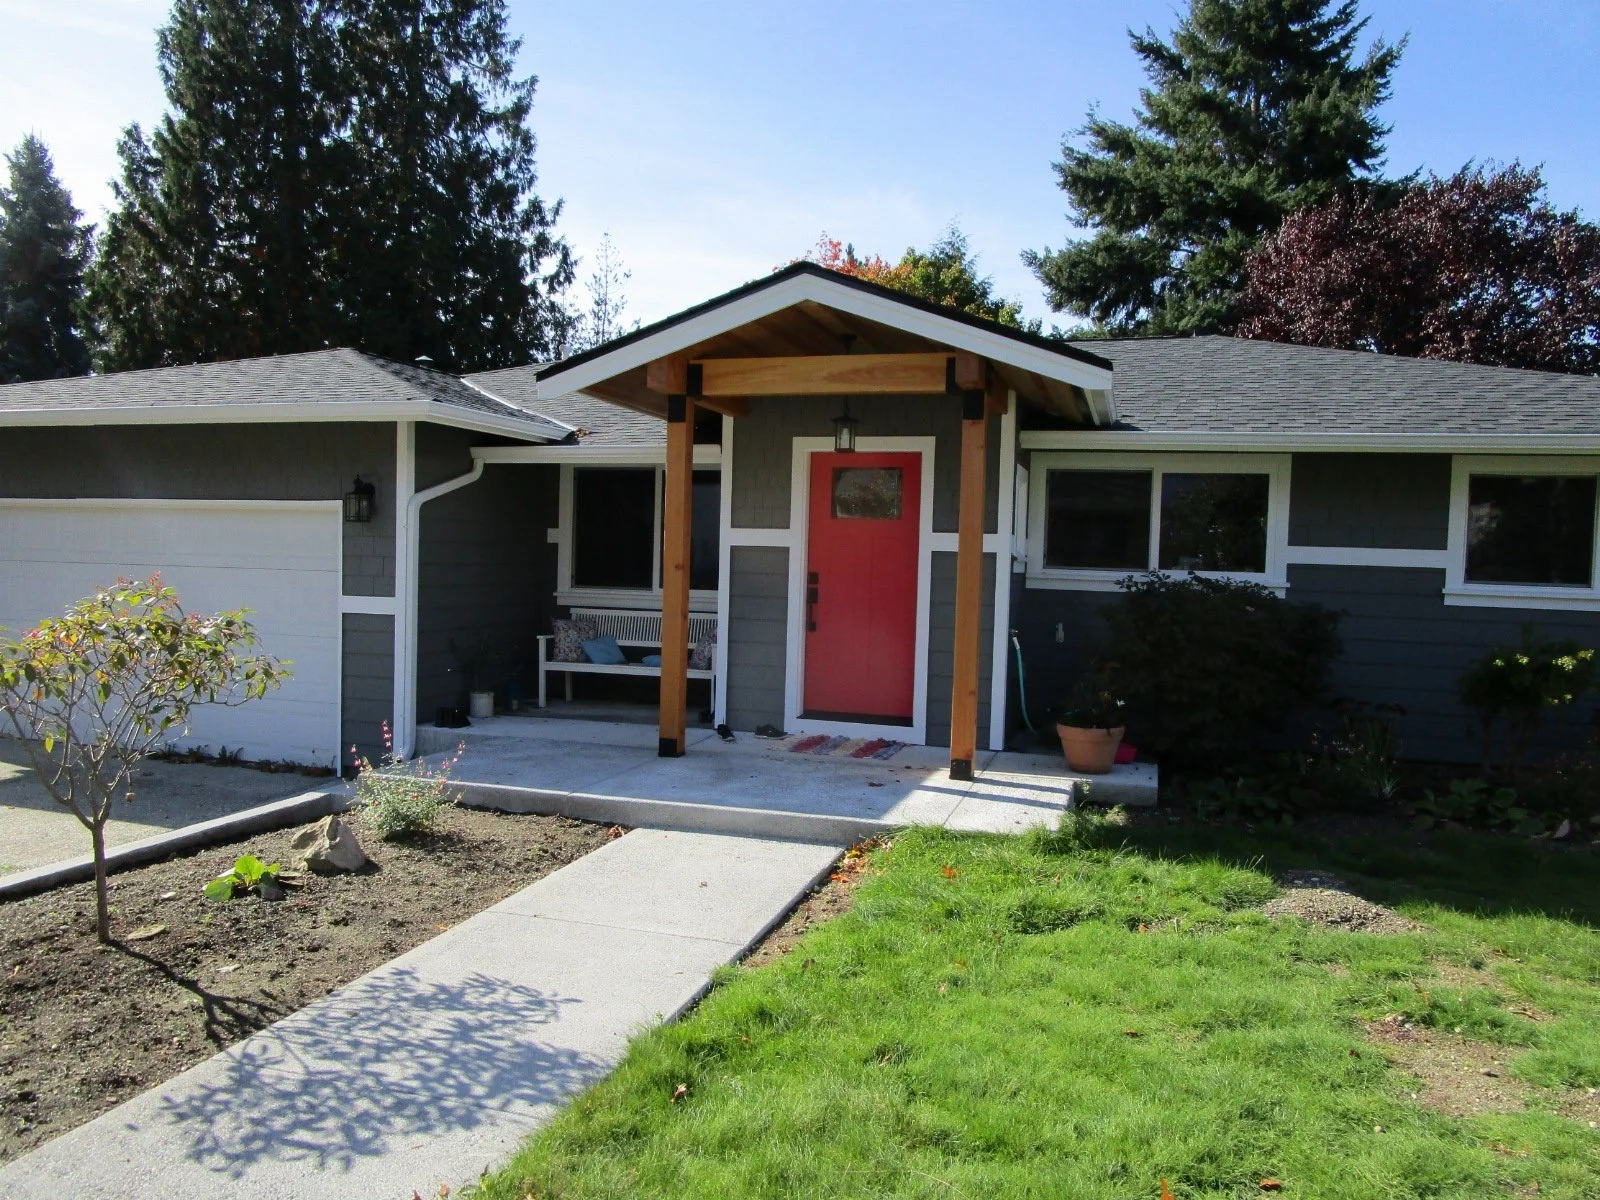
And mostly finished with a nice red door.
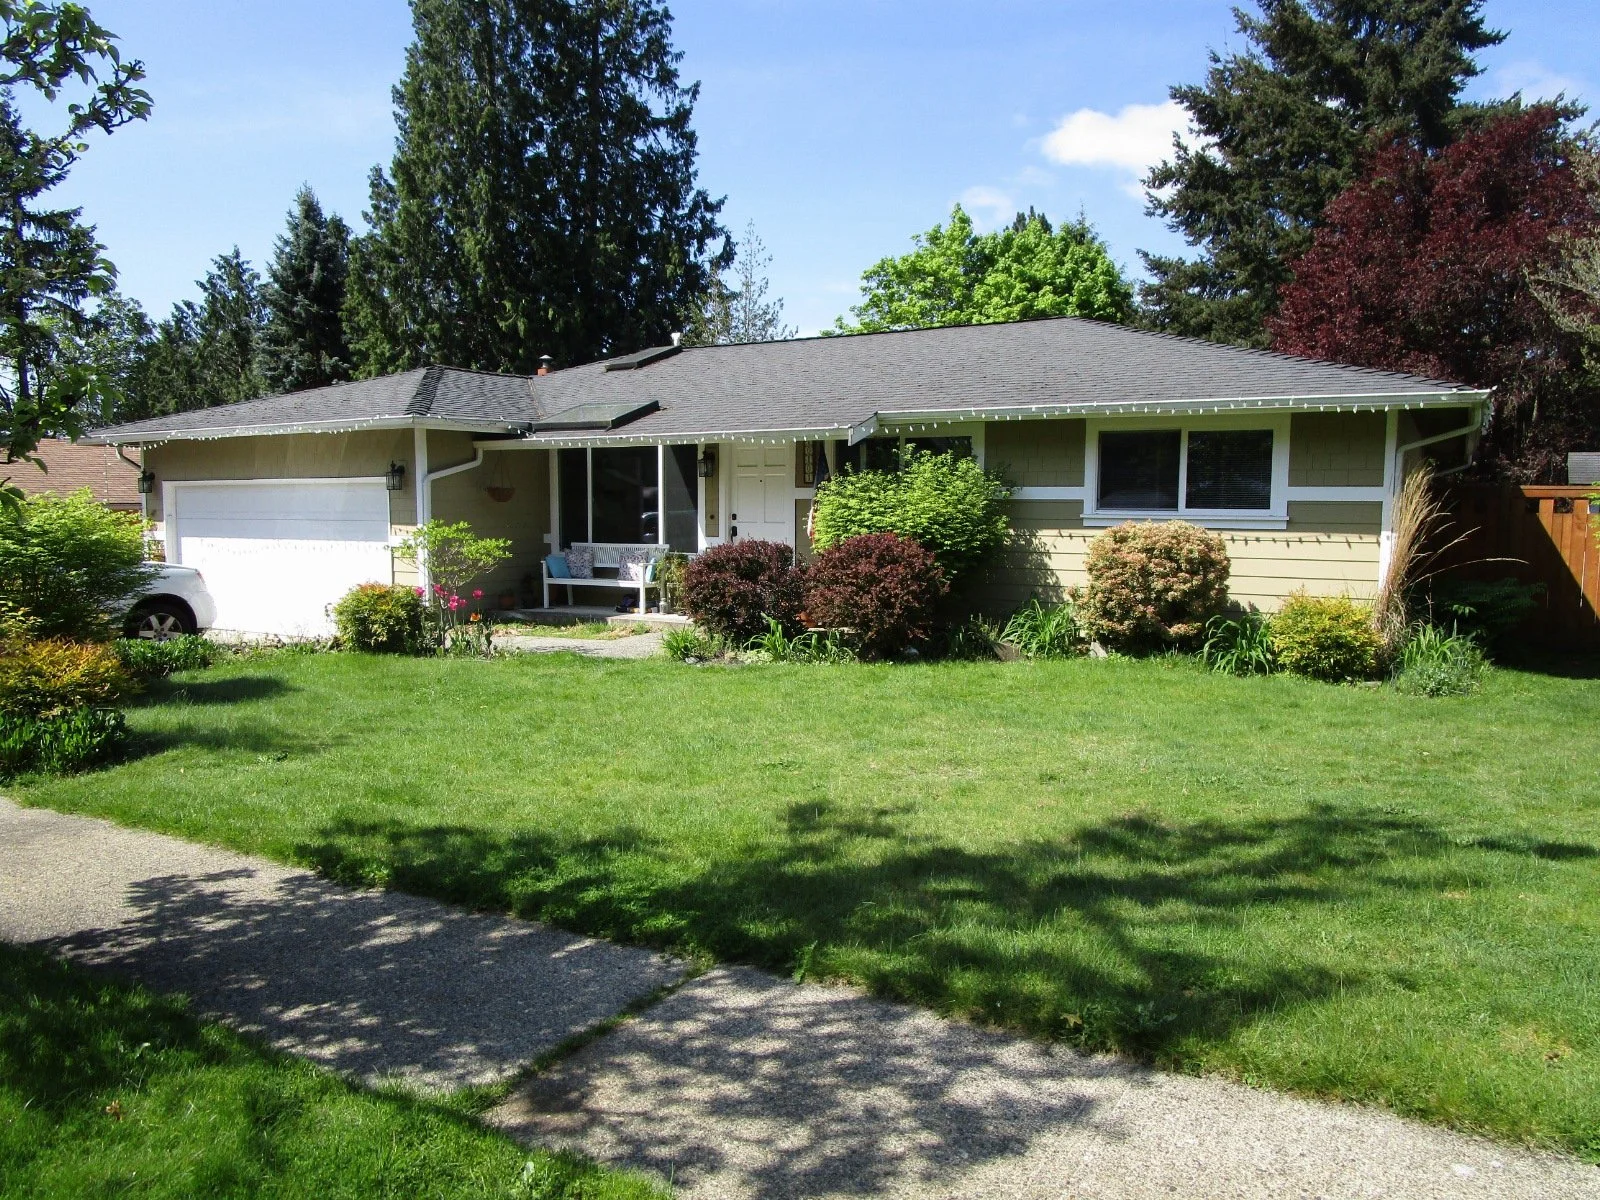
Old front of the house, before work started.